
Have you ever found yourself torn between a fudgy brownie and a fluffy donut? I know I have, and that’s exactly why I fell head over heels for BRONUTS. These brownie donuts are the decadent treat you never knew you needed – combining the dense, chocolatey goodness of brownies with the fun, handheld shape of donuts.
I’ve spent years perfecting this recipe, and today I’m sharing all my secrets to creating these chocolate masterpieces at home. They’re perfect for special occasions, weekend brunch, or those moments when only a serious chocolate fix will do.
What Are BRONUTS?
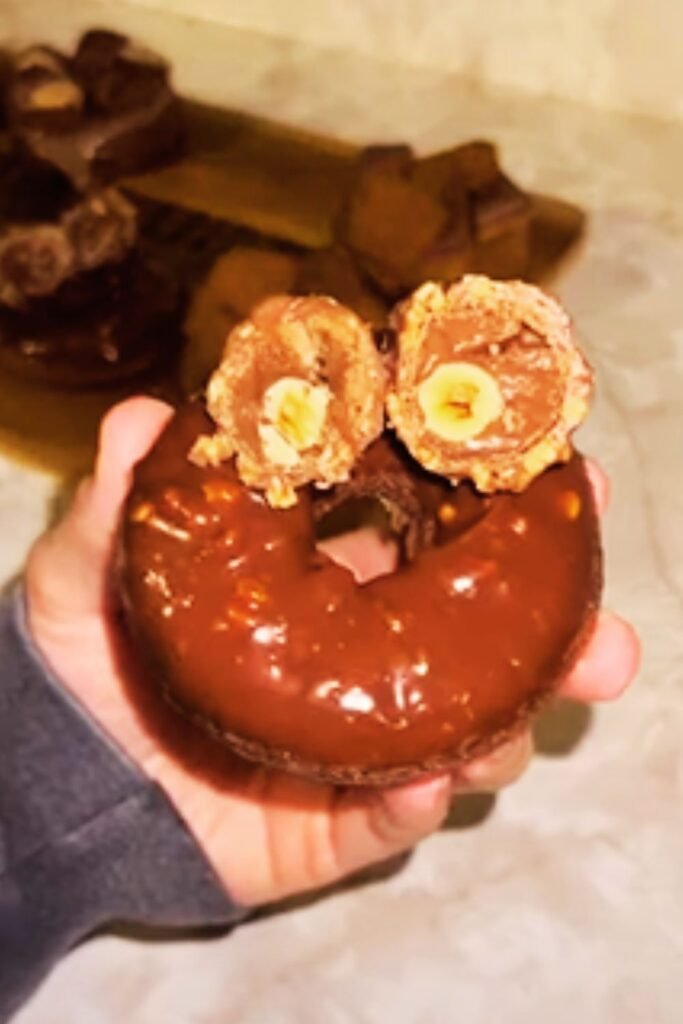
BRONUTS are exactly what they sound like – the beautiful marriage of brownies and donuts. Unlike traditional cake donuts, these have that distinctive fudgy brownie texture we all love, but in donut form. They feature that signature crackly top, chewy interior, and that intense chocolate flavor that makes brownies so irresistible.
The first time I made these for friends, they disappeared within minutes. The combination of familiar brownie flavor in an unexpected shape brings pure joy to chocolate lovers everywhere. And the best part? They’re surprisingly simple to make at home!
Why You’ll Love This Recipe
- Perfect texture balance – Fudgy in the middle with that signature brownie crackle on the outside
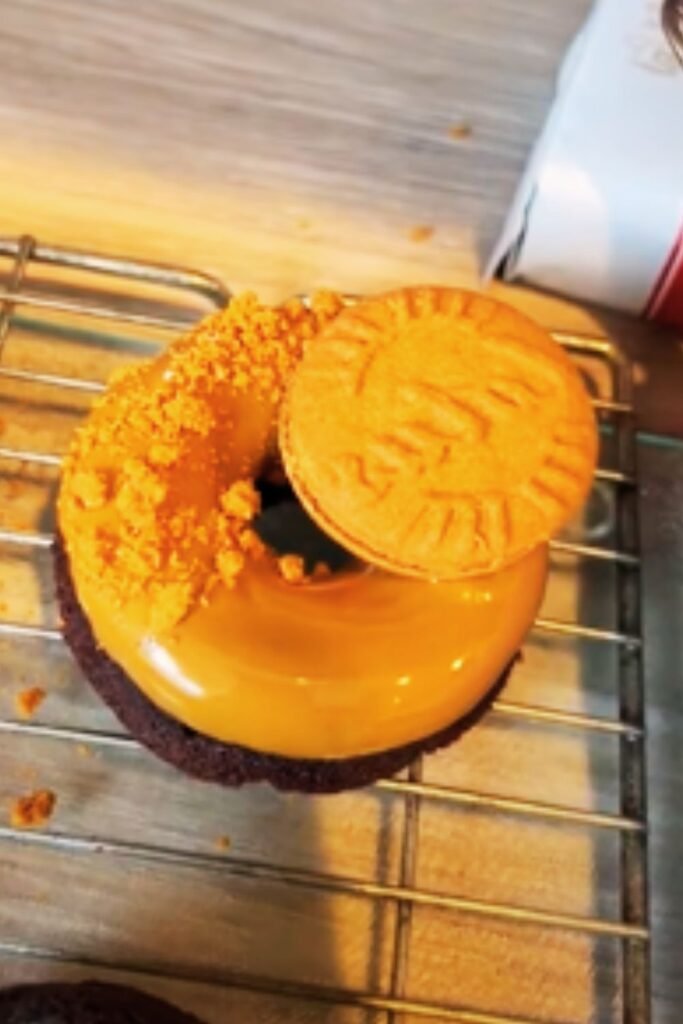
- Versatile for decorating – Takes beautifully to glazes, ganache, or simple powdered sugar
- Make-ahead friendly – Can be prepared a day in advance
- Impressive presentation – Everyone will think you purchased them from a specialty bakery
- Satisfies intense chocolate cravings – More decadent than regular chocolate donuts
Essential Equipment
Before diving into the recipe, let’s make sure you have everything you need to create perfect BRONUTS:
| Equipment | Notes | Alternatives |
|---|---|---|
| Donut pan | Silicone or metal work equally well | Mini bundt pans can work in a pinch |
| Mixing bowls | One large, one medium | Any heatproof bowls will do |
| Whisk | For combining dry ingredients | Fork can work but not ideal |
| Rubber spatula | For folding and scraping bowls clean | Wooden spoon is acceptable but less efficient |
| Measuring cups/spoons | For precise measurements | Digital kitchen scale (preferred for baking) |
| Microwave or double boiler | For melting chocolate and butter | Either method works perfectly |
| Piping bag | For filling donut cavities neatly | Ziplock bag with corner snipped |
| Cooling rack | For proper cooling and glazing | Clean kitchen towel on countertop |
| Small bowl | For making glaze | Any small container works |
Ingredients for Perfect BRONUTS
For the Bronuts (Makes 12):
| Ingredient | Amount | Notes |
|---|---|---|
| High-quality dark chocolate | 8 oz (225g) | 60-70% cocoa content works best |
| Unsalted butter | 1/2 cup (113g) | European-style butter adds richness |
| Granulated sugar | 1 cup (200g) | Don’t substitute with alternatives; affects texture |
| Brown sugar | 1/2 cup (100g), packed | Adds moisture and chewiness |
| Large eggs | 3 | Room temperature |
| Pure vanilla extract | 2 teaspoons | Real extract, not imitation |
| All-purpose flour | 1 cup (125g) | Measured correctly (spoon and level) |
| Dutch-processed cocoa powder | 1/4 cup (25g) | For deeper chocolate flavor |
| Espresso powder | 1 teaspoon | Optional, enhances chocolate flavor |
| Salt | 1/2 teaspoon | Fine sea salt preferred |
| Baking powder | 1/4 teaspoon | For slight rise |
For the Chocolate Glaze:
| Ingredient | Amount | Notes |
|---|---|---|
| Powdered sugar | 1 cup (120g) | Sifted to remove lumps |
| Cocoa powder | 1/4 cup (25g) | Dutch-processed for richer color |
| Milk | 3-4 tablespoons | Add gradually until desired consistency |
| Pure vanilla extract | 1/2 teaspoon | For flavor depth |
| Pinch of salt | Just a pinch | Balances sweetness |
Optional Toppings:
- Chocolate sprinkles
- Crushed nuts (walnuts or pecans work wonderfully)
- Mini chocolate chips
- Sea salt flakes
- Freeze-dried raspberry powder
The Detailed Method
Step 1: Preparation
- Preheat your oven to 350°F (175°C).
- Thoroughly grease your donut pans with butter or non-stick spray. This is crucial for easy removal.
- If you have two pans, prepare both. If you only have one pan, you’ll need to bake in batches.
Step 2: Melt the Chocolate and Butter
The foundation of great BRONUTS is properly melted chocolate and butter:
- Cut the butter into small cubes and break the chocolate into small pieces.
- Place them in a heatproof bowl.
- Melt using your preferred method:
- Microwave method: Heat in 30-second intervals, stirring between each until completely smooth.
- Double boiler method: Place bowl over a pot of simmering water (not touching the water), stirring until melted.
- Once melted, remove from heat and let cool slightly (about 5 minutes).
Step 3: Make the Batter
- While the chocolate mixture cools, whisk together the flour, cocoa powder, espresso powder (if using), salt, and baking powder in a medium bowl. Set aside.
- To the slightly cooled chocolate mixture, add both sugars and whisk vigorously until well combined. The mixture should be glossy.
- Add the eggs one at a time, whisking well after each addition until fully incorporated.
- Stir in the vanilla extract.
- Add the dry ingredients to the wet ingredients and fold gently with a spatula just until no flour streaks remain. Do not overmix.
- The batter will be thick but pourable – similar to a thick brownie batter.
Step 4: Fill the Donut Pans
This step requires a bit of technique for neat results:
- Transfer the batter to a piping bag or a ziplock bag with the corner snipped off.
- Pipe the batter into the donut cavities, filling each about 3/4 full.
- Tap the pan gently on the counter a few times to remove air bubbles and level the batter.
Step 5: Bake to Perfection
- Bake in the preheated oven for 12-15 minutes. The BRONUTS are done when:
- A toothpick inserted comes out with a few moist crumbs (not wet batter)
- The tops have that characteristic brownie crackle
- The edges are set but the center still appears slightly soft
- Don’t overbake! This is critical for maintaining that fudgy brownie texture.
Step 6: Cooling
Proper cooling ensures your BRONUTS maintain their texture and shape:
- Allow the BRONUTS to cool in the pan for 5 minutes.
- Gently loosen the edges with a small offset spatula or knife.
- Carefully flip the pan over onto a cooling rack.
- If any BRONUTS stick, gently tap the back of the pan or use the spatula to help release them.
- Let them cool completely before glazing.
Step 7: Make the Chocolate Glaze
While the BRONUTS cool, prepare your glaze:
- In a medium bowl, sift together the powdered sugar and cocoa powder to remove any lumps.
- Add the vanilla extract and 3 tablespoons of milk.
- Whisk until smooth. If the glaze is too thick, add more milk, 1 teaspoon at a time, until you reach your desired consistency.
- The perfect glaze should coat the back of a spoon but still flow smoothly.
Step 8: Glaze and Decorate
This is where your BRONUTS transform from delicious to spectacular:
- Place a sheet of parchment paper under your cooling rack to catch drips.
- Dip the top of each cooled BRONUT into the glaze, allowing excess to drip off.
- Return to the cooling rack and immediately add any toppings before the glaze sets.
- For a double-dipped effect, allow the first layer to set for 30 minutes, then dip again.
Step 9: Let the Glaze Set
Allow the glaze to set completely before serving or storing:
- At room temperature, this takes about 1 hour
- You can speed up the process by placing them in the refrigerator for 15-20 minutes
Variation Ideas
One of the things I love most about BRONUTS is how versatile they are. Here are some of my favorite variations:
Peanut Butter Swirl BRONUTS
- Make the basic batter.
- Warm 1/3 cup creamy peanut butter until pourable.
- Swirl into the batter in the donut pan using a toothpick.
- Finish with a peanut butter glaze (substitute 2 tablespoons of the milk with peanut butter in the glaze recipe).
Mint Chocolate BRONUTS
- Add 1/2 teaspoon mint extract to the batter.
- Add 1/4 teaspoon mint extract to the glaze.
- Top with crushed Andes mints or mint chocolate pieces.
S’mores BRONUTS
- Fold 1/4 cup mini marshmallows and 1/4 cup graham cracker crumbs into the batter.
- Top glazed BRONUTS with additional mini marshmallows and torch them lightly.
- Sprinkle with more graham cracker crumbs while the glaze is still wet.
Double Chocolate Chip BRONUTS
- Fold 1/3 cup mini chocolate chips into the batter.
- Top glazed BRONUTS with additional mini chocolate chips.
Raspberry BRONUTS
- Fold 1/2 cup fresh raspberries (lightly dusted with flour) into the batter.
- Add 1 tablespoon raspberry preserves to the glaze.
- Top with freeze-dried raspberry powder.

Storage and Make-Ahead Tips
BRONUTS are best enjoyed fresh, but here’s how to store them if needed:
| Storage Method | Duration | Notes |
|---|---|---|
| Room temperature | Up to 2 days | Store in airtight container |
| Refrigerator | Up to 5 days | Bring to room temperature before serving |
| Freezer (unglazed) | Up to 3 months | Wrap individually in plastic wrap, then in foil |
| Freezer (glazed) | Up to 1 month | Flash freeze first, then transfer to container |
Make-Ahead Tips:
- The batter can be made up to 24 hours in advance and stored covered in the refrigerator. Let it come to room temperature for 30 minutes before baking.
- Unglazed BRONUTS can be made a day ahead and stored in an airtight container.
- Glaze just before serving for the freshest appearance.
Serving Suggestions
BRONUTS are versatile enough to be served in various settings:
Breakfast/Brunch
- Serve with fresh berries and a dollop of mascarpone
- Pair with hot coffee or cold milk
- Include on a brunch board with fruit and cheese
Dessert
- Warm slightly and top with vanilla ice cream
- Drizzle with additional warm chocolate sauce
- Arrange on a platter with fresh mint leaves for an elegant dessert table
Special Occasions
- Stack on a tiered stand for birthdays or celebrations
- Package individually in clear bags tied with ribbon as party favors
- Arrange in a circle on a plate with candles in the center holes for a unique “birthday cake”
Accompaniments
- Fresh fruit compote
- Whipped cream
- Hot chocolate
- Vanilla chai tea
- Cold milk
- Espresso or cappuccino
Troubleshooting Common Issues
Even experienced bakers sometimes encounter challenges. Here’s how to solve common BRONUT problems:
| Problem | Possible Causes | Solutions |
|---|---|---|
| BRONUTS stuck in the pan | Insufficient greasing | Grease more thoroughly; consider using parchment paper rounds with holes cut out |
| Dense, heavy texture | Overmixing the batter; Inaccurate measurements | Fold gently just until combined; Use a kitchen scale for ingredients |
| Dry BRONUTS | Overbaking | Reduce baking time; Look for moist crumbs, not completely clean toothpick |
| Collapsed centers | Underbaking; Opening oven door too early | Increase baking time slightly; Wait until at least 10 minutes before checking |
| Cracked glaze | Applied when BRONUTS were still warm | Ensure BRONUTS are completely cool before glazing |
| Runny glaze | Too much liquid | Add more powdered sugar, 1 tablespoon at a time |
| Too-thick glaze | Not enough liquid | Add more milk, 1 teaspoon at a time |
Frequently Asked Questions
Q: Can I make these without a donut pan?
A: While a donut pan gives the authentic shape, you can use a muffin tin with a small ball of foil in the center of each cavity to create the donut hole. You can also use a mini bundt pan for a similar effect.
Q: Are BRONUTS supposed to rise a lot?
A: No, these are meant to be dense and fudgy like brownies, not light and airy like cake donuts. They will rise slightly but maintain that characteristic brownie density.
Q: Can I make these gluten-free?
A: Yes! Substitute the all-purpose flour with a 1:1 gluten-free baking flour blend. I’ve had good results with Bob’s Red Mill or King Arthur’s gluten-free flour.
Q: Why add espresso powder?
A: Espresso powder enhances the chocolate flavor without adding coffee taste. It’s optional but highly recommended for depth of flavor.
Q: Can I use milk chocolate instead of dark chocolate?
A: Yes, but the BRONUTS will be significantly sweeter. If using milk chocolate, reduce the granulated sugar to 3/4 cup.
Q: How do I know when they’re perfectly baked?
A: The toothpick test is your best friend here. Insert it into the thickest part – you want a few moist crumbs clinging to it, not wet batter. Remember that they’ll continue cooking slightly as they cool in the hot pan.
Q: Can I make mini BRONUTS?
A: Absolutely! Use a mini donut pan and reduce the baking time to 7-9 minutes.
Q: How do I get that perfect smooth glaze?
A: The secret is getting the right consistency (thick enough to coat but thin enough to flow) and dipping the BRONUTS upside down into the glaze rather than spooning it on.
Q: Can I use oil instead of butter?
A: Butter provides both flavor and texture that’s essential for true brownie character. While you can substitute with oil, the flavor and texture will be different.
Q: Why did my glaze harden before I could add toppings?
A: Work with one BRONUT at a time – dip in glaze and immediately add toppings before moving to the next one. If your glaze is setting too quickly, add a tiny bit more milk.
Health and Dietary Considerations
While BRONUTS are definitely a treat, here are some considerations for different dietary needs:
| Dietary Need | Modification | Notes |
|---|---|---|
| Vegan | Use plant-based butter, flax eggs (1 tbsp ground flax + 3 tbsp water per egg), and plant milk in glaze | Texture will be slightly different but still delicious |
| Dairy-free | Use dairy-free chocolate and plant-based butter; use almond or oat milk in glaze | Choose high-quality dairy-free chocolate for best results |
| Lower sugar | Reduce sugar by up to 25%; use stevia-sweetened chocolate | Will affect texture somewhat |
| Whole grain | Substitute half the all-purpose flour with white whole wheat flour | Adds nutty flavor and more fiber |
| Nut allergies | Avoid nut toppings; check chocolate for cross-contamination | Most base recipe ingredients are naturally nut-free |
Remember that these are indulgent treats meant to be enjoyed occasionally as part of a balanced approach to eating. The joy they bring is part of their nutritional value too!
Final Tips for BRONUT Success
After years of making these chocolate treasures, here are my top tips for BRONUT perfection:
- Quality matters: Use the best chocolate you can afford – it’s the star ingredient.
- Temperature matters: Room temperature eggs will incorporate better than cold ones.
- Don’t rush the melting: Gentle, slow melting preserves the chocolate’s flavor compounds.
- The fold, don’t beat: Incorporate dry ingredients gently to maintain that fudgy texture.
- Know your oven: All ovens run differently, so start checking a minute or two early.
- The tap technique: Tapping the filled pan helps eliminate air bubbles for a smoother finish.
- Cool completely: Patience during cooling prevents collapsed or sticky BRONUTS.
- Glaze temperature: The glaze should be warm enough to flow but cool enough to adhere properly.
BRONUTS are more than just a treat – they’re a baking adventure that combines two beloved desserts into something uniquely delicious. Whether you’re making them for a special brunch, a decadent dessert, or just because it’s Wednesday, I hope you enjoy every chocolatey bite as much as I do.
Happy baking!

