There’s something undeniably magical about the combination of white chocolate and raspberry. That perfect balance of sweet, creamy decadence paired with bright, tangy fruit creates a flavor profile that’s simply irresistible. Today, I’m sharing my absolute favorite celebration cake recipe that never fails to impress guests and leave everyone asking for the recipe.
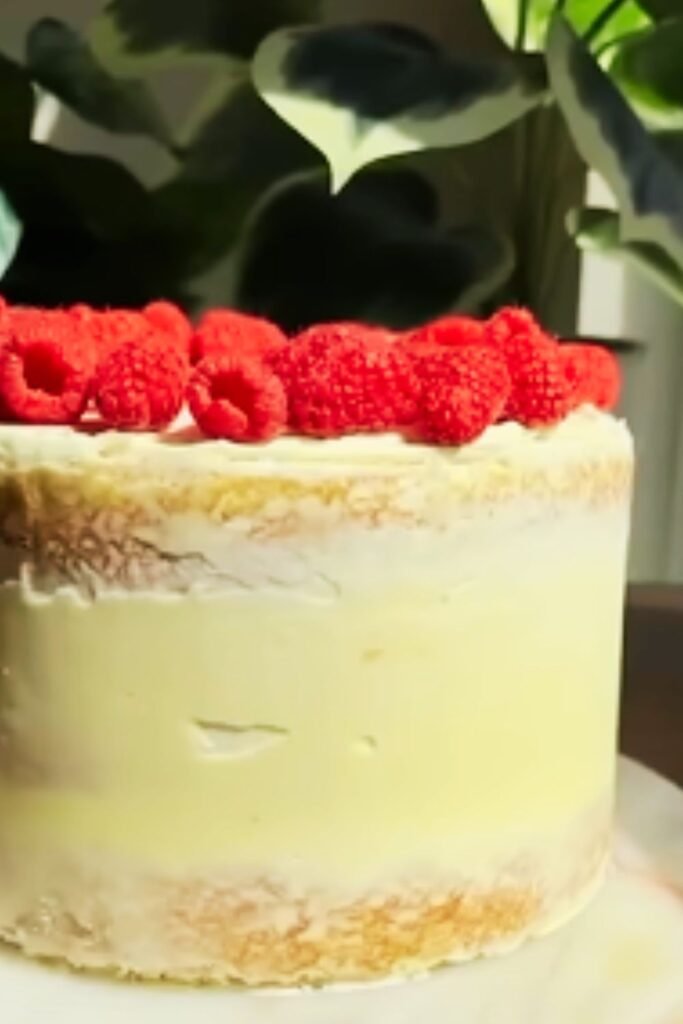
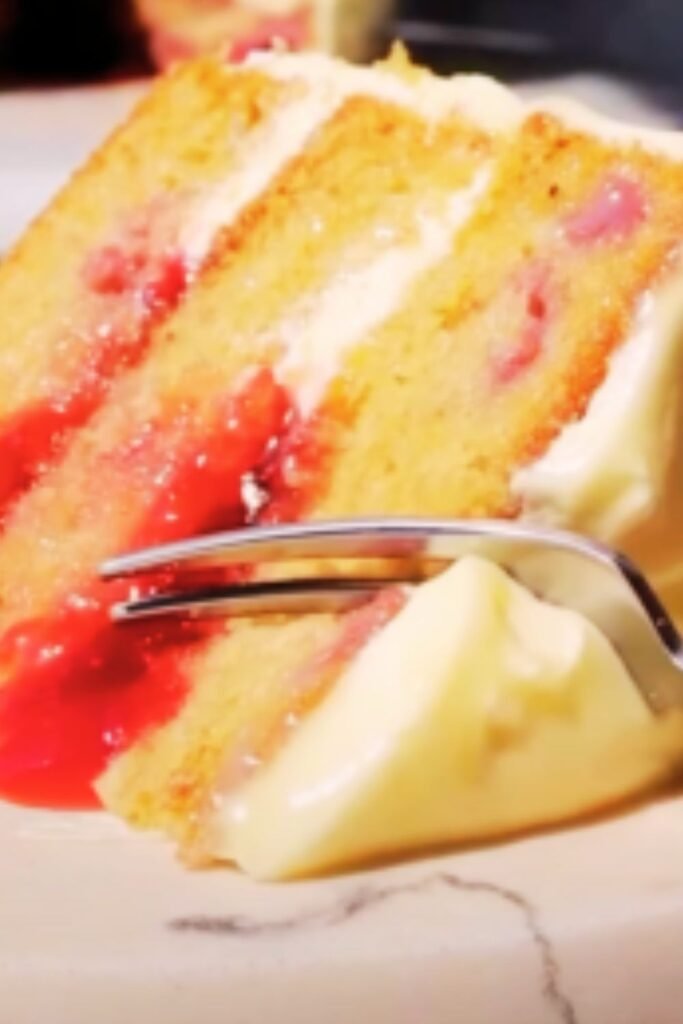
I’ve spent years perfecting this white chocolate raspberry cake recipe, testing countless variations until I landed on this show-stopping version. The delicate white cake layers are infused with real white chocolate, while fresh raspberry filling adds the perfect contrast. Wrapped in silky white chocolate buttercream and adorned with fresh berries, this cake isn’t just delicious—it’s truly a work of art.
Whether you’re celebrating a birthday, anniversary, or simply want to treat yourself to something special, this cake delivers on all fronts. Let me walk you through creating this masterpiece in your own kitchen!
Ingredients You’ll Need
For the White Chocolate Cake Layers:
- 2¾ cups (345g) cake flour
- 1 tablespoon baking powder
- ½ teaspoon salt
- 8 oz (226g) white chocolate, chopped
- 1 cup (226g) unsalted butter, room temperature
- 2 cups (400g) granulated sugar
- 5 large egg whites, room temperature
- 1 tablespoon vanilla extract
- 1 cup (240ml) whole milk, room temperature
For the Raspberry Filling:
- 4 cups (500g) fresh or frozen raspberries
- ¾ cup (150g) granulated sugar
- 3 tablespoons cornstarch
- 2 tablespoons lemon juice
- ¼ teaspoon salt
For the White Chocolate Buttercream:
- 12 oz (340g) white chocolate, chopped
- 2 cups (452g) unsalted butter, room temperature
- 6 cups (720g) powdered sugar, sifted
- ¼ cup (60ml) heavy cream
- 2 teaspoons vanilla extract
- ¼ teaspoon salt
For Decoration:
- 2 cups (250g) fresh raspberries
- White chocolate curls or shavings
- Fresh mint leaves (optional)
Equipment Needed
Before diving into this baking project, make sure you have all these tools ready:
- Three 8-inch round cake pans
- Parchment paper
- Electric mixer (stand or handheld)
- Mixing bowls (various sizes)
- Rubber spatulas
- Whisk
- Saucepan
- Offset spatula
- Cake turntable (optional but helpful)
- Serrated knife
- Cooling racks
- Piping bag with tips (for decoration)
- Microwave-safe bowls
Detailed Instructions
Preparing the White Chocolate Cake Layers
- Prep work: Preheat your oven to 350°F (175°C). Grease three 8-inch round cake pans, line the bottoms with parchment paper, then grease the paper. Dust pans lightly with flour, tapping out excess.
- Combine dry ingredients: In a medium bowl, whisk together the cake flour, baking powder, and salt. Set aside.
- Melt white chocolate: In a microwave-safe bowl, heat white chocolate in 30-second intervals, stirring between each, until completely melted and smooth. Let cool slightly while you continue with the recipe.
- Cream butter and sugar: In the bowl of a stand mixer fitted with the paddle attachment (or using a hand mixer), beat butter on medium speed until creamy, about 1-2 minutes. Add sugar gradually and beat until light and fluffy, about 3-4 minutes. Scrape down the sides of the bowl as needed.
- Add whites and vanilla: Add egg whites one at a time, beating well after each addition. Mix in vanilla extract.
- Add melted chocolate: Pour in the slightly cooled melted white chocolate and mix until fully incorporated.
- Alternate dry ingredients and milk: With the mixer on low speed, add the flour mixture in three parts, alternating with the milk (beginning and ending with flour). Mix just until combined after each addition.
- Bake: Divide the batter evenly among the prepared pans, smoothing the tops with an offset spatula. Bake for 25-30 minutes, or until a toothpick inserted into the center comes out clean or with a few moist crumbs.
- Cool: Allow cakes to cool in pans for 10 minutes, then invert onto cooling racks to cool completely. Remove parchment paper carefully.

Making the Raspberry Filling
- Combine ingredients: In a medium saucepan, combine raspberries, sugar, cornstarch, lemon juice, and salt.
- Cook filling: Heat over medium heat, stirring constantly, until the mixture comes to a boil. Reduce heat to low and continue cooking, stirring frequently, for 3-4 minutes until thickened.
- Strain (optional): For a smoother filling without seeds, press the mixture through a fine-mesh sieve. I personally like to keep some of the seeds for texture and visual appeal.
- Cool completely: Transfer the filling to a bowl, cover with plastic wrap placed directly on the surface, and refrigerate until completely cooled.
Preparing the White Chocolate Buttercream
- Melt white chocolate: In a microwave-safe bowl, heat white chocolate in 30-second intervals, stirring between each, until completely melted and smooth. Set aside to cool slightly but ensure it remains pourable.
- Beat butter: In a large bowl, beat butter with an electric mixer on medium speed until smooth and creamy, about 2 minutes.
- Add powdered sugar: Gradually add sifted powdered sugar, one cup at a time, beating well after each addition.
- Mix in white chocolate: Pour in the melted white chocolate and beat until fully incorporated.
- Add remaining ingredients: Beat in heavy cream, vanilla extract, and salt until the frosting is light and fluffy, about 3-4 minutes. If the frosting seems too thick, add a little more cream, 1 teaspoon at a time.
Assembling the Cake
- Level cake layers: Using a serrated knife, carefully level the tops of the cake layers if they have domed.
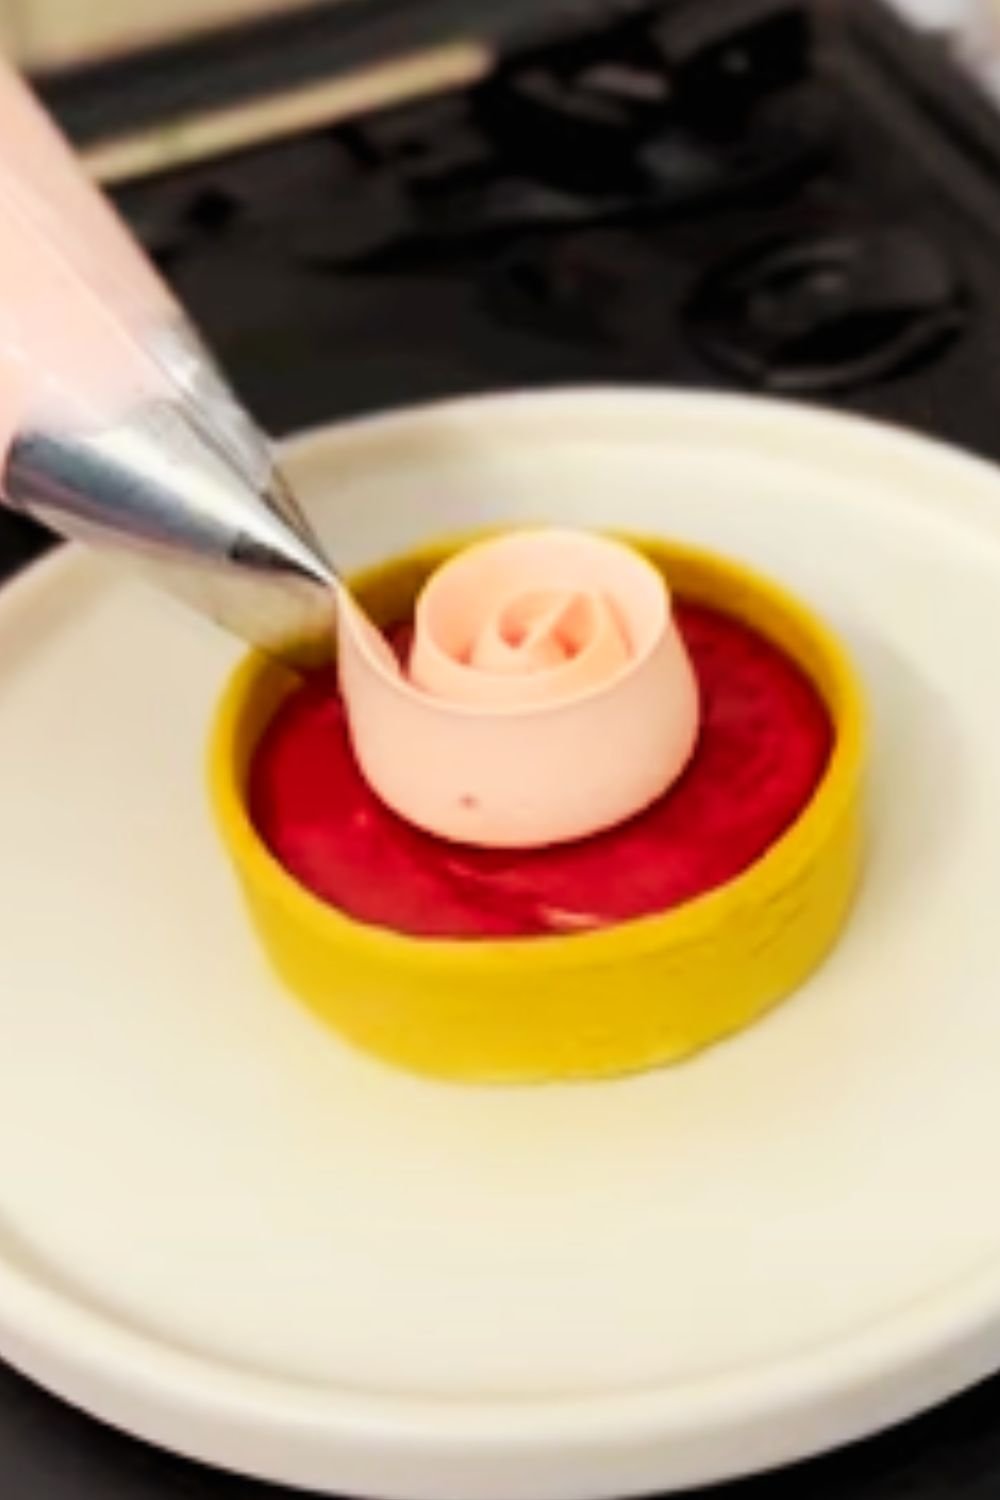
- Create a dam: Place the first cake layer on a serving plate or cake board. Using a piping bag filled with buttercream, pipe a ring around the edge of the cake to create a dam (this prevents the raspberry filling from leaking out).
- Add filling: Spread half of the raspberry filling inside the buttercream dam.
- Continue stacking: Place the second cake layer on top and repeat the process with the buttercream dam and remaining raspberry filling.
- Top layer: Place the final cake layer on top, with the bottom side facing up for a flat surface.
- Crumb coat: Apply a thin layer of buttercream all over the cake to lock in any crumbs. Refrigerate for 15-20 minutes until the frosting is set.
- Final frosting: Apply the remaining buttercream in a thick, even layer around the sides and top of the cake, smoothing with an offset spatula or bench scraper.
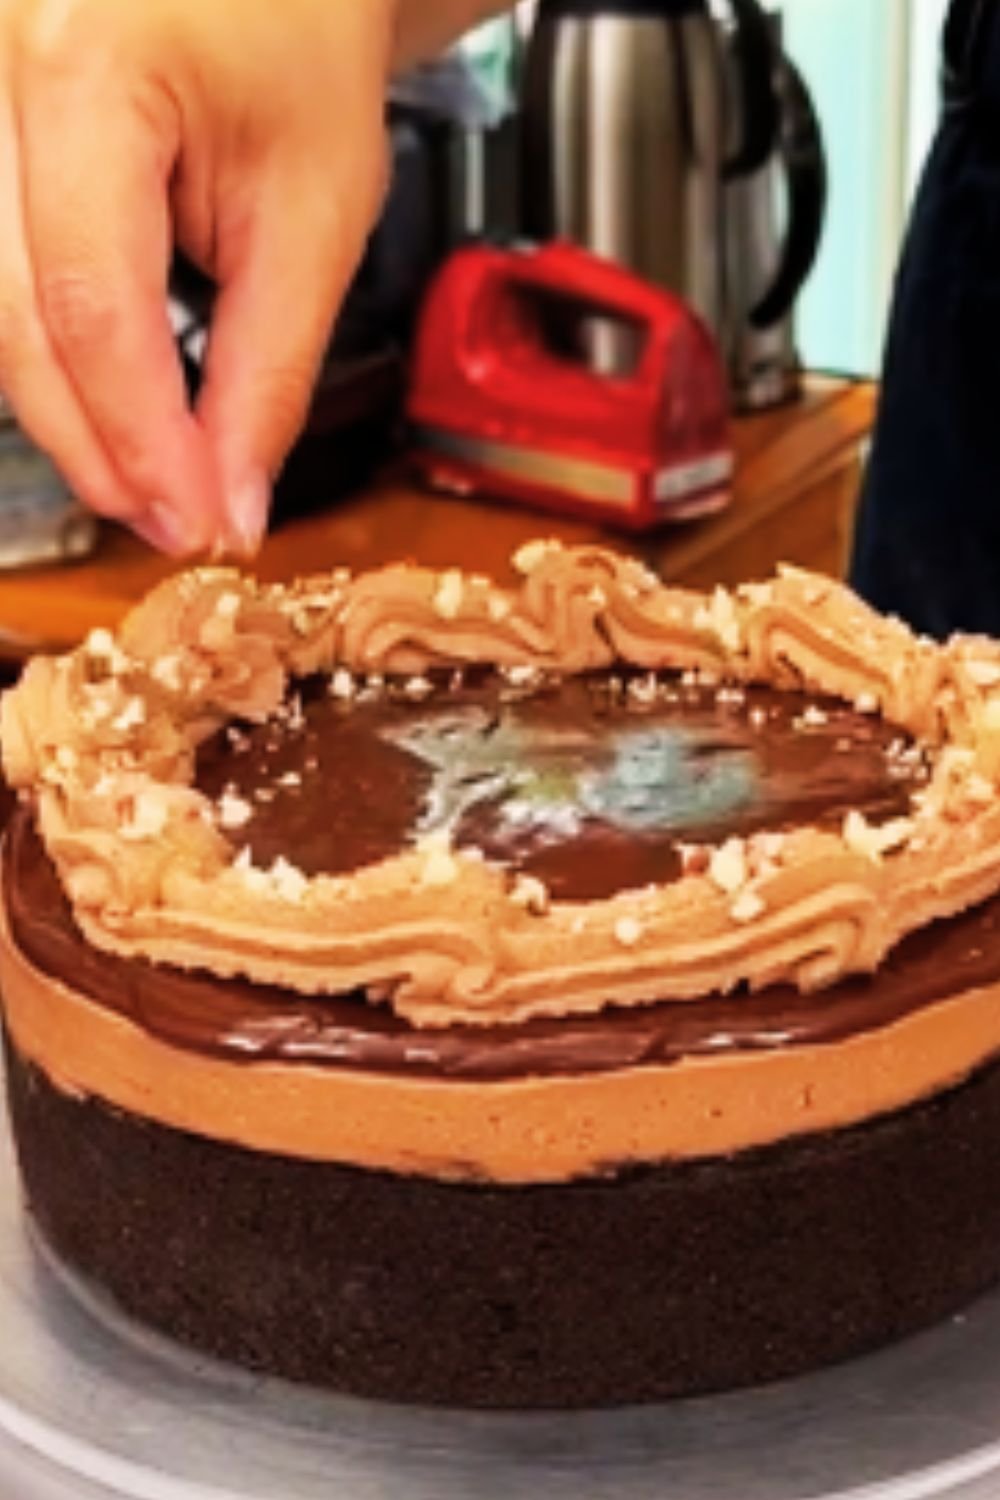
Decorating the Cake
- Add fresh raspberries: Arrange fresh raspberries around the top edge of the cake and/or in the center in a decorative pattern.
- White chocolate decoration: Sprinkle white chocolate curls or shavings over the top of the cake and/or press them gently onto the sides.
- Final touches: Add small fresh mint leaves alongside the raspberries for a pop of color if desired.
- Refrigerate: Refrigerate the cake for at least 1-2 hours before serving to allow all the flavors to meld together and for easier slicing.
Helpful Tips for Success
I’ve made this cake dozens of times, and these tips will help ensure your creation turns out perfectly:
- Room temperature ingredients: Make sure butter, egg whites, and milk are at room temperature for proper incorporation and a smooth batter.
- Quality white chocolate: Use high-quality white chocolate (with cocoa butter) rather than white baking chips or candy melts for the best flavor.
- Don’t overmix: Once you start adding the dry ingredients, mix just until combined to avoid a tough cake.
- Cake flour substitute: If you don’t have cake flour, measure out 2¾ cups all-purpose flour, remove 5½ tablespoons, and replace with 5½ tablespoons cornstarch. Sift together well.
- Filling thickness: If your raspberry filling seems too runny, cook it a bit longer. It should have the consistency of thick jam.
- Make ahead components: The cake layers can be baked up to 2 days ahead, wrapped tightly in plastic wrap and stored at room temperature. The raspberry filling can be made up to 5 days ahead and stored in the refrigerator.
- Frosting consistency: If your frosting is too soft, refrigerate it for 10-15 minutes. If it’s too stiff, add a little more cream.
- Storage: Store leftover cake in the refrigerator, covered, for up to 4 days. Bring to room temperature before serving for the best flavor and texture.
Variations to Try
Looking to put your own spin on this classic? Here are some delicious variations I’ve experimented with:
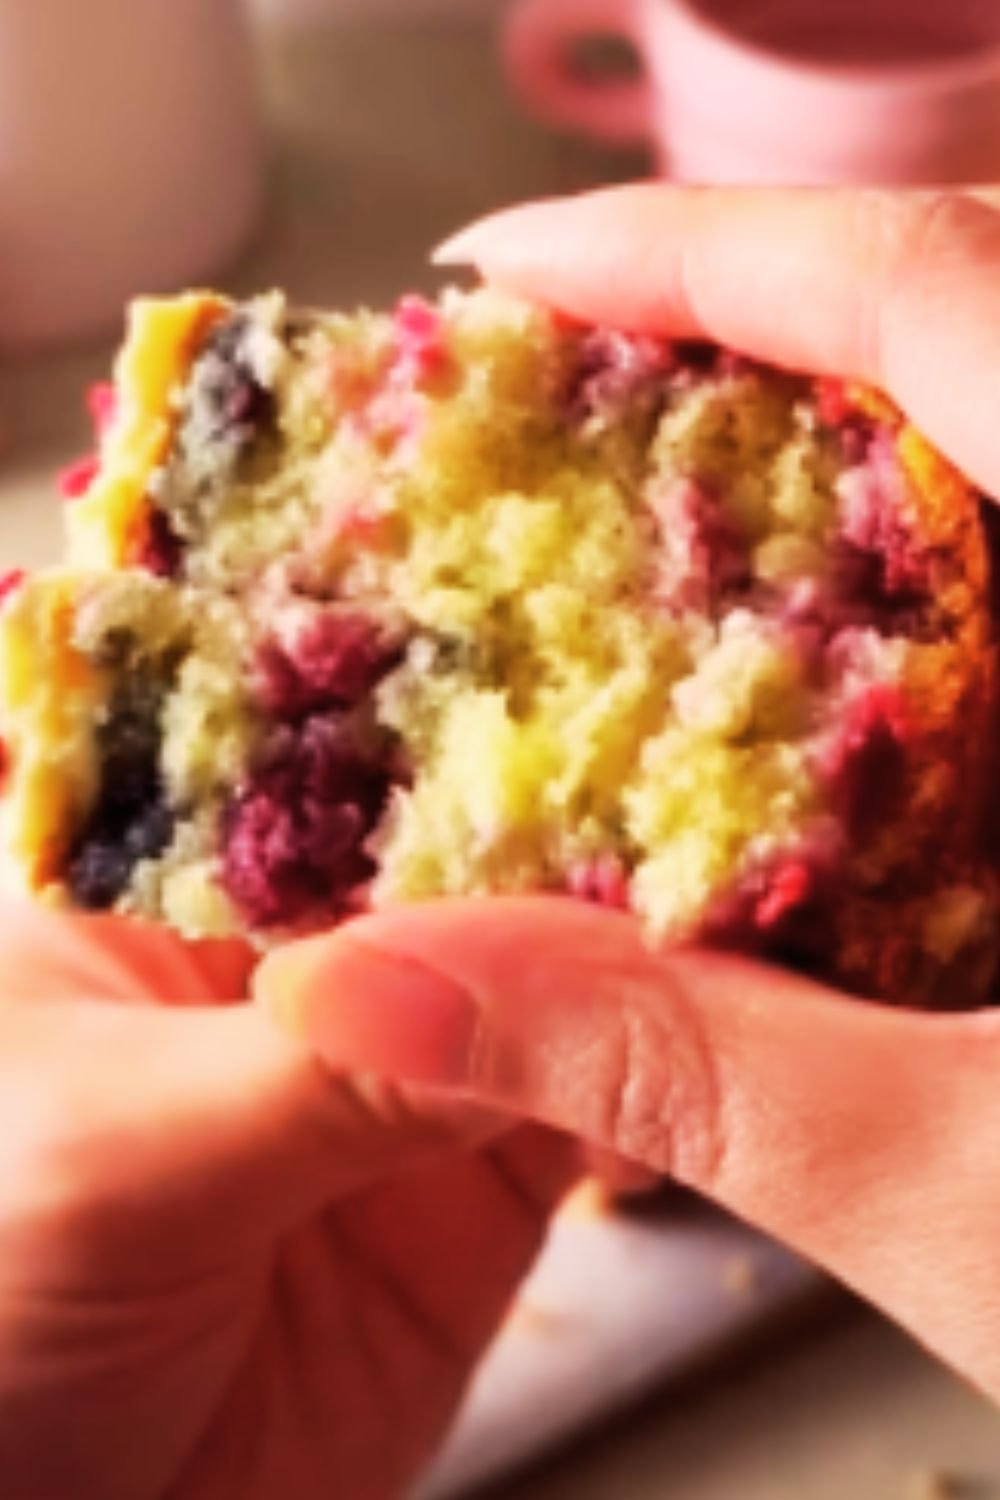
Raspberry White Chocolate Cupcakes
Transform this recipe into approximately 30 cupcakes. Fill each cupcake liner about 2/3 full and bake for 18-20 minutes. Core the center of each cupcake, fill with raspberry filling, and top with buttercream.
Lemon White Chocolate Raspberry Cake
Add 2 tablespoons of lemon zest to the cake batter and 1 tablespoon of lemon zest to the buttercream for a bright, citrusy twist.
White Chocolate Raspberry Loaf Cake
Scale down the recipe by half and bake in a 9×5-inch loaf pan for about 50-60 minutes. Drizzle with a simple white chocolate ganache and top with fresh raspberries.
White Chocolate Raspberry Trifle
Cut the cake into cubes and layer with raspberry filling, white chocolate mousse, and fresh berries in a trifle dish for an impressive no-fuss dessert.
Nutritional Information
For those who are counting calories or monitoring nutritional intake, here’s an approximate breakdown per serving (assuming 16 slices):
| Nutrient | Amount per serving |
|---|---|
| Calories | 650 |
| Total Fat | 35g |
| Saturated Fat | 21g |
| Cholesterol | 75mg |
| Sodium | 220mg |
| Total Carbohydrates | 82g |
| Dietary Fiber | 3g |
| Sugars | 65g |
| Protein | 5g |
Serving Suggestions
This cake pairs beautifully with:
- A cup of strong coffee or espresso
- Hot or iced tea (Earl Grey works particularly well)
- Fresh berries on the side
- A scoop of vanilla bean ice cream for an extra-indulgent dessert
- Milk or dairy-free alternatives like almond or oat milk
Make-Ahead and Storage Tips
- Make ahead: The entire cake can be assembled up to 2 days before serving. Store covered in the refrigerator.
- Freezing cake layers: Wrap fully cooled cake layers tightly in plastic wrap, then aluminum foil, and freeze for up to 2 months. Thaw overnight in the refrigerator before assembling.
- Freezing completed cake: The assembled cake can be frozen for up to 1 month. Place unwrapped in the freezer until firm, then wrap tightly in plastic wrap followed by aluminum foil. Thaw overnight in the refrigerator.
- Frosting storage: Buttercream can be made ahead and stored in an airtight container in the refrigerator for up to 1 week or frozen for up to 3 months. Bring to room temperature and beat again until smooth before using.
- Raspberry filling storage: The filling can be stored in an airtight container in the refrigerator for up to 1 week or frozen for up to 3 months.
Answers to Common Questions
Q: Can I use a white cake mix instead of making the cake from scratch?
While I always recommend making this cake from scratch for the best flavor, you can use a white cake mix as a shortcut. Add 1 cup of white chocolate chips to the batter and follow the box instructions. The results won’t be exactly the same, but it’s a time-saving option.
Q: Can I use other berries instead of raspberries?
Absolutely! Strawberries, blackberries, or a mixed berry combination work beautifully with white chocolate. Just adjust the sugar in the filling depending on the sweetness of your berries.
Q: How do I prevent my cake layers from sticking to the pans?
For foolproof cake removal, grease your pans, line with parchment paper, then grease the parchment. Allow cakes to cool for about 10 minutes in the pans before inverting onto racks.
Q: Can this recipe be made gluten-free?
Yes! Replace the cake flour with a high-quality cup-for-cup gluten-free flour blend. I’ve tested this with Bob’s Red Mill 1-to-1 Baking Flour with excellent results.
Q: Is it necessary to strain the raspberry filling?
This is entirely personal preference. I like to partially strain the filling, removing some seeds but keeping enough for texture and that authentic raspberry look.
Q: How far in advance can I make this cake?
For the best freshness, I recommend making the cake no more than 2-3 days in advance. Store it covered in the refrigerator until ready to serve.
Q: My buttercream seems too soft. How can I fix it?
If your frosting is too soft, refrigerate it for 15-20 minutes, then beat again. If it’s still too soft, add more powdered sugar, ¼ cup at a time, until you reach the desired consistency.
Q: Can I reduce the amount of sugar in this recipe?
You can reduce the sugar in the cake by up to ¼ cup without significantly affecting the texture. For the frosting, reducing sugar will change the consistency, so you may need to adjust other ingredients accordingly.
Why This Cake Holds a Special Place in My Heart
I first created this white chocolate raspberry cake for my sister’s birthday several years ago. She’s a huge fan of white chocolate and raspberries, and I wanted to make something truly spectacular for her celebration. The cake was such a hit that it has become my signature dessert, requested for countless special occasions since then.
What I love most about this recipe is how it brings together contrasting elements in perfect harmony—the sweet creaminess of white chocolate balanced by the bright tanginess of raspberries, the tender cake layers against the smooth, silky frosting. It’s a dessert that feels sophisticated yet approachable, impressive without being intimidating to make.
Each time I bake this cake, I’m reminded of the joy that comes from creating something special for the people I care about. Food has always been my love language, and there’s something particularly meaningful about the time and care that goes into a layered cake like this one.
Whether you’re baking this for a special celebration or simply because you deserve something extraordinary, I hope this white chocolate raspberry cake brings as much happiness to your table as it has to mine. Happy baking!