There’s something magical about drizzling warm, golden syrup over a fresh stack of pancakes. While store-bought options are convenient, nothing compares to the satisfaction of making your own pancake syrup from scratch. As someone who has spent years perfecting breakfast recipes, I’m excited to share my comprehensive guide to creating delicious homemade pancake syrup that will elevate your morning routine.
Why Make Your Own Pancake Syrup?
Before diving into the recipes, let me share why making your own syrup is worth the effort. Store-bought syrups often contain high fructose corn syrup, artificial flavors, and preservatives. When you make syrup at home, you control the ingredients, resulting in a purer, more flavorful product that’s both cost-effective and customizable.
Essential Equipment
To create perfect pancake syrup, you’ll need:
- Heavy-bottomed saucepan (2-3 quart capacity)
- Long-handled wooden spoon
- Glass measuring cups
- Digital thermometer
- Fine-mesh strainer
- Clean glass bottles or jars for storage
- Funnel for easy transfer
- Labels for dating and identifying variations
Basic Pancake Syrup Recipe
Let’s start with a classic brown sugar syrup recipe that serves as an excellent base for variations.
Ingredients:
| Ingredient | Amount | Notes |
|---|---|---|
| Brown sugar | 2 cups | Light or dark, depending on desired flavor intensity |
| Water | 1 cup | Filtered for best results |
| Vanilla extract | 1 teaspoon | Pure, not imitation |
| Salt | 1/4 teaspoon | Fine sea salt preferred |
| Butter (optional) | 2 tablespoons | Unsalted |
Step-by-Step Instructions:
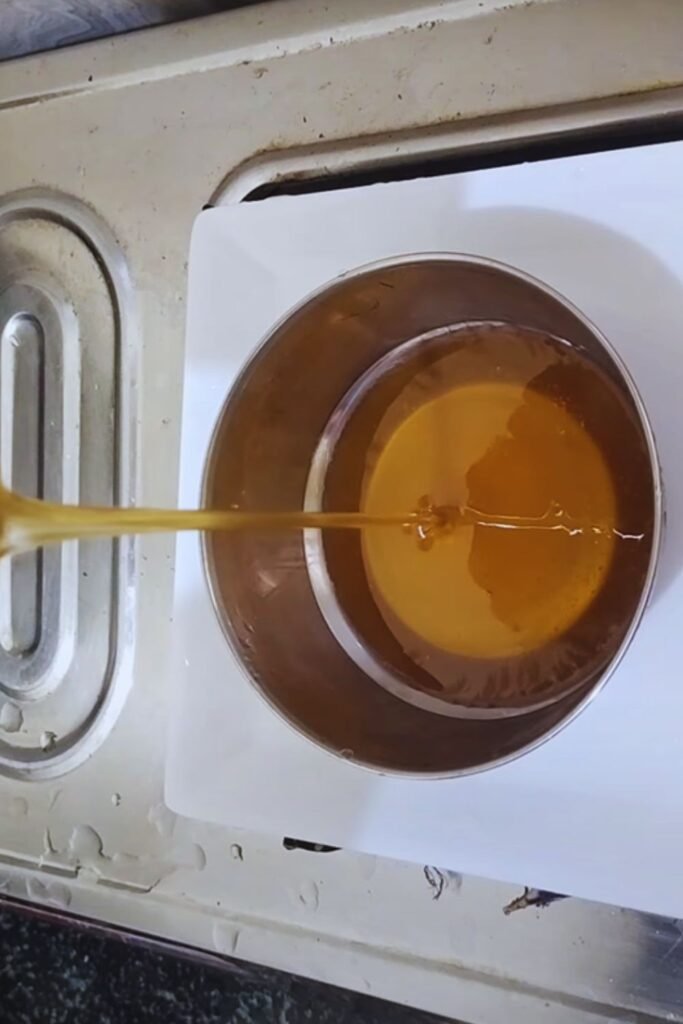
- Combine brown sugar and water in your saucepan
- Heat over medium heat, stirring constantly until sugar dissolves
- Bring to a gentle boil, then reduce heat to low
- Simmer for 10 minutes, stirring occasionally
- Remove from heat and stir in vanilla and salt
- Add butter if using, stirring until melted
- Let cool for 15 minutes before transferring to storage containers
Consistency Tips:
| Desired Thickness | Cooking Time | Sugar to Water Ratio | Temperature |
|---|---|---|---|
| Thin | 8-10 minutes | 1:1 | 215°F |
| Medium | 12-15 minutes | 2:1 | 220°F |
| Thick | 15-20 minutes | 2.5:1 | 225°F |
Flavor Variations
Maple-Brown Sugar Syrup
| Ingredient | Amount |
|---|---|
| Brown sugar | 1.5 cups |
| Pure maple syrup | 1/2 cup |
| Water | 1 cup |
| Maple extract | 1/2 teaspoon |
| Salt | 1/4 teaspoon |
Cinnamon-Vanilla Syrup
| Ingredient | Amount |
|---|---|
| Brown sugar | 2 cups |
| Water | 1 cup |
| Cinnamon sticks | 2 |
| Vanilla bean | 1 pod |
| Salt | 1/4 teaspoon |
Honey-Butter Syrup
| Ingredient | Amount |
|---|---|
| Honey | 1 cup |
| Brown sugar | 1 cup |
| Butter | 1/4 cup |
| Water | 1/2 cup |
| Vanilla extract | 1 teaspoon |
| Salt | 1/4 teaspoon |
Storage and Shelf Life
Proper storage is crucial for maintaining your syrup’s quality:
| Storage Method | Temperature | Shelf Life | Container Type |
|---|---|---|---|
| Pantry | 65-75°F | 1 month | Glass jar, sealed |
| Refrigerator | 34-40°F | 3 months | Glass jar, sealed |
| Freezer | 0°F | 6 months | Freezer-safe container |
Serving Suggestions
- Warm slightly before serving (20 seconds in microwave or warm water bath)
- Drizzle over:
- Pancakes
- Waffles
- French toast
- Oatmeal
- Yogurt parfaits
- Ice cream
- Fresh fruit
Troubleshooting Guide
| Problem | Cause | Solution |
|---|---|---|
| Crystallization | Sugar granules on sides of pan | Brush sides with water while cooking |
| Too thin | Insufficient cooking time | Continue simmering until desired thickness |
| Too thick | Overcooked | Add hot water gradually while stirring |
| Grainy texture | Sugar not fully dissolved | Start over, ensuring sugar dissolves completely |
Health and Dietary Considerations
While homemade syrup is still a sweet treat, you can make adjustments for dietary needs:
| Dietary Need | Substitution | Notes |
|---|---|---|
| Sugar-free | Monk fruit sweetener | Use 1:1 ratio |
| Vegan | Skip butter | Add 1 tsp coconut oil for richness |
| Low-calorie | Sugar substitute blend | Follow package conversion |
| Keto | Allulose + stevia | Maintain careful ratios |
Frequently Asked Questions
Q: Why did my syrup crystallize?
A: Crystallization typically occurs when sugar granules remain on the sides of the pan during cooking. To prevent this, brush the sides down with water using a pastry brush, and avoid stirring once the mixture comes to a boil.
Q: Can I use white sugar instead of brown sugar?
A: Yes, but you’ll miss out on the caramel notes that brown sugar provides. If using white sugar, consider adding 1-2 tablespoons of molasses for depth of flavor.
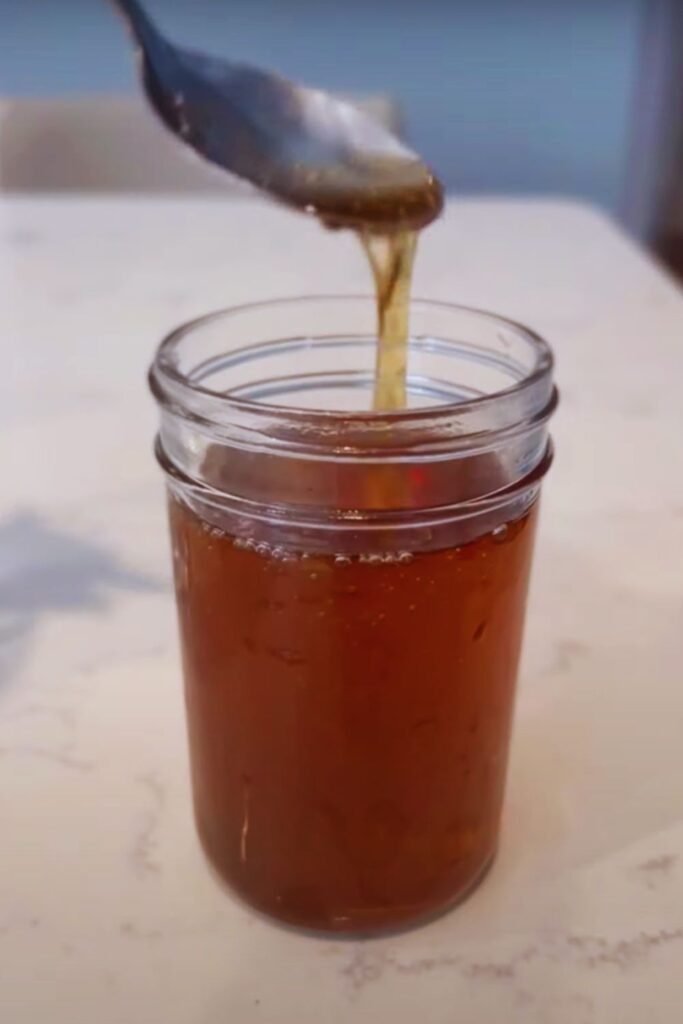
Q: How do I know when my syrup is thick enough?
A: The syrup should coat the back of a spoon and slowly drip off. If you’re using a thermometer, aim for 220°F for medium thickness.
Q: Why did my syrup turn grainy after cooling?
A: This usually happens when sugar isn’t fully dissolved during cooking. Make sure to heat slowly and stir constantly until all sugar crystals disappear before bringing to a boil.
Q: Can I make this sugar-free?
A: Yes, you can use sugar substitutes, but you’ll need to adjust cooking times and possibly add xanthan gum (1/4 teaspoon per cup of liquid) to achieve the right consistency.
Cost Analysis
Making your own syrup can be cost-effective:
| Item | Store-bought (24 oz) | Homemade (24 oz) |
|---|---|---|
| Base cost | $8.99 | $3.50 |
| Cost per serving | $0.75 | $0.29 |
| Annual savings* | – | $94.68 |
*Based on weekly pancake breakfast for family of four
Expert Tips
- Always start with clean equipment to prevent crystallization
- Use room temperature ingredients for best dissolution
- Don’t rush the cooking process – low and slow is key
- Store syrups in easy-pour containers
- Label with date and flavor variations
- Consider making larger batches and freezing portions
- Experiment with extract combinations
- Use filtered water for clearest results
- Clean spills immediately to prevent sticking
- Keep basic ingredients stocked for quick batches
By following this guide, you’ll be able to create delicious homemade pancake syrups that will make your breakfast special every time. Remember that practice makes perfect, and don’t be afraid to experiment with different flavors and combinations once you’ve mastered the basic recipe.