There’s something magical about the aroma of freshly baked bread wafting through my kitchen. After years of experimenting with different bread recipes, I’ve perfected this honey oat bread that combines wholesome ingredients with a touch of natural sweetness. Today, I’m excited to share my tried-and-tested recipe that yields a perfectly soft, slightly sweet loaf that’s ideal for both beginners and experienced bakers.
Why You’ll Love This Recipe
When I first started baking bread, I was intimidated by complex recipes with lengthy instructions. That’s why I developed this approachable version that doesn’t compromise on taste or texture. The combination of honey and oats creates a wonderfully moist bread with a subtle sweetness that’s perfect for breakfast or sandwiches.
Essential Ingredients
Here’s what you’ll need to create this delightful loaf:
| Ingredient | Amount | Notes |
|---|---|---|
| Old-fashioned rolled oats | 1½ cups | Plus extra for topping |
| All-purpose flour | 3½ cups | Unbleached preferred |
| Whole wheat flour | 1 cup | For added nutrition |
| Active dry yeast | 2¼ teaspoons | One standard packet |
| Warm water | 1½ cups | 110-115°F (43-46°C) |
| Honey | ⅓ cup | Local honey preferred |
| Unsalted butter | 4 tablespoons | Melted and cooled |
| Salt | 1½ teaspoons | Fine sea salt |
| Milk | ½ cup | Room temperature |
Kitchen Equipment Needed
| Equipment | Purpose |
|---|---|
| Stand mixer with dough hook | For kneading the dough |
| Large mixing bowl | For dough rising |
| 9×5 inch loaf pan | For baking |
| Kitchen thermometer | To check water temperature |
| Clean kitchen towel | For covering dough |
| Measuring cups and spoons | For accurate measurements |
Step-by-Step Instructions
1. Preparing the Oats
First, I always start by toasting the oats. This extra step might seem unnecessary, but it adds an incredible depth of flavor to the final bread.
- Spread 1 cup of oats on a baking sheet
- Toast at 350°F (175°C) for 8-10 minutes, stirring once
- Let cool completely before using
2. Activating the Yeast
The key to successful bread lies in properly activated yeast:
- Combine warm water (110-115°F) with 1 tablespoon of honey
- Sprinkle yeast over the mixture
- Let stand for 5-10 minutes until foamy
3. Making the Dough
- In my stand mixer bowl, I combine:
- Both types of flour
- Cooled toasted oats
- Salt
- Remaining honey
- Melted butter
- Activated yeast mixture
- Room temperature milk
- Mix with dough hook on low speed for 2 minutes
- Increase to medium speed and knead for 8-10 minutes
- The dough should be slightly tacky but not sticky

4. First Rise
- Place dough in a lightly oiled bowl
- Cover with a damp kitchen towel
- Let rise in a warm spot for 1-1½ hours
- Dough should double in size
5. Shaping and Second Rise
- Punch down dough gently
- Shape into a loaf
- Place in greased 9×5 inch pan
- Brush top with water
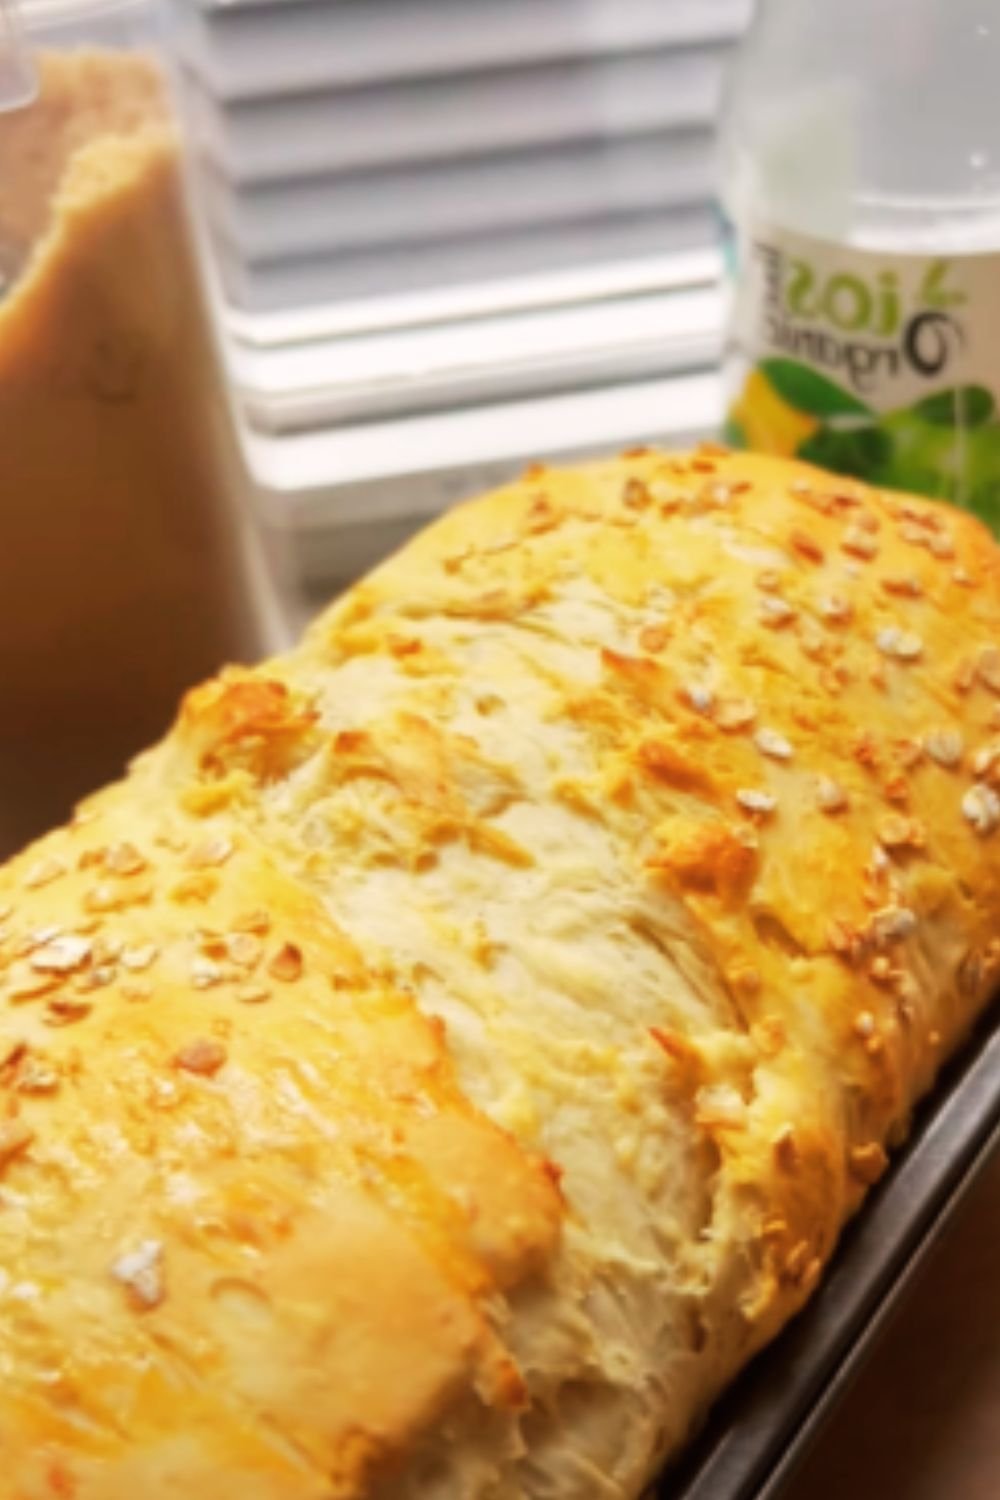
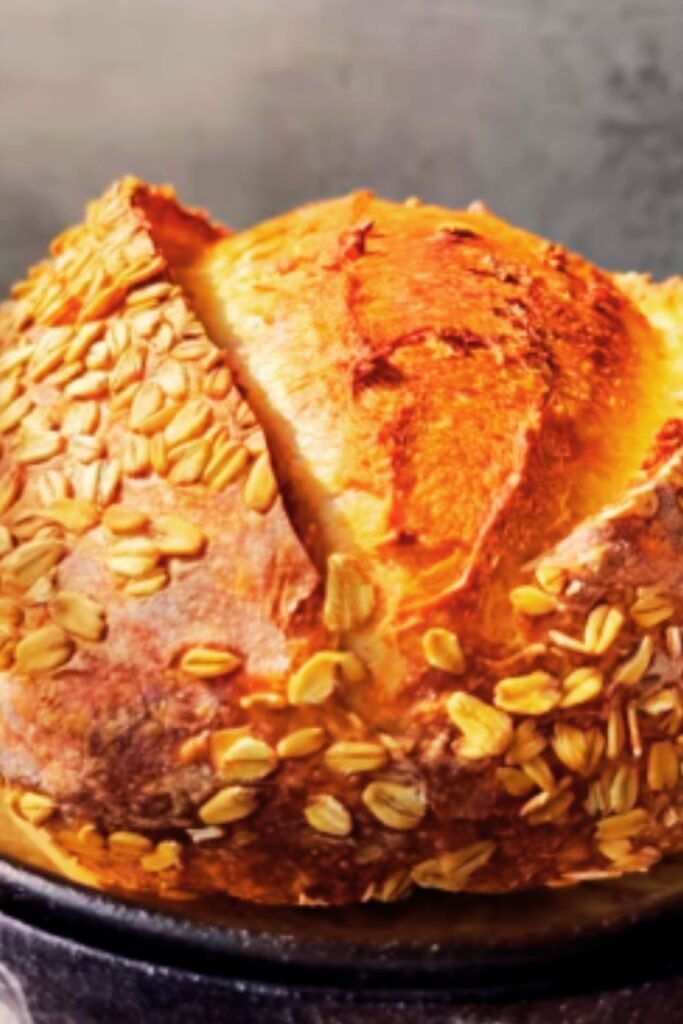
- Sprinkle with remaining oats
- Cover and let rise 45-60 minutes
6. Baking
- Preheat oven to 350°F (175°C)
- Bake for 40-45 minutes
- Tent with foil if top browns too quickly
- Internal temperature should reach 190°F (88°C)

Troubleshooting Tips
| Problem | Possible Cause | Solution |
|---|---|---|
| Dense bread | Under-proofed dough | Allow more rise time |
| Crumbly texture | Too much flour | Measure flour correctly |
| Collapsed top | Over-proofed dough | Watch rising time carefully |
| Uneven rise | Uneven heat distribution | Rotate pan halfway through baking |
Storage and Serving Suggestions
- Store in a bread box or paper bag for up to 3 days
- Freeze sliced bread for up to 3 months
- Perfect for:
- Morning toast with butter and jam
- Sandwich bread
- French toast
- Grilled cheese sandwiches
Variations I Love
- Cinnamon Swirl
- Add 2 tablespoons cinnamon + ¼ cup sugar
- Roll out dough and sprinkle mixture before shaping
- Seeded Version
- Add ¼ cup each of sunflower and pumpkin seeds
- Sprinkle seeds on top before baking
- Orange-Honey
- Add 1 tablespoon orange zest
- Use orange blossom honey
Nutrition Information
| Nutrient | Amount per Slice |
|---|---|
| Calories | 185 |
| Protein | 5g |
| Carbohydrates | 35g |
| Fiber | 2g |
| Sugar | 6g |
| Fat | 3g |
Common Questions & Answers
Q: Can I make this bread without a stand mixer?
A: Yes! You can knead by hand for 12-15 minutes until the dough is smooth and elastic.
Q: Why did my dough not rise?
A: The most common causes are inactive yeast or water that’s too hot or cold. Always check your yeast’s expiration date and use a thermometer for water temperature.
Q: Can I use instant yeast instead of active dry yeast?
A: Yes, use the same amount but skip the activation step – add it directly to your dry ingredients.
Q: How can I make this bread gluten-free?
A: While I haven’t tested a gluten-free version, you’d need to use a specific gluten-free flour blend designed for yeast breads and add xanthan gum.
Q: Why do you recommend toasting the oats?
A: Toasting develops a nutty flavor and ensures the oats don’t absorb too much moisture from the dough.
Q: Can I use quick oats instead of old-fashioned?
A: While possible, I don’t recommend it as the texture will be different. Old-fashioned oats provide better structure and texture.
This recipe has become my go-to bread recipe, and I hope it becomes yours too. Remember, bread-making is part science and part art – don’t be discouraged if your first loaf isn’t perfect. With practice, you’ll develop a feel for the dough and create beautiful, delicious loaves every time.
I’d love to hear about your experience with this recipe and any creative variations you discover along the way. Happy baking!