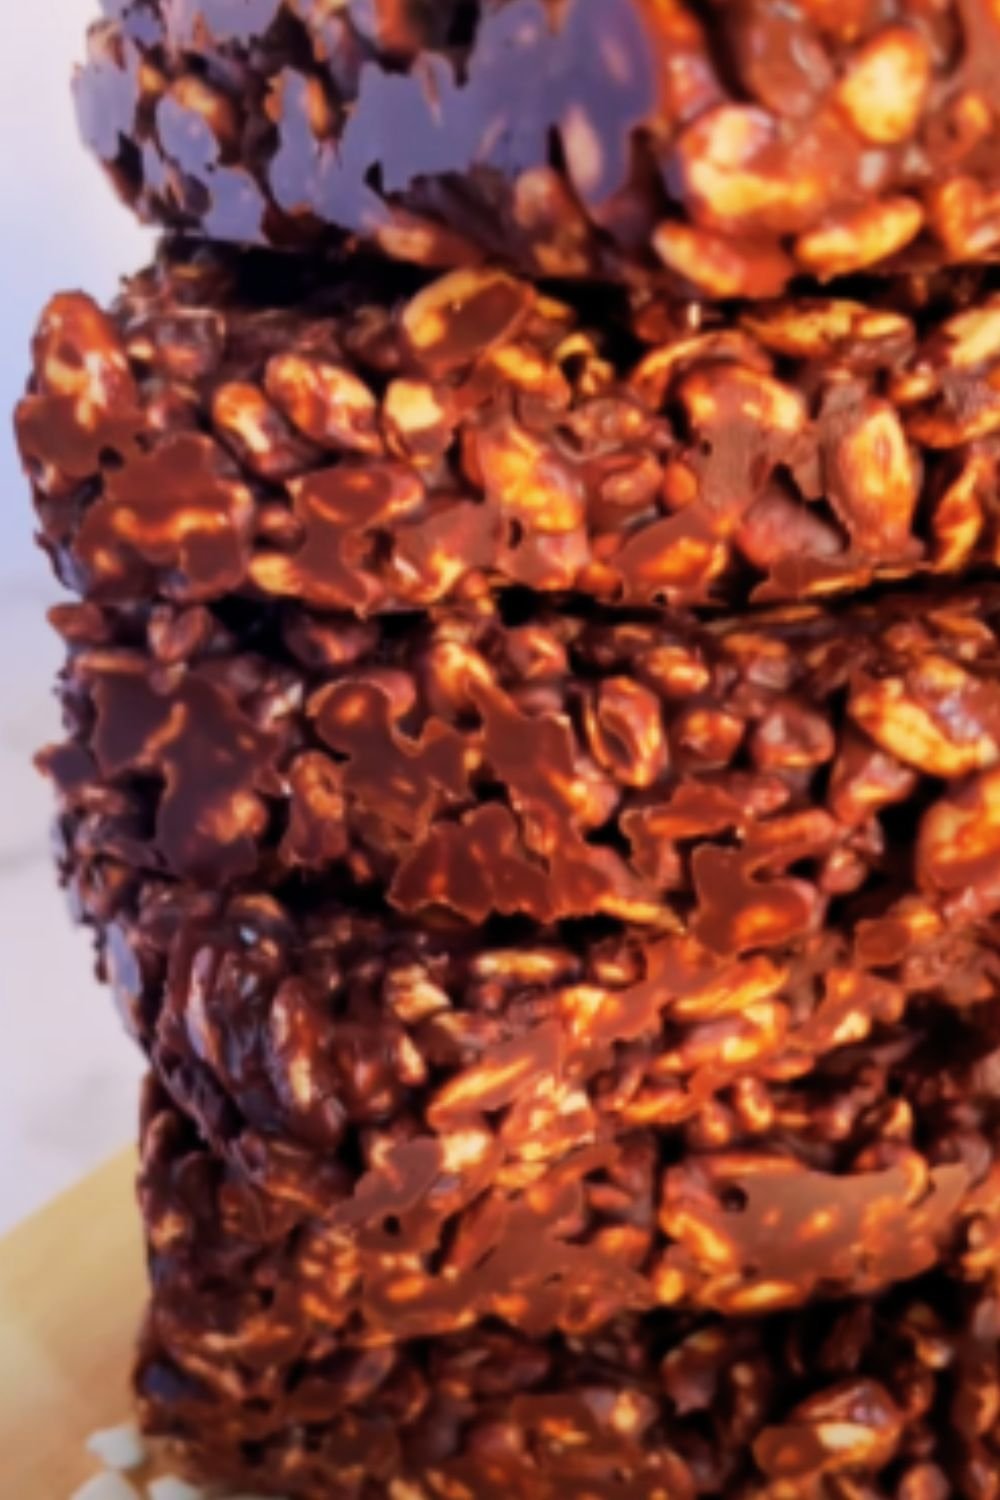
Have you ever craved those childhood chocolate cereals but wished for a healthier version? I’ve spent years perfecting this recipe, and today I’m thrilled to share my take on a wholesome chocolate puffed rice cereal that satisfies sweet cravings while keeping nutrition in check.
Why You’ll Love This Recipe
When I first started developing this recipe, I wanted to create something that would make both kids and adults smile without the sugar crash. This homemade version contains 65% less sugar than commercial chocolate cereals while packing in more protein and fiber. It’s become a morning favorite in my household, and I’m confident it will in yours too.
Key Benefits:
- Rich in whole grains and fiber
- Natural sweeteners only
- No artificial preservatives
- Gluten-free options available
- Perfect for meal prep
- Stays crispy for up to 2 weeks when stored properly
Nutritional Breakdown
| Nutrient | Amount per Serving (1 cup) | % Daily Value |
|---|---|---|
| Calories | 120 | – |
| Protein | 4g | 8% |
| Fiber | 3g | 12% |
| Iron | 2.5mg | 14% |
| Sugar | 5g | – |
| Calcium | 150mg | 15% |
| Magnesium | 48mg | 11% |
| Vitamin D | 2mcg | 10% |
Essential Ingredients
I’ve tested countless combinations to find the perfect balance of ingredients. Here’s what you’ll need:
- 4 cups organic puffed brown rice
- 1/3 cup raw cacao powder
- 1/4 cup coconut sugar
- 3 tablespoons maple syrup
- 2 tablespoons coconut oil
- 1 teaspoon vanilla extract
- 1/4 teaspoon sea salt
- 1 tablespoon ground flaxseed (optional)
- 1 scoop plant-based chocolate protein powder (optional)
Equipment Needed
- Large mixing bowl
- Baking sheet
- Parchment paper
- Small saucepan
- Airtight storage container
Step-by-Step Instructions
- Preparation (10 minutes):
- Preheat your oven to 300°F (150°C)
- Line a large baking sheet with parchment paper
- Measure all ingredients and have them ready
- Creating the Chocolate Coating (5 minutes):
- In a small saucepan, combine coconut oil and maple syrup
- Heat over low heat until just melted
- Whisk in cacao powder, vanilla, and salt until smooth
- Remove from heat immediately to prevent burning
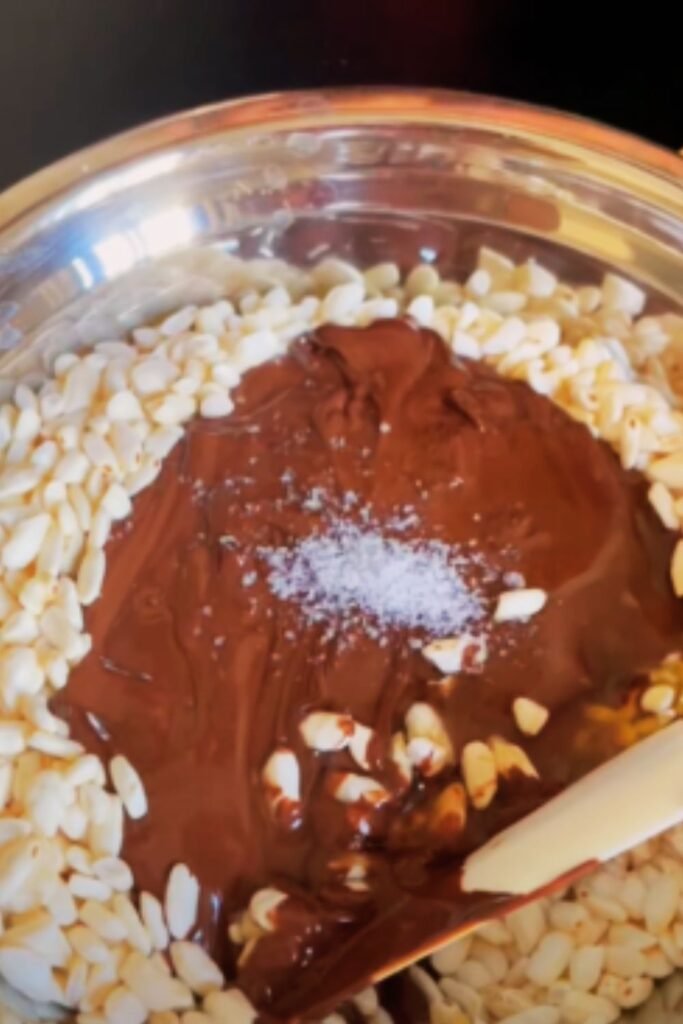
- Coating the Cereal (10 minutes):
- Pour puffed rice into a large mixing bowl
- If using, add protein powder and ground flaxseed
- Drizzle chocolate mixture over the puffed rice
- Gently fold until evenly coated
- Baking Process (15 minutes):
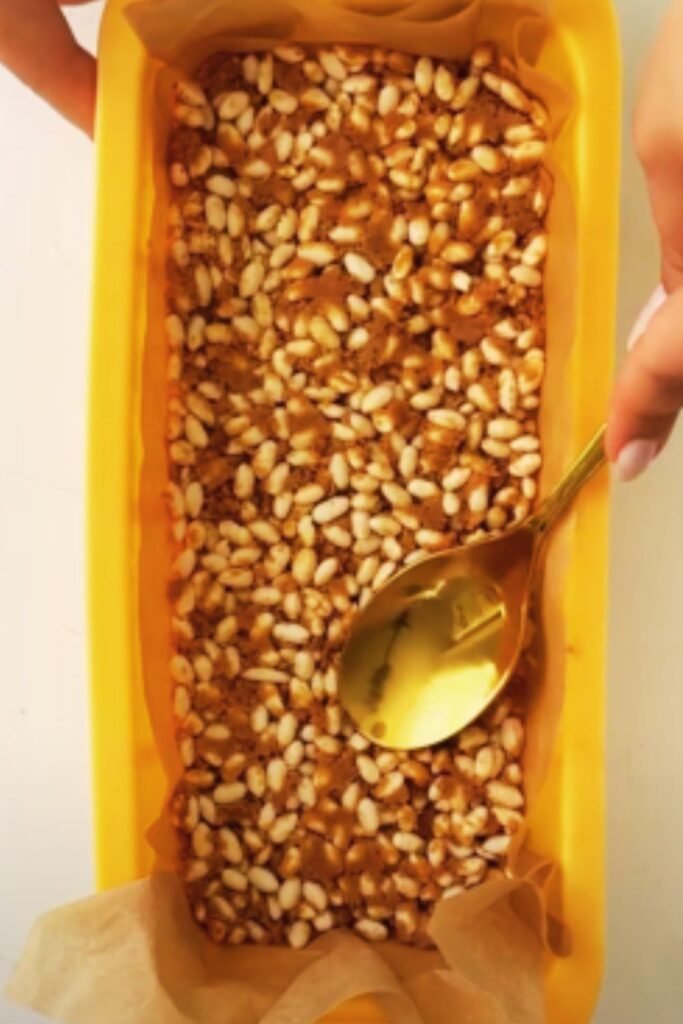
- Spread mixture evenly on prepared baking sheet
- Bake for 12-15 minutes, stirring once halfway
- Watch carefully in the last few minutes to prevent burning
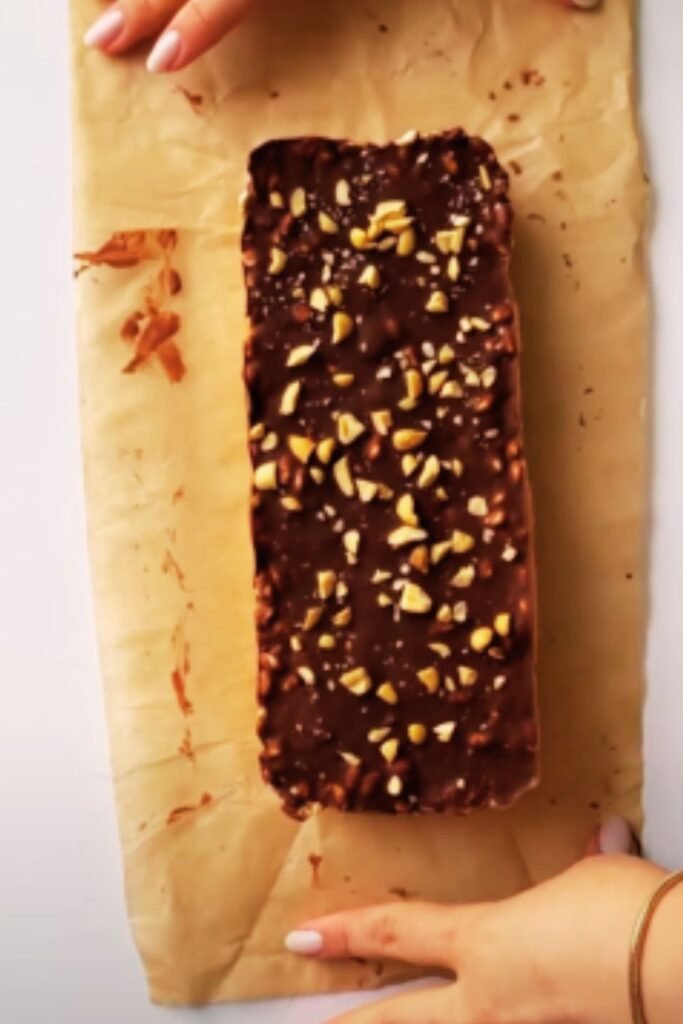
- Cooling and Storage (30 minutes):
- Allow to cool completely on the baking sheet
- Break into smaller clusters if desired
- Transfer to an airtight container
Pro Tips from My Kitchen
Through countless batches and experiments, I’ve discovered these helpful tips:
- Use room temperature ingredients for better coating
- Don’t skip the stirring during baking
- Allow to cool completely before storing
- Add a food-grade silica gel packet to maintain crispness
- Store in a dark, cool place for maximum freshness
Variations and Customizations
I love how versatile this recipe is. Here are some of my favorite variations:
For Extra Protein:
- Add hemp seeds
- Mix in crushed almonds
- Incorporate chia seeds
For Different Flavors:
- Mint chocolate: Add 1/4 tsp peppermint extract
- Mocha: Include 1 tbsp instant coffee powder
- Orange chocolate: Add 1/4 tsp orange extract
For Different Dietary Needs:
- Keto: Use monk fruit sweetener instead of coconut sugar
- Paleo: Use coconut amino powder for added protein
- Low-fat: Reduce coconut oil to 1 tablespoon
Serving Suggestions
I’ve found these combinations to be particularly delicious:
- With cold almond milk and sliced bananas
- Sprinkled over Greek yogurt with berries
- As a topping for smoothie bowls
- Mixed with nuts and dried fruit for a trail mix
- Layered in parfaits with coconut yogurt
Storage and Shelf Life
| Storage Method | Temperature | Duration | Notes |
|---|---|---|---|
| Airtight Container | Room Temp | 2 weeks | Best for maintaining crispness |
| Refrigerated | Below 40°F | 1 month | May become slightly chewy |
| Freezer | Below 0°F | 3 months | Thaw before eating |
Troubleshooting Common Issues
I’ve encountered these issues in my testing and found solutions:
| Problem | Cause | Solution |
|---|---|---|
| Cereal too soft | Excess moisture | Increase baking time by 2-3 minutes |
| Uneven coating | Rushed mixing | Take more time to coat thoroughly |
| Burning | Oven too hot | Reduce temperature by 25 degrees |
| Clumping | Inadequate stirring | Stir more frequently during baking |
Frequently Asked Questions
Q: Can I use different types of puffed grains?
Yes! I’ve successfully used puffed quinoa, millet, or kamut. Just keep the proportions the same.
Q: How can I make this recipe school-friendly (nut-free)?
Simply omit any nuts and use seed-based proteins instead. I recommend using sunflower seed protein powder.
Q: Is this recipe cost-effective?
While the initial ingredient investment might be higher, each batch makes about 8-10 servings, making it comparable to premium store-bought cereals.
Q: Can I make this without any sweeteners?
Yes, though I recommend using at least a small amount of maple syrup for texture. You can replace coconut sugar with monk fruit or stevia.
Q: How do I know when it’s baked enough?
The cereal should feel dry to the touch and have a slight sheen. If it’s still sticky, it needs more time.
Cost Analysis
| Ingredient | Approximate Cost | Cost per Batch |
|---|---|---|
| Puffed Rice | $4/bag | $2.00 |
| Cacao Powder | $10/8oz | $1.25 |
| Coconut Sugar | $6/lb | $0.75 |
| Maple Syrup | $8/8oz | $1.50 |
| Other Ingredients | Various | $1.50 |
| Total | – | $7.00 |
| Cost per Serving | – | $0.70-0.88 |
Health Benefits
This cereal isn’t just delicious; it’s packed with nutrition:
- Cacao powder: Rich in antioxidants and minerals
- Puffed brown rice: Good source of whole grains and fiber
- Coconut oil: Healthy fats and medium-chain triglycerides
- Flaxseed (if used): Omega-3 fatty acids and lignans
- Protein powder (if used): Essential amino acids
Remember, while this is a healthier alternative to commercial cereals, portion control is still important. I recommend starting with a one-cup serving and adjusting based on your nutritional needs.
Environmental Impact
I believe in sustainable cooking, so here’s how this recipe helps:
- Uses minimal packaging when ingredients are bought in bulk
- Creates zero waste when proper storage methods are used
- Supports organic farming when organic ingredients are chosen
- Reduces carbon footprint compared to commercial cereal production
Making your own cereal might seem like a small step, but these little changes add up to make a big difference for our planet.