There’s something magical about the combination of sweet and salty flavors that makes my taste buds dance with joy. And when it comes to this perfect flavor pairing, few desserts can match the indulgent delight of Salted Caramel Butter Bars. These heavenly treats, with their buttery shortbread base, gooey caramel center, and perfect sprinkle of sea salt, have become my signature dessert for gatherings, gift-giving, and those moments when only something truly decadent will do.
I first discovered these bars at a neighborhood potluck and immediately knew I needed to master making them myself. After countless test batches (my family didn’t complain about being taste-testers!), I’ve perfected a recipe that strikes the ideal balance between buttery richness, caramel sweetness, and that crucial hint of salt that elevates the entire creation.
In this article, I’ll share my tried-and-true recipe, along with tips and tricks I’ve learned through my butter bar journey. I’ll explain why certain techniques matter, offer variations to customize these bars to your taste, and provide troubleshooting advice for common pitfalls. Whether you’re an experienced baker or a novice in the kitchen, I promise these Salted Caramel Butter Bars will become a staple in your dessert repertoire.
What Makes These Salted Caramel Butter Bars Special
Before diving into the recipe, let me explain what sets these bars apart from other caramel desserts. The magic lies in three key elements:
- The shortbread crust and topping: Unlike many dessert bars that use different mixtures for the base and topping, this recipe ingeniously uses the same buttery shortbread dough for both elements. This creates a beautiful symmetry in texture and flavor while simplifying the preparation process.
- The caramel filling: We’re using a homemade caramel sauce enhanced with vanilla and sea salt. The depth of flavor in homemade caramel is unmatched by store-bought alternatives, though I’ll offer a quick shortcut version for busy days.
- The salt factor: A light dusting of flaky sea salt on top doesn’t just add visual appeal—it creates little bursts of saltiness that perfectly counterbalance the sweetness of the caramel and buttery shortbread.
Now, let’s gather our ingredients and get baking!
Essential Ingredients: Quality Matters
When making Salted Caramel Butter Bars, the quality of your ingredients significantly impacts the final result. Here’s what you’ll need:
For the Shortbread Base and Topping:
- 2 cups (4 sticks) unsalted butter, at room temperature
- 1 cup granulated sugar
- 1½ cups powdered sugar
- 2 tablespoons vanilla extract
- 4 cups all-purpose flour
- ½ teaspoon fine sea salt
For the Caramel Filling:
- 2 cups caramel candies, unwrapped (about 50-60 pieces)
- ⅓ cup heavy cream
- 2 tablespoons vanilla extract
- 2-3 teaspoons flaky sea salt (like Maldon or fleur de sel), divided

A Note About Ingredients
butter : I recommend using high-quality European-style butter with a higher fat content for the richest flavor and texture. The butter should be genuinely at room temperature—soft enough that your finger leaves an impression when lightly pressed but not so soft that it’s melting.
vanilla extract : Pure vanilla extract rather than imitation will make a noticeable difference in this recipe. I sometimes use vanilla bean paste for an even more intense flavor and those beautiful specks throughout the shortbread.
caramel candies : You can use store-bought soft caramel candies (like Werther’s Original chewy caramels) for convenience, but I’ll also share how to make caramel from scratch for an even more spectacular result.
sea salt : The type of salt you use for the topping matters significantly. Flaky sea salt like Maldon or fleur de sel provides the perfect texture and visual appeal. Regular table salt will be too harsh and won’t give you those delightful salt crystals that make these bars special.
Step-by-Step Recipe
Preparing the Shortbread Dough
- Preheat your oven to 325°F (165°C). Line a 9×13-inch baking pan with parchment paper, leaving some overhang on the sides to make it easier to lift out the bars later.
- In a large bowl or stand mixer fitted with the paddle attachment, beat the butter until smooth and creamy, about 1-2 minutes.
- Add both granulated and powdered sugars and continue beating until light and fluffy, approximately 2-3 minutes. Don’t rush this step—proper creaming incorporates air into the mixture, resulting in a more tender shortbread.
- Add the vanilla extract and beat until incorporated.
- In a separate bowl, whisk together the flour and fine sea salt.
- Gradually add the flour mixture to the butter mixture, mixing on low speed just until combined. Be careful not to overmix, as this can develop the gluten in the flour and make your shortbread tough rather than tender.
- The dough will be soft and somewhat crumbly. Set aside approximately ⅓ of the dough (about 2 cups) for the topping.
- Press the remaining dough evenly into the bottom of your prepared pan. For best results, use the flat bottom of a measuring cup to press the dough firmly into an even layer.
- Bake the crust for 15-18 minutes, or until the edges are just beginning to turn a light golden brown. Remove from the oven but keep the oven on.
Making the Caramel Filling
While the crust is baking, prepare the caramel filling:
- In a medium saucepan over low heat, combine the unwrapped caramel candies and heavy cream.
- Stir constantly until the caramels are completely melted and the mixture is smooth. This typically takes about 10-12 minutes. Be patient and maintain a low heat to prevent scorching.
- Once smooth, remove from heat and stir in the vanilla extract and 1 teaspoon of the flaky sea salt.
Assembling the Bars
- Pour the hot caramel mixture over the baked shortbread base, spreading it evenly to cover the entire surface.
- Take the reserved shortbread dough and crumble it evenly over the caramel layer. Don’t worry about covering every bit of caramel—the gaps will allow the beautiful caramel to peek through.
- Sprinkle another 1-2 teaspoons of flaky sea salt over the top, depending on your salt preference.
- Return the pan to the oven and bake for an additional 25-30 minutes, or until the topping is golden brown and the caramel is bubbly around the edges.
- Remove from the oven and let cool completely in the pan on a wire rack. This cooling process is crucial—the bars need time to set properly, which can take 2-3 hours at room temperature.
- Once completely cooled, use the parchment paper overhang to lift the bars out of the pan. Cut into squares or rectangles using a sharp knife. For the cleanest cuts, wipe your knife with a warm, damp cloth between slices.

Homemade Caramel Variation
If you want to elevate these bars even further, try making the caramel from scratch. Here’s how:
- In a heavy-bottomed saucepan, combine 1 cup granulated sugar and ¼ cup water. Stir just until the sugar is moistened.
- Heat over medium-high heat without stirring. Swirl the pan occasionally to ensure even cooking.
- When the mixture turns a deep amber color (about 8-10 minutes), carefully add 1 cup of heavy cream (it will bubble vigorously!).
- Remove from heat and stir in 6 tablespoons of unsalted butter, cut into pieces, along with 1 tablespoon vanilla extract and 1 teaspoon flaky sea salt.
- Allow the caramel to cool slightly before pouring over the shortbread base.
This homemade caramel creates an even richer, more complex flavor profile that truly makes these bars extraordinary.
Storage and Make-Ahead Tips
These Salted Caramel Butter Bars store beautifully, making them perfect for advance preparation:
- Room temperature: Store in an airtight container for up to 3 days. Separate layers with parchment paper to prevent sticking.
- Refrigerator: Keep refrigerated for up to 1 week. The butter in the shortbread will firm up significantly when chilled, so I recommend allowing them to come to room temperature for about 20 minutes before serving for the best texture.
- Freezer: These bars freeze exceptionally well for up to 3 months. Wrap individual bars or the whole batch tightly in plastic wrap, then aluminum foil. Thaw overnight in the refrigerator, then bring to room temperature before serving.
Troubleshooting Common Issues
Even experienced bakers occasionally encounter challenges. Here are solutions to some common problems:
Caramel leaking through the bottom crust
If your caramel seeps underneath the bottom crust, it likely means the crust wasn’t baked long enough before adding the caramel layer. Make sure the bottom crust has formed a seal during its initial baking period.
Shortbread topping too crumbly
If your topping seems too dry and falls off easily, you might have used too much flour or not enough butter. Remember that measuring flour correctly (spoon and level, don’t pack) is crucial for baking success.
Caramel too hard after cooling
This usually happens when the caramel is cooked at too high a temperature or for too long. If using store-bought caramels, be gentle with the heat. If making homemade caramel, watch the color carefully and don’t let it get too dark.
Bars difficult to cut neatly
For clean-cut bars, make sure they’re completely cooled—even refrigerated for 30 minutes before cutting. Use a sharp knife, and wipe it clean between cuts with a warm, damp cloth.
Nutritional Information
While these are definitely an indulgent treat, it’s helpful to know what you’re enjoying. Here’s the approximate nutritional breakdown per bar (assuming you cut the pan into 24 pieces):
| Nutrient | Amount per Serving |
|---|---|
| Calories | 285 kcal |
| Total Fat | 16g |
| Saturated Fat | 10g |
| Cholesterol | 42mg |
| Sodium | 120mg |
| Total Carbohydrates | 34g |
| Dietary Fiber | 0.5g |
| Sugars | 22g |
| Protein | 2g |
Serving Suggestions
These Salted Caramel Butter Bars are delicious on their own, but you can create an even more impressive dessert experience with these serving ideas:
- Warm a bar slightly and top with a scoop of vanilla bean ice cream for an incredible contrast of warm and cold.
- Drizzle with additional warm caramel sauce and a sprinkle of chopped toasted pecans for added texture.
- Serve alongside fresh berries to cut through the richness.
- Create a dessert board with these bars as the centerpiece, surrounded by chocolate truffles, fresh fruit, and small cups of espresso.
- For special occasions, stack bars in a pyramid shape and dust with powdered sugar for a showstopping presentation.

Variations to Try
Once you’ve mastered the basic recipe, consider these delicious variations:
Chocolate Drizzle
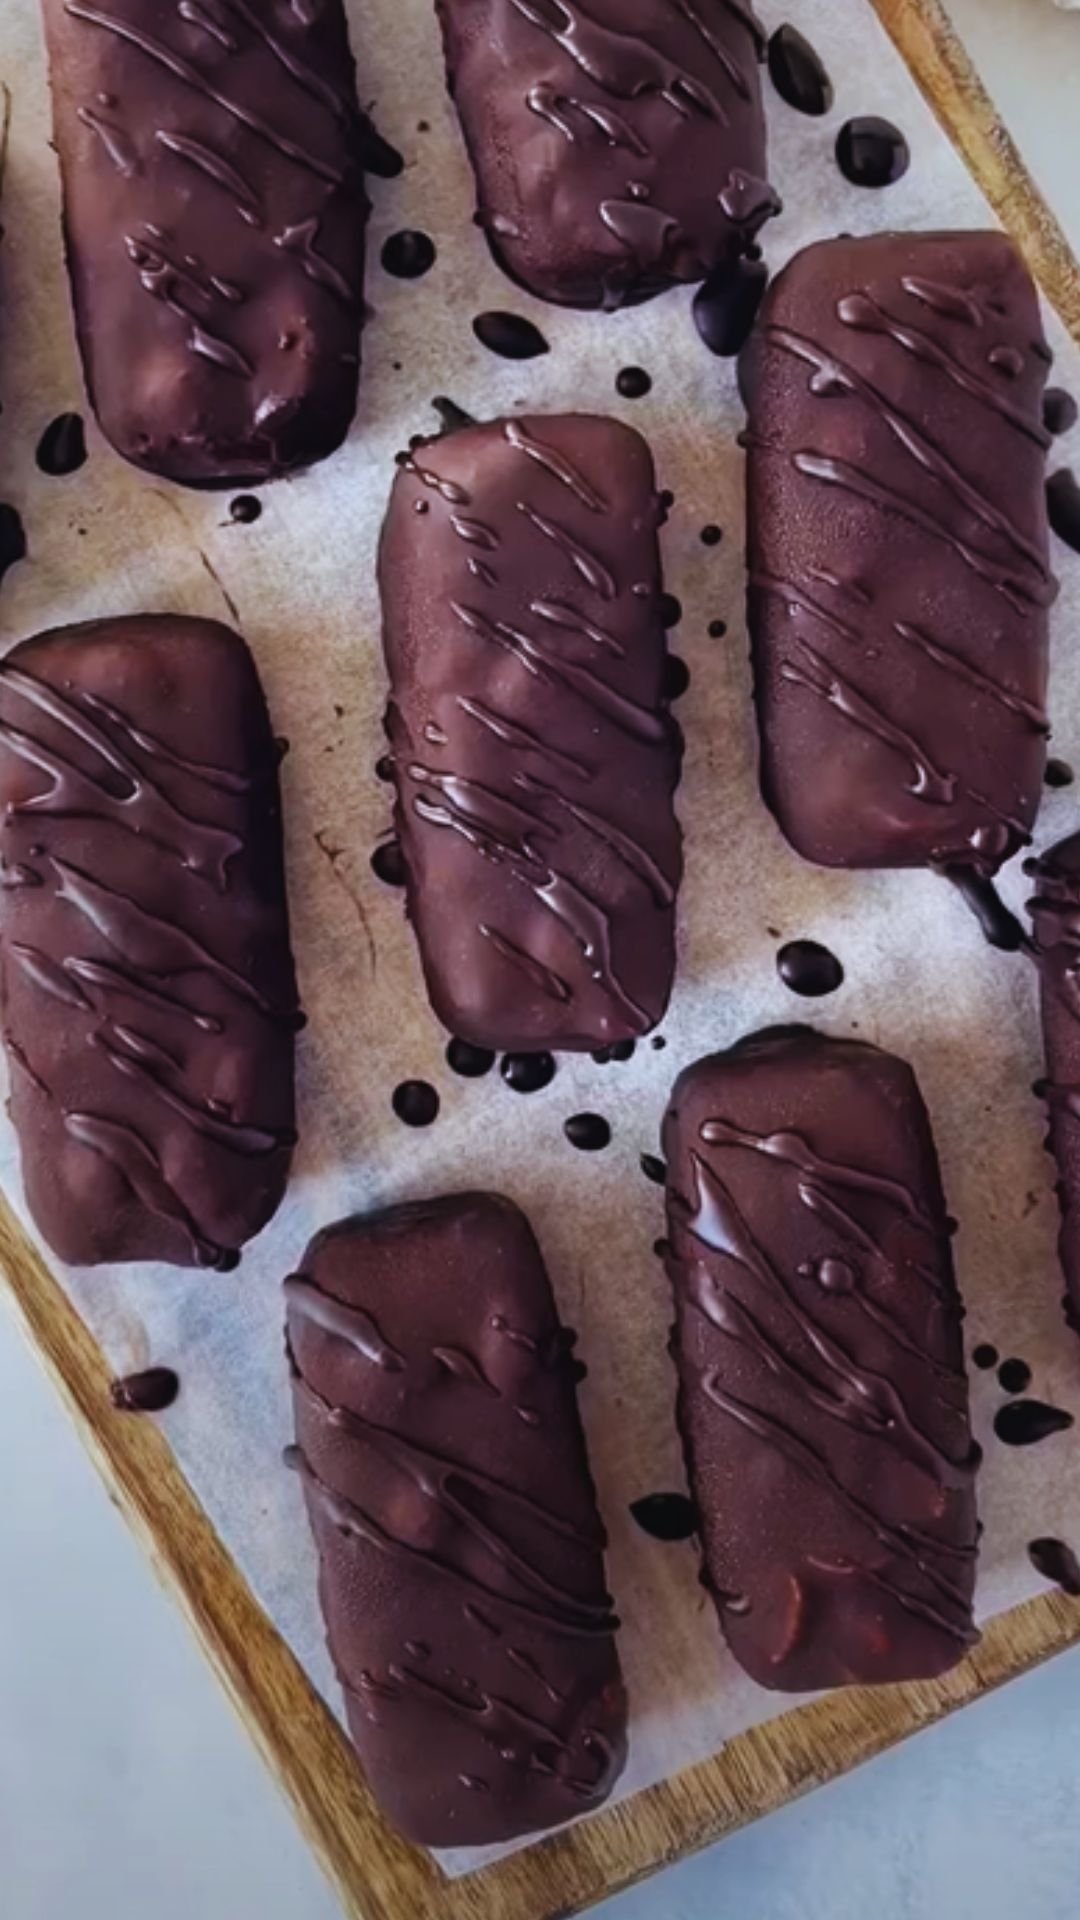
After the bars have cooled completely, drizzle with melted dark or milk chocolate for an additional layer of flavor.
Nutty Caramel Bars
Add ¾ cup of chopped toasted pecans, walnuts, or macadamia nuts to the caramel mixture before pouring it over the crust.
Spiced Shortbread
Add 1-2 teaspoons of ground cinnamon and ¼ teaspoon of nutmeg to the shortbread dough for a warm, spiced variation that’s especially wonderful during fall and winter.
Chocolate Shortbread Base
Replace ¼ cup of the flour with unsweetened cocoa powder in the shortbread dough for a chocolate-caramel combination.
Orange-Infused Caramel
Add 1 tablespoon of orange zest to the caramel mixture for a bright, citrusy note that balances the richness beautifully.
Expert Tips for Perfect Salted Caramel Butter Bars
After making these bars countless times, I’ve discovered several tips that make a significant difference:
- Temperature matters: All refrigerated ingredients (especially butter) should be at room temperature for proper incorporation.
- Don’t rush the cooling: These bars need time to set properly. Rushing this step can result in a messy (albeit delicious) situation.
- Salt distribution: When sprinkling the flaky salt on top, aim for even distribution so every bite has that perfect sweet-salty balance.
- Pan material: I find that light-colored metal pans work best for these bars, as dark pans can cause the bottom to brown too quickly.
- Parchment corners: To get parchment paper to stay in place in your pan, crumple it first, then smooth it out. This makes it more pliable and easier to fit into corners.
- Visual cues: Rather than relying solely on timing, look for visual indicators of doneness—golden brown edges and a slightly firm center that still has some give when gently pressed.
Frequently Asked Questions
Q: Can I use salted butter instead of unsalted?
If you only have salted butter available, you can use it but omit the additional fine sea salt in the shortbread dough. However, the salt content can vary between butter brands, so unsalted butter gives you more precise control over the final flavor.
Q: Is it possible to halve this recipe?
Yes! You can easily make half the recipe in an 8×8-inch square pan. Baking times will be similar, but start checking a few minutes earlier.
Q: Can I use brown sugar instead of white sugar?
You can replace the granulated sugar with light brown sugar for a deeper, more caramel-like flavor in the shortbread itself. The texture will be slightly different—a bit more moist and dense—but equally delicious.
Q: My caramel candies are sticking to the wrappers. Any tips?
If you’re having trouble unwrapping the caramels, place them in the freezer for about 10 minutes first. The cold temperature makes the caramel firmer and less likely to stick to the wrappers.
Q: Can I make these gluten-free?
Yes! You can substitute the all-purpose flour with a cup-for-cup gluten-free flour blend. Look for one that contains xanthan gum for the best texture results.
Q: How can I tell when the homemade caramel is the right color?
Caramel should be a deep amber color, similar to the color of an old penny. If you’re new to making caramel, consider using a candy thermometer and aim for a temperature of 350°F (175°C) for perfect caramel.
Q: Why did my shortbread turn out tough instead of tender?
Tough shortbread usually results from overworking the dough. Once you add the flour, mix just until combined and no more. Overmixing develops gluten, which creates a tougher texture.
Q: Can I use these as a base for other desserts?
Absolutely! These bars make an excellent base for ice cream sundaes or can be crumbled as a topping for apple crisp or other fruit desserts.
The Perfect Occasion for Salted Caramel Butter Bars
I’ve found these bars to be incredibly versatile for different occasions:
- Holiday gift-giving: Wrapped in parchment and tied with a ribbon, these make thoughtful homemade gifts.
- Potluck superstar: The bars transport well and can be made in advance, making them perfect for gatherings.
- Bake sale winner: Their visual appeal and incredible taste make them a standout at fundraisers.
- Dinner party finale: Served slightly warm with ice cream, they create a memorable dessert course.
- Comfort food: On a difficult day, the process of making these bars can be therapeutic, and enjoying them afterward is pure comfort.
Why the Sweet-Salty Combination Works So Well
The appeal of these Salted Caramel Butter Bars goes beyond mere tastiness—there’s actual science behind why we find this combination so irresistible. Our taste buds are designed to detect five main flavors: sweet, salty, sour, bitter, and umami. When we combine contrasting tastes like sweetness and saltiness, they enhance each other rather than competing.
The salt in these bars doesn’t just add a salty flavor; it actually amplifies the perception of sweetness while cutting through the richness of the butter and caramel. This creates a more complex, balanced flavor profile that keeps you coming back for “just one more bite.”
Additionally, the textural contrast between the tender, crumbly shortbread and the smooth, chewy caramel creates an experience that engages multiple senses—exactly what makes certain foods so satisfying.
Final Thoughts
Creating these Salted Caramel Butter Bars has become one of my favorite baking rituals. There’s something deeply satisfying about transforming simple ingredients like butter, sugar, and flour into something so transcendently delicious. The process requires a bit of patience, but the results are absolutely worth it.
I hope this recipe brings as much joy to your kitchen as it has to mine. Remember, baking is both a science and an art—follow the instructions carefully, but also trust your instincts and adjust to your personal preferences. After all, the best recipes evolve as we make them our own.
Whether you’re baking these for a special occasion or simply because it’s Tuesday and you deserve a treat, I’d love to hear how they turn out for you. Happy baking!

