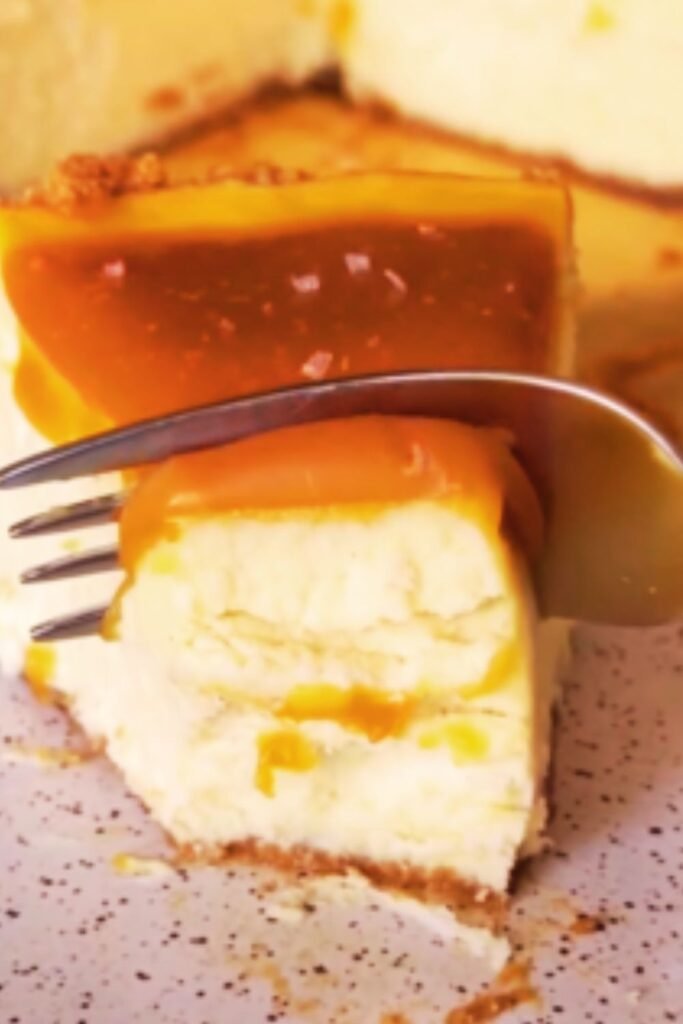
There’s something magical about the combination of smooth, creamy cheesecake and rich, buttery salted caramel. The contrast between sweet and salty creates a flavor profile that’s utterly irresistible. For years, I avoided making cheesecakes at home, intimidated by horror stories of cracked tops and water bath mishaps. But after countless tests and trials, I’ve perfected an easy, foolproof salted caramel cheesecake recipe that I’m thrilled to share with you today.
This recipe breaks down what seems like a complex dessert into simple, manageable steps. Whether you’re preparing for a special occasion or simply craving something indulgent, this cheesecake delivers restaurant-quality results without the fuss. The best part? You don’t need professional equipment or hard-to-find ingredients to create this showstopper.
The Perfect Cheesecake Base: Graham Cracker Crust
Let’s start with the foundation of any good cheesecake—the crust. A buttery, slightly sweet graham cracker base provides the perfect contrast to the tangy cheesecake filling. The secret to a perfect crust is in the technique and balance of ingredients.
Ingredients for the Crust:
- 2 cups graham cracker crumbs (about 16 full sheets)
- 1/4 cup granulated sugar
- 1/2 teaspoon ground cinnamon (optional but recommended)
- 1/2 cup (1 stick) unsalted butter, melted
Crust Preparation:
- Preheat your oven to 325°F (165°C).
- In a food processor, pulse graham crackers until they become fine crumbs. If you don’t have a food processor, place the crackers in a zip-top bag and crush them with a rolling pin.
- In a medium bowl, combine the graham cracker crumbs, sugar, and cinnamon if using.
- Pour in the melted butter and mix until the mixture resembles wet sand. The perfect consistency is when the crumbs hold together when pressed between your fingers.
- Transfer the mixture to a 9-inch springform pan. Using the bottom of a measuring cup or glass, press the crumbs firmly into the bottom and about 1-1.5 inches up the sides of the pan.
- Bake the crust for 10 minutes, then set aside to cool while you prepare the filling.
The Creamy Cheesecake Filling
The filling is where the magic happens. My version uses a combination of cream cheese, sour cream, and heavy cream for the ultimate silky texture. The key to avoiding lumps is having all your ingredients at room temperature—I can’t stress this enough!
Ingredients for the Filling:
- 4 packages (32 oz total) cream cheese, softened to room temperature
- 1 cup granulated sugar
- 1/2 cup sour cream, room temperature
- 1/4 cup heavy cream, room temperature
- 1 tablespoon pure vanilla extract
- 4 large eggs, room temperature
- 1/2 teaspoon sea salt
Filling Preparation:
- In the bowl of a stand mixer fitted with the paddle attachment (or using a hand mixer), beat the cream cheese on medium-low speed until completely smooth, about 2 minutes.
- Add the sugar and beat for another 1-2 minutes until well combined and smooth.
- Add the sour cream, heavy cream, vanilla extract, and salt. Beat on low speed until just combined.
- Add the eggs, one at a time, beating on low speed after each addition just until blended. Be careful not to overmix once the eggs are added; this can incorporate too much air and cause cracks.
- Pour the filling into the cooled crust, smoothing the top with a spatula.
The Baking Method: Say Goodbye to Cracks
Cheesecake cracking is usually caused by drastic temperature changes or overmixing. Here’s my foolproof method to prevent those dreaded cracks:
- Place the springform pan on a large piece of aluminum foil and wrap the foil tightly around the bottom and sides of the pan (this prevents water from seeping in).
- Place the wrapped pan in a larger roasting pan or baking dish.
- Pour hot water into the larger pan until it reaches about halfway up the sides of the springform pan. This water bath (or bain-marie) ensures gentle, even heating.
- Bake at 325°F for 1 hour and 10 minutes. The center should still be slightly jiggly.
- Without opening the oven door, turn off the heat and let the cheesecake rest in the oven for another hour. This gradual cooling is crucial for crack prevention.
- Remove from the oven and let the cheesecake cool completely at room temperature, about 2-3 hours.
- Once cooled, refrigerate for at least 6 hours, preferably overnight.
The Star of the Show: Homemade Salted Caramel Sauce
Now for the crowning glory—homemade salted caramel sauce. While store-bought options exist, nothing compares to the rich, complex flavor of homemade caramel. Don’t be intimidated; my straightforward method makes it nearly foolproof.
Ingredients for the Salted Caramel:
- 1 cup granulated sugar
- 6 tablespoons unsalted butter, cut into pieces, room temperature
- 1/2 cup heavy cream, room temperature
- 1 teaspoon pure vanilla extract
- 1-1.5 teaspoons flaky sea salt (adjust to taste)
Caramel Preparation:
- In a medium heavy-bottomed saucepan, heat the sugar over medium heat. This is a dry method—no stirring needed.
- As the sugar begins to melt around the edges, you can gently swirl the pan to help it melt evenly. Be patient; this process takes about 8-10 minutes.
- Once the sugar has completely melted and turned a deep amber color (like a copper penny), immediately add the butter. Be careful as it will bubble vigorously! Whisk until the butter is completely melted.
- Remove the pan from heat and slowly pour in the heavy cream while whisking constantly. Again, it will bubble up dramatically.
- Add the vanilla extract and salt, whisking to combine.
- Let the caramel cool for about 10-15 minutes before using. It will thicken as it cools.
Assembly: Bringing It All Together
The final assembly is where your cheesecake transforms from delicious to absolutely spectacular. Here’s how to finish your masterpiece:
- Run a thin knife around the edge of the cooled cheesecake and gently remove the springform ring.
- Transfer the cheesecake to a serving plate.
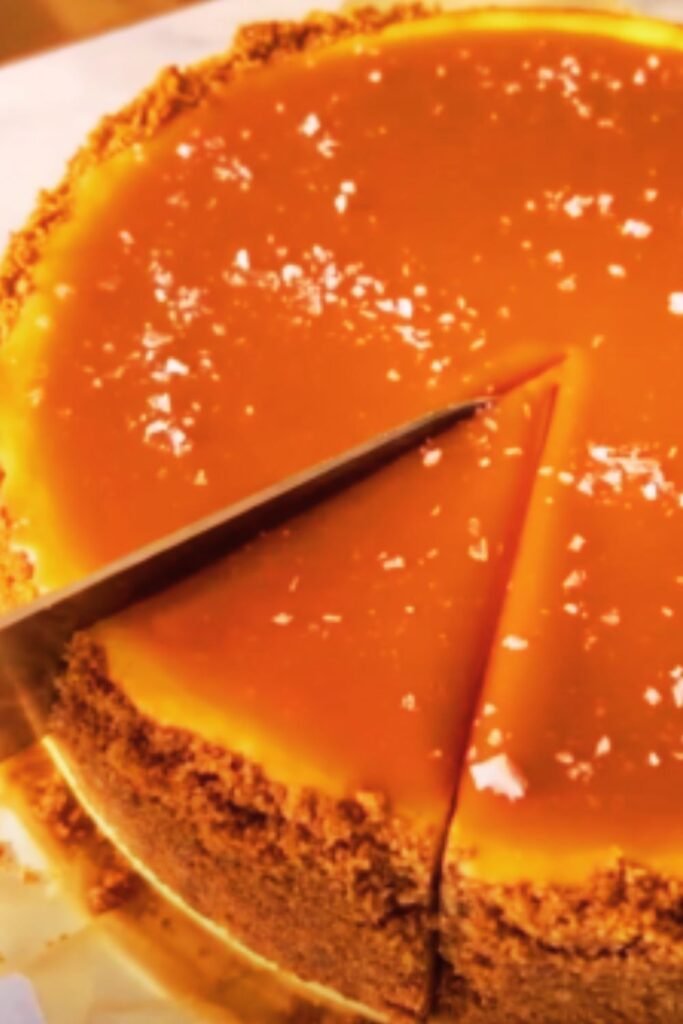
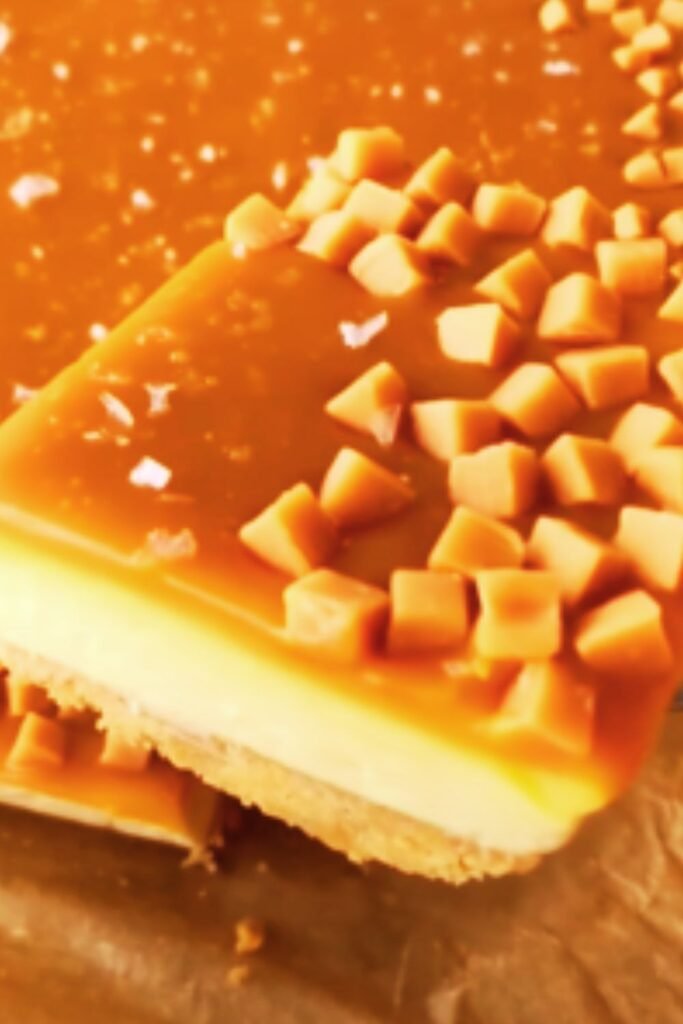
- Pour about half of the slightly cooled (but still pourable) caramel sauce over the top of the cheesecake, starting from the center and allowing it to drip attractively down the sides.
- Reserve the remaining caramel for serving alongside each slice.
- If desired, sprinkle additional flaky sea salt over the top for visual appeal and extra salt hit.
- Return the cheesecake to the refrigerator for about 30 minutes to allow the caramel to set slightly before serving.
Serving Suggestions and Variations
A slice of this salted caramel cheesecake is divine on its own, but here are some ways to elevate it even further:
Serving Ideas:
- Add a dollop of freshly whipped cream
- Sprinkle with crushed toffee bits or chocolate shavings
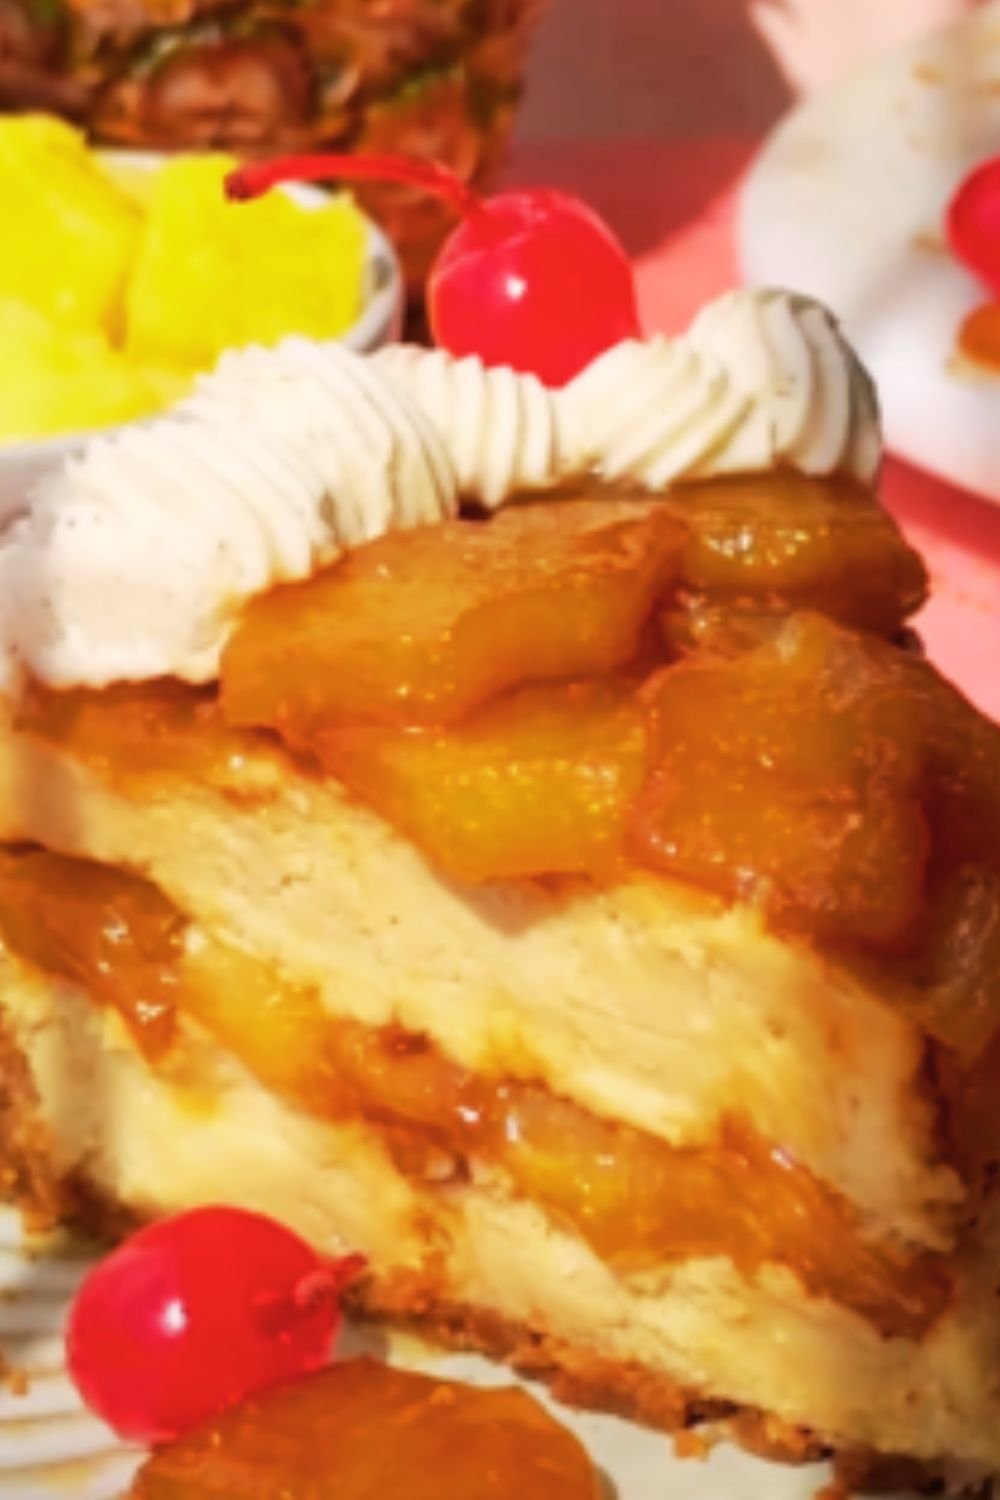
- Serve with sliced bananas or caramelized apple slices
- Pair with a scoop of vanilla bean ice cream for the ultimate dessert experience
- Accompany with a hot cup of coffee or espresso to balance the sweetness
Delicious Variations:
Chocolate Swirl: Add 3/4 cup of melted semi-sweet chocolate to 1/3 of the cheesecake batter. Drop spoonfuls of the chocolate mixture onto the plain batter in the pan and swirl with a knife for a marbled effect.
Caramel Apple: Add 1 cup of finely diced sautéed apples (cooled) to the cheesecake batter before baking.
Turtle Cheesecake: Top with the salted caramel sauce, chopped pecans, and a drizzle of chocolate ganache.
Peanut Butter Cup: Add 1/2 cup smooth peanut butter to the cheesecake batter and top with chocolate ganache along with the caramel.
Storage and Make-Ahead Tips
Cheesecake is the perfect make-ahead dessert, as it actually improves with time as the flavors meld. Here’s how to store it properly:
Storage Times:
- Refrigerator: Up to 5 days in an airtight container
- Freezer: Up to 2 months when properly wrapped
Freezing Instructions:
- Allow the cheesecake to cool completely after the initial chilling period.
- Place the cheesecake (without the caramel topping) on a cardboard round and wrap tightly in plastic wrap, then again in aluminum foil.
- Freeze the caramel sauce separately in an airtight container.
- To thaw, transfer the cheesecake to the refrigerator 24 hours before serving.
- Add the caramel topping after thawing, just before serving.
Common Cheesecake Problems and Solutions
Even with the best instructions, things can sometimes go awry. Here’s a troubleshooting guide for common cheesecake issues:
| Problem | Possible Cause | Solution |
|---|---|---|
| Cracked top | Overmixing, baking at too high temperature, or rapid cooling | Mix ingredients on low speed, use water bath, cool gradually in turned-off oven |
| Soggy crust | Water leaking into springform pan | Double-wrap pan with heavy-duty foil, or use a silicone wrap specifically designed for water baths |
| Undercooked center | Not enough baking time | Center should be slightly jiggly but set; allow for full cooling and chilling time |
| Lumpy filling | Cold ingredients | Ensure all ingredients are at room temperature before mixing |
| Caramel too thin | Not cooked long enough | Cook sugar until deep amber; if already made, simmer sauce to reduce and thicken |
| Caramel too thick | Cooked too long or cooled too much | Gently reheat with a splash of cream to thin |
| Caramel crystallized | Sugar crystals on side of pan | Use a wet pastry brush to wash down crystals from sides during cooking |
Nutritional Information
While this cheesecake is definitely an indulgent treat, it’s nice to know what you’re enjoying. Here’s the approximate nutritional breakdown per slice (assuming 12 slices per cheesecake):
| Nutrient | Amount per Slice |
|---|---|
| Calories | 550-600 |
| Total Fat | 40-45g |
| – Saturated Fat | 24-27g |
| Cholesterol | 180-200mg |
| Sodium | 400-450mg |
| Total Carbohydrates | 40-45g |
| – Dietary Fiber | <1g |
| – Sugars | 35-38g |
| Protein | 7-8g |
Note: Values are approximate and may vary based on specific ingredients used.
Equipment List: Must-Haves and Nice-to-Haves
To make this recipe as smooth as possible, here’s what you’ll need:
Essential Equipment:
- 9-inch springform pan
- Large roasting pan (for water bath)
- Stand mixer or hand mixer
- Heavy-bottomed saucepan (for caramel)
- Aluminum foil
- Measuring cups and spoons
- Rubber spatula
- Cooling rack
Nice-to-Have Items:
- Food processor (for graham cracker crumbs)
- Instant-read thermometer (for checking caramel temperature)
- Offset spatula (for smoothing the top)
- Cake carrier (for storage and transport)
- Silicone water bath wrap (alternative to foil)
Budget-Friendly Tips
Making a spectacular dessert doesn’t have to break the bank. Here are some cost-saving suggestions:
- Buy cream cheese in bulk when it’s on sale and freeze it for future use.
- Use generic graham crackers instead of name brands for the crust.
- Make your own graham cracker crumbs rather than buying pre-crushed versions.
- Skip specialized equipment like a springform pan by using a regular cake pan lined with parchment paper with some overhang to help lift the cheesecake out.
- Serve smaller slices with creative garnishes to make them feel more substantial.
Time Management: Breaking the Process Into Steps
One of the beauties of cheesecake is that it needs to be made ahead, making it perfect for entertaining. Here’s a suggested timeline to make the process manageable:
Day Before Serving:
- Morning: Prepare and bake the crust and cheesecake
- Afternoon: Allow cheesecake to cool at room temperature
- Evening: Refrigerate overnight
Day of Serving:
- 2 hours before: Make the salted caramel sauce
- 1 hour before: Remove cheesecake from springform pan, top with caramel, and return to refrigerator to set
- Just before serving: Add any final garnishes
Frequently Asked Questions
Q: Can I make this cheesecake without a stand mixer? Yes! A hand mixer works perfectly fine. Just be sure to mix on low speed to avoid incorporating too much air, which can cause cracks.
Q: Why did my caramel crystallize and become grainy? Crystallization usually happens when sugar crystals form on the sides of the pan. To prevent this, avoid stirring the sugar while it melts and use a wet pastry brush to wash down any crystals that form on the sides of the pan.
Q: Can I use salted butter instead of unsalted? Yes, but reduce the amount of additional salt you add to the caramel sauce. Salted butter varies in salt content, so it’s harder to control the final flavor.
Q: My cheesecake cracked despite following all the instructions. What happened? Even with perfect technique, cheesecakes can sometimes crack due to factors like oven hot spots or humidity. The good news? Your salted caramel topping will hide any imperfections!
Q: Can I make mini cheesecakes using this recipe? Absolutely! Use a muffin tin lined with paper liners and adjust the baking time to about 20-25 minutes. The water bath isn’t necessary for mini versions.
Q: Is there a non-dairy version of this recipe? Yes, you can substitute plant-based cream cheese, coconut cream instead of heavy cream, and dairy-free sour cream alternatives. The texture will be slightly different but still delicious.
Q: How do I know when my cheesecake is done baking? The center should still have a slight jiggle when you gently shake the pan—about a 3-inch circle in the center should wobble slightly. The edges should be more set and might be slightly puffed.
Q: Can I reduce the sugar in this recipe? You can reduce the sugar in the cheesecake filling by up to 1/4 cup without significantly affecting the texture. The caramel, however, requires the full sugar amount to work properly.
Q: My caramel hardened before I could pour it over the cheesecake. Can I fix it? Yes! Gently reheat it over low heat or in short bursts in the microwave, stirring frequently, until it reaches a pourable consistency again.
Q: How far in advance can I make this cheesecake? The cheesecake itself can be made up to 3 days in advance and stored in the refrigerator. I recommend adding the caramel topping no more than 24 hours before serving for the best appearance.
Final Thoughts: Why This Recipe Works
After years of testing various cheesecake recipes, I’ve found that this combination of techniques—room temperature ingredients, low mixing speed, water bath, and gradual cooling—consistently produces perfect results. The contrast between the creamy, tangy cheesecake and the sweet-salty caramel creates a dessert that’s sophisticated yet comforting.
What I love most about this recipe is its adaptability. Once you master the basic technique, you can experiment with endless flavor variations to suit your preferences or the season. Whether you’re an experienced baker or making your first cheesecake, this recipe is designed to give you confidence and successful results.
So go ahead—impress your guests, treat your family, or simply indulge yourself with this gorgeous salted caramel cheesecake. I promise it will become a treasured recipe in your dessert repertoire!