Have you ever found yourself torn between making brownies or cookies? I certainly have! There were nights when I craved the chewy, fudgy texture of brownies but also wanted the convenience and portion control of cookies. After countless attempts and chocolate-covered kitchen disasters, I’ve perfected what I consider the ultimate compromise: fudgy brownie cookies.
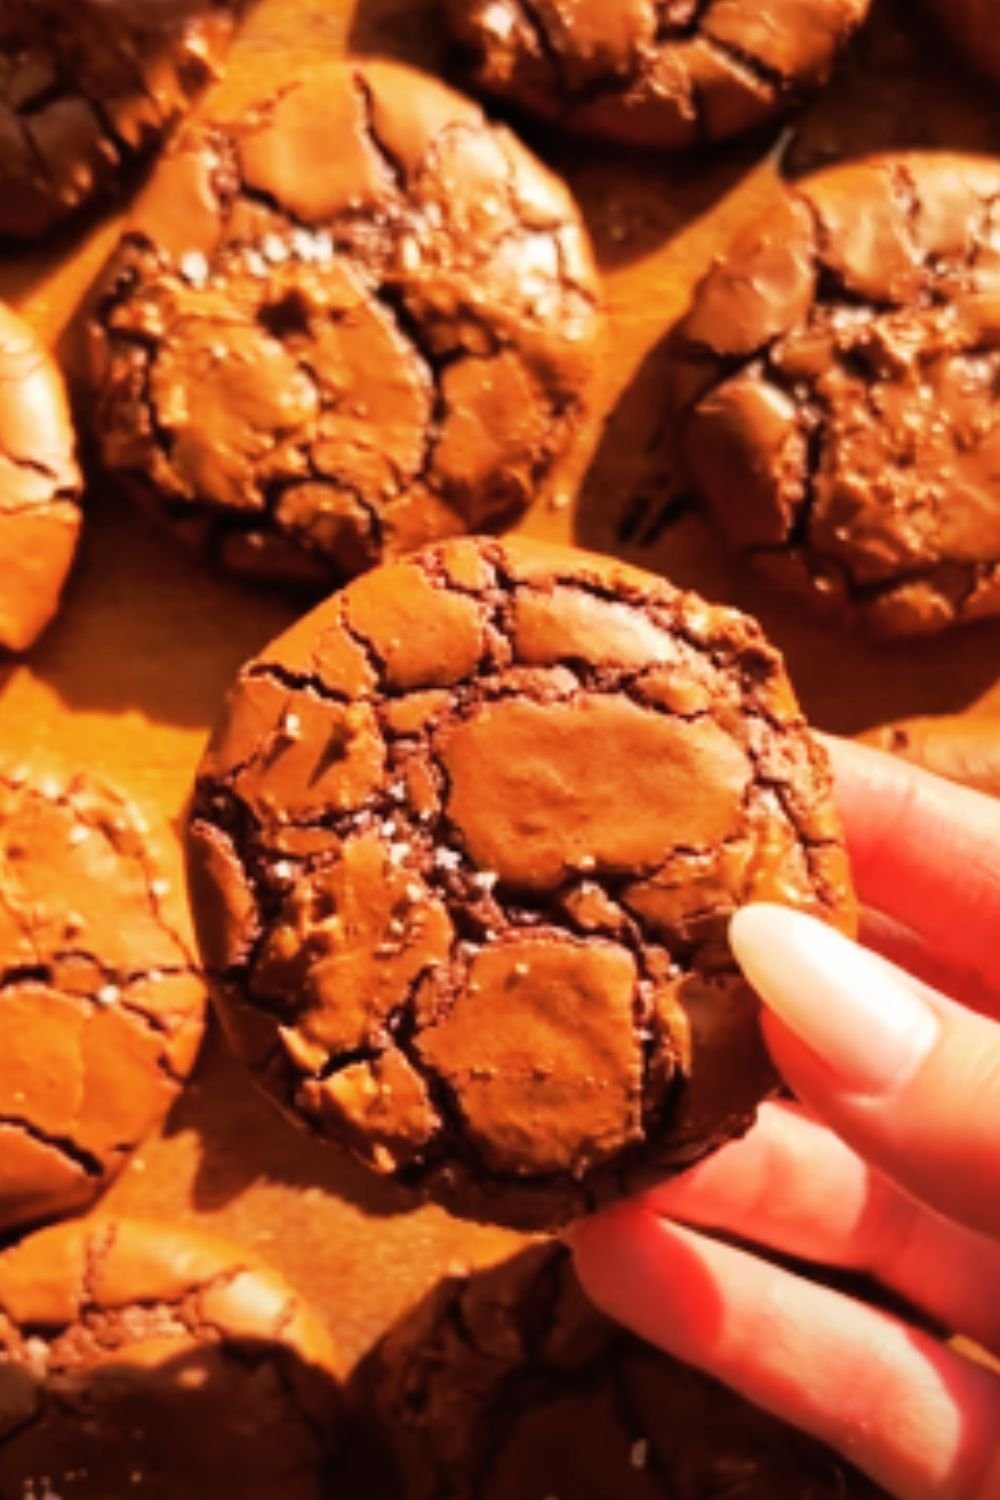
These decadent treats combine the best of both worlds—the intense chocolate flavor and moist, fudgy interior of brownies with the crisp edges and portable nature of cookies. They’re practically irresistible with their crackly tops, gooey centers, and rich chocolate flavor that lingers on your palate.
What Makes These Cookies Special
Before diving into the recipe, let me share what makes these fudgy brownie cookies truly exceptional:
- Texture Perfection: Crisp edges give way to a soft, fudgy center that’s reminiscent of the best corner piece of a brownie pan
- Chocolate Intensity: Multiple forms of chocolate create depth of flavor unlike typical chocolate cookies
- Visual Appeal: Stunning crackly tops form naturally during baking, making these cookies as beautiful as they are delicious
- Versatility: The dough can be customized with various mix-ins to suit different tastes
- Make-Ahead Friendly: The dough actually benefits from chilling, making these perfect for planning ahead
Ingredients Breakdown
Let’s take a closer look at what goes into these magnificent cookies and why each ingredient matters:
| Ingredient | Amount | Purpose |
|---|---|---|
| Semisweet chocolate | 8 oz (226g) | Forms the base chocolate flavor and contributes to the fudgy texture |
| Unsalted butter | 1/2 cup (113g) | Adds richness and helps create the crisp edges |
| Granulated sugar | 3/4 cup (150g) | Sweetens and contributes to the crackly top |
| Brown sugar | 1/4 cup (50g) | Adds moisture and a subtle molasses flavor |
| Eggs | 2 large | Provide structure and richness |
| Vanilla extract | 1 tsp | Enhances the chocolate flavor |
| All-purpose flour | 1 cup (125g) | Provides structure (less flour than cookies for a fudgier texture) |
| Unsweetened cocoa powder | 1/4 cup (21g) | Deepens the chocolate flavor |
| Baking powder | 1 tsp | Provides just enough lift without making them cakey |
| Salt | 1/4 tsp | Balances sweetness and enhances flavor |
| Chocolate chips | 1 cup (175g) | Adds pockets of melty chocolate throughout |
Essential Equipment
For the best results, I recommend having these tools on hand:
- Digital kitchen scale: For precise measurements, especially important for the chocolate and flour
- Double boiler or microwave-safe bowl: For melting chocolate without burning it
- Stand mixer or hand mixer: Makes incorporating the eggs much easier
- Cookie scoop: Ensures uniform cookies that bake evenly
- Parchment paper: Prevents sticking and makes cleanup a breeze
- Cooling rack: Allows cookies to cool properly, preserving their texture

Step-by-Step Instructions
Now let’s get into the nitty-gritty of making these incredible cookies:
1. Melt the Chocolate and Butter
Start by creating the rich chocolate base that makes these cookies so special.
- Place the chopped semisweet chocolate and butter in a heatproof bowl
- Set the bowl over a pan of barely simmering water (double boiler method), making sure the water doesn’t touch the bowl
- Stir occasionally until completely melted and smooth
- Alternatively, microwave in 30-second intervals, stirring between each, until melted
- Allow the mixture to cool slightly while you prepare the other ingredients
Pro tip: Don’t rush this step! Overheating chocolate can cause it to seize or become grainy. Low, gentle heat is best.
2. Mix the Wet Ingredients
This step is where we build the foundation for that perfect crackly top.
- In a large bowl, whisk together the granulated sugar, brown sugar, and eggs until well combined
- Beat for about 3 minutes until the mixture becomes lighter in color and slightly thickened
- Add the vanilla extract and mix to incorporate
- Pour in the cooled chocolate-butter mixture and stir until thoroughly combined
The secret: The extended beating time incorporates air into the batter, which helps create those beautiful crackly tops as the cookies bake.
3. Combine the Dry Ingredients
Properly mixing the dry ingredients ensures a consistent chocolate flavor throughout.
- In a separate bowl, whisk together the flour, cocoa powder, baking powder, and salt
- Make sure there are no lumps, especially in the cocoa powder
- Gradually add the dry ingredients to the chocolate mixture
- Fold gently until just combined—overmixing will develop too much gluten and make the cookies tough
4. Add the Chocolate Chips
This step adds pockets of melty chocolate goodness throughout the cookies.
- Fold in the chocolate chips, distributing them evenly throughout the dough
- If desired, reserve a few tablespoons to press into the tops of the cookies before baking
- The dough will be quite soft and more similar to a thick brownie batter than traditional cookie dough
5. Chill the Dough
This step is non-negotiable for achieving the perfect texture.
- Cover the bowl with plastic wrap, pressing it directly onto the surface of the dough
- Refrigerate for at least 1 hour, preferably 3-4 hours, or overnight
- Chilling allows the flour to hydrate and the flavors to develop
- It also makes the dough easier to scoop and helps prevent excessive spreading during baking
6. Bake to Perfection
Now comes the exciting part—transforming the dough into delicious cookies!
- Preheat your oven to 350°F (175°C) and line baking sheets with parchment paper
- Using a cookie scoop, portion the dough into 2-tablespoon balls
- Place the dough balls at least 2 inches apart on the prepared baking sheets
- If desired, press a few reserved chocolate chips into the tops
- Bake for 10-12 minutes until the edges are set but the centers still look slightly underdone
- The cookies will have a crackly, shiny surface but should still be soft in the middle
The key to fudginess: Slightly underbaking these cookies is intentional! They’ll continue to cook on the hot baking sheet after removal from the oven.
7. Cool Properly
Don’t rush this final step—it’s crucial for texture development.
- Allow the cookies to cool on the baking sheets for 5 minutes
- This gives them time to set up enough to be moved without breaking
- Transfer to a wire rack to cool completely
- As they cool, the centers will continue to set while maintaining their fudgy texture

Troubleshooting Common Issues
Even experienced bakers encounter challenges. Here are solutions to common problems:
| Issue | Possible Cause | Solution |
|---|---|---|
| Cookies spread too much | Dough too warm | Chill dough longer; refrigerate between batches |
| Cookies too cakey | Too much flour or leavening | Measure flour precisely; reduce baking powder |
| No crackly top | Sugar-egg mixture not beaten enough | Beat sugar and eggs for full 3 minutes |
| Cookies too dry | Overbaked | Reduce baking time; cookies should look slightly underdone |
| Cookies stick to paper | Removed too soon | Let cookies cool 5 minutes on sheet before moving |
| Uneven baking | Oven hot spots or crowded pan | Rotate sheet halfway; bake one sheet at a time |
Variations to Try
Once you’ve mastered the basic recipe, try these exciting variations:
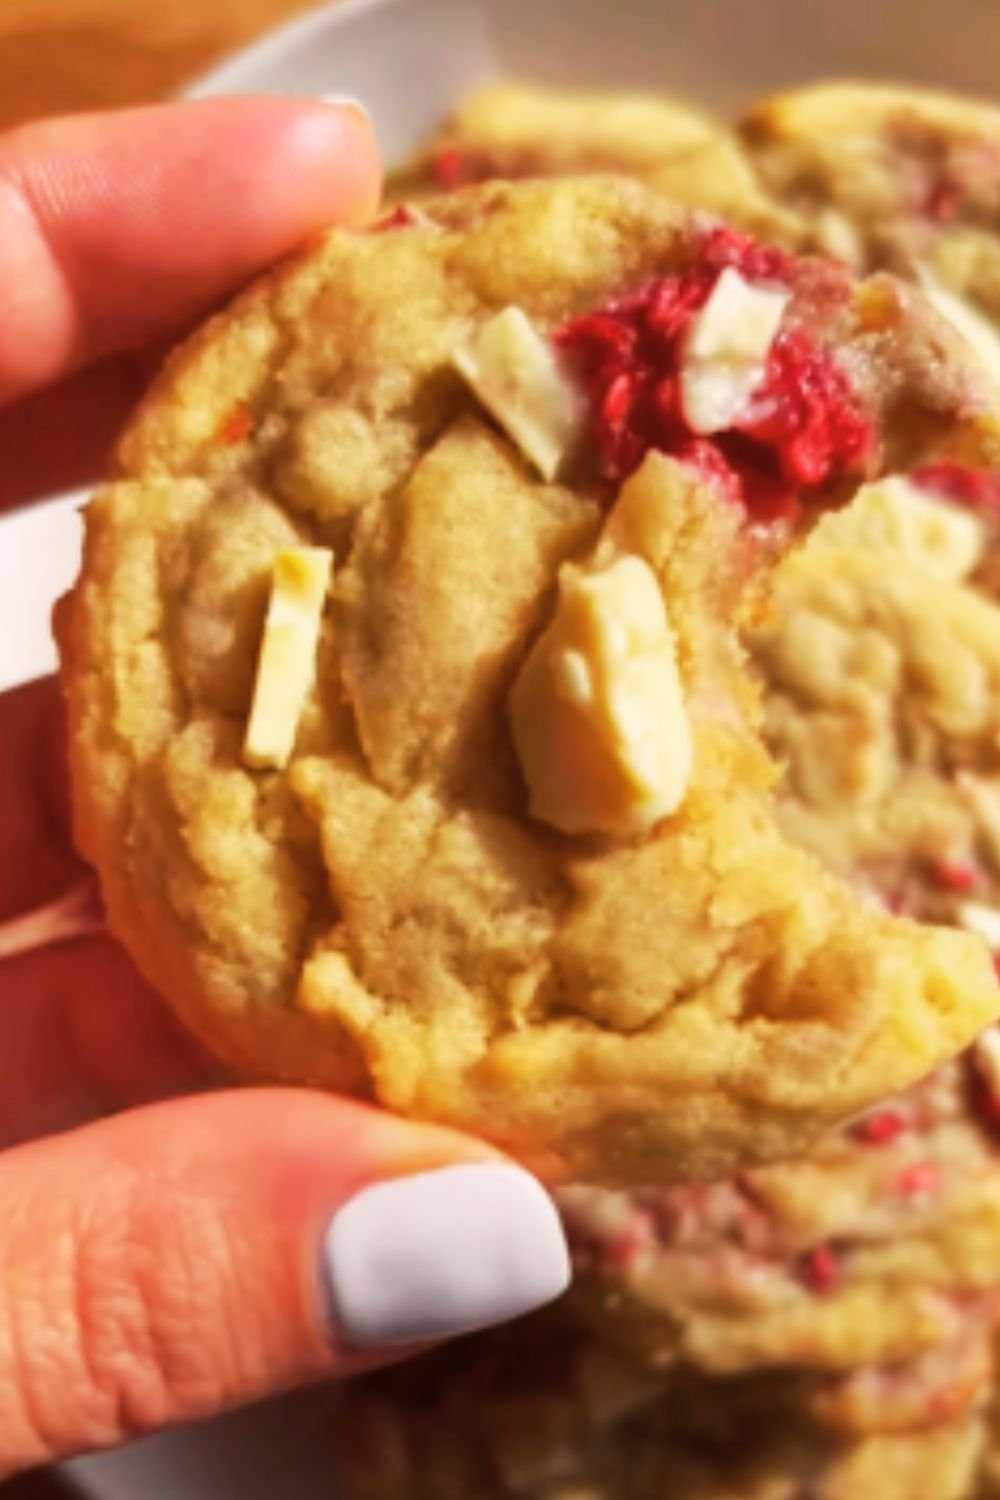
Mint Chocolate
Transform these cookies into a refreshing treat by adding 1/2 teaspoon of peppermint extract to the wet ingredients and using mint chocolate chips instead of regular chocolate chips.
Salted Caramel
Add caramel bits to the dough and sprinkle flaky sea salt on top of the cookies immediately after baking for a sweet-salty flavor combination that’s absolutely irresistible.
Espresso Chocolate
Dissolve 1 tablespoon of espresso powder in the vanilla extract before adding to intensify the chocolate flavor and add a subtle coffee undertone.
Peanut Butter Swirl
Warm 1/3 cup of peanut butter until it’s easily stirrable, then swirl it into the dough just before scooping and baking.
Orange Chocolate
Add the zest of one orange to the sugar before beating with the eggs for a bright, citrusy note that pairs beautifully with the rich chocolate.
Storage and Make-Ahead Tips
These cookies keep remarkably well, and the dough can be prepared in advance.
Storing Baked Cookies:
- Room Temperature: Store in an airtight container for up to 4 days. Place a slice of bread in the container to keep cookies soft.
- Refrigerator: Not recommended as it can dry out the cookies.
- Freezer: Place cooled cookies in a freezer-safe container, separating layers with parchment paper. Freeze for up to 3 months. Thaw at room temperature for 1-2 hours before serving.
Make-Ahead Options:
- Refrigerated Dough: The prepared dough can be refrigerated for up to 3 days. Bring to cool room temperature before scooping and baking.
- Frozen Dough Balls: Scoop dough onto a parchment-lined tray and freeze until solid. Transfer frozen dough balls to a freezer bag and store for up to 3 months. Bake directly from frozen, adding 1-2 minutes to the baking time.
Serving Suggestions
Turn these cookies into an extra-special treat with these serving ideas:
- Sandwich vanilla or coffee ice cream between two cookies for an incredible ice cream sandwich
- Serve warm with a scoop of quality vanilla ice cream for a simple but elegant dessert
- Pair with a glass of cold milk for the classic cookie experience
- Serve alongside fresh berries and whipped cream for a lovely dessert plate
- Include on a dessert board with other chocolate treats for a chocolate lover’s dream

Nutrition Information
For those who like to keep track, here’s the approximate nutrition information per cookie (based on a yield of 24 cookies):
| Nutrient | Amount per Cookie |
|---|---|
| Calories | 175 |
| Total Fat | 9g |
| Saturated Fat | 5g |
| Cholesterol | 25mg |
| Sodium | 60mg |
| Total Carbohydrates | 22g |
| Dietary Fiber | 1g |
| Sugars | 16g |
| Protein | 2g |
Note: This is an estimate and may vary based on specific ingredients used.
Why This Recipe Works
As someone who’s tested countless brownie and cookie recipes, I’ve incorporated several key techniques that ensure these fudgy brownie cookies turn out perfectly every time:
- Multiple forms of chocolate: Using both melted chocolate and cocoa powder creates depth of flavor and contributes to the fudgy texture.
- Proper sugar ratio: The combination of granulated and brown sugar provides the perfect balance of sweetness and moisture.
- Extended beating of eggs and sugar: This creates that coveted crackly, shiny top that makes these cookies visually stunning.
- Lower flour ratio: Using less flour than traditional cookies keeps these treats fudgy rather than cakey.
- Mandatory chilling: This step isn’t just for convenience—it’s essential for developing flavor and achieving the right texture.
- Careful baking time: Slightly underbaking ensures the centers remain soft and fudgy, just like the perfect brownie.

Frequently Asked Questions
Here are answers to some common questions about these fudgy brownie cookies:
Q: Can I use chocolate chips instead of chopped chocolate for melting? While you can, I don’t recommend it. Chocolate chips contain stabilizers that affect how they melt. For the best texture, use high-quality bar chocolate and save the chips for adding to the dough.
Q: Why didn’t my cookies develop the crackly top? The crackly top comes from properly beating the eggs and sugar until light and somewhat thickened. Make sure you’re beating for the full 3 minutes.
Q: Can I make these without a mixer? Yes, but it will require some elbow grease! The key is thoroughly beating the eggs and sugar by hand until the mixture lightens in color.
Q: How can I tell when the cookies are done? The edges should be set, but the centers will look slightly underdone and soft. They’ll continue to cook on the hot baking sheet. If they look completely done in the oven, they’ll likely be overbaked.
Q: Do I really need to chill the dough? Absolutely! Chilling is crucial for these cookies. The dough is quite soft, and chilling allows the flour to hydrate, the flavors to develop, and prevents excessive spreading during baking.
Q: Can I make these cookies gluten-free? Yes! I’ve had good results substituting the all-purpose flour with a 1:1 gluten-free baking flour blend. The texture may be slightly different, but still delicious.
Q: Why add cocoa powder if there’s already melted chocolate? The cocoa powder intensifies the chocolate flavor and contributes to the texture. The combination of melted chocolate and cocoa powder is what gives these cookies their distinctive brownie-like quality.
Q: My cookies turned out flat. What went wrong? If your cookies spread too much, your dough may not have been chilled enough, or your butter might have been too warm. Make sure to chill the dough thoroughly and keep your kitchen cool while working with the dough.
Final Thoughts
These fudgy brownie cookies have become my signature dessert, the one friends and family request for every gathering. There’s something magical about biting into a cookie that delivers all the satisfaction of a perfect brownie—the initial gentle resistance of the crackly top giving way to that soft, fudgy center.
What I love most about this recipe is its reliability. Follow these steps, respect the chilling time, and you’ll be rewarded with consistently delicious results that will have everyone asking for your secret. The beautiful thing is, there’s no single secret—just attention to detail and quality ingredients.
Whether you’re an experienced baker or relatively new to the world of homemade cookies, this recipe is accessible while still delivering gourmet results. The next time you find yourself torn between making brownies or cookies, remember that you don’t have to choose—these fudgy brownie cookies truly deliver the best of both worlds.
Happy baking!