There’s something magical about the combination of chocolate and hazelnut that makes Nutella so irresistible. When you fold that creamy, indulgent spread into a silky cheesecake mixture and serve it in individual portions, you’ve got a dessert that’s guaranteed to impress without ever turning on your oven.
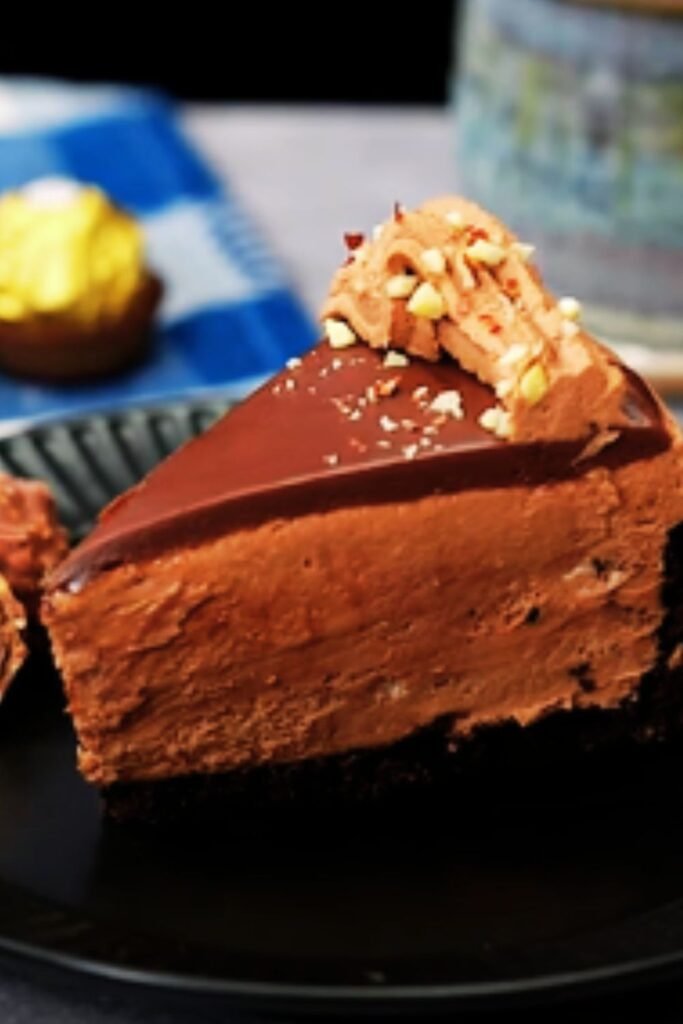
I’ve been making these No-Bake Nutella Cheesecakes for years, and they’re always the first dessert to disappear at gatherings. The contrast between the crunchy chocolate cookie base, the velvety Nutella cheesecake filling, and the cloud-like whipped cream topping creates a trifecta of textures that’s simply heavenly.
What I love most about these little desserts is how versatile they are. You can serve them in mason jars for a rustic look, elegant stemmed glasses for a dinner party, or even small ramekins for a more substantial portion. Plus, since they need time to chill, they’re the perfect make-ahead dessert when you’re entertaining.
Why You’ll Love This Recipe
- No oven required – perfect for hot summer days or when your oven is occupied with other dishes
- Make-ahead friendly – these actually need to be prepared in advance, saving you time on the day of serving
- Customizable presentation – can be served in various containers to suit any occasion
- Crowd-pleaser – the familiar, beloved flavor of Nutella appeals to both kids and adults
- Simple ingredients – uses pantry staples you likely already have on hand
Ingredients
For the Crust:
- 24 chocolate sandwich cookies (like Oreos)
- 6 tablespoons unsalted butter, melted
For the Cheesecake Filling:
- 16 ounces cream cheese, softened to room temperature
- 1 cup Nutella hazelnut spread
- 1 cup powdered sugar
- 1 teaspoon pure vanilla extract
- 1/2 cup heavy whipping cream, whipped to soft peaks
For the Topping:
- 1 cup heavy whipping cream
- 3 tablespoons powdered sugar
- 1/2 teaspoon pure vanilla extract
- 1/4 cup chopped hazelnuts, toasted
- Chocolate shavings or cocoa powder for garnish
Kitchen Tools You’ll Need
- Food processor (for crushing cookies)
- Electric mixer (stand or hand mixer)
- Mixing bowls
- Rubber spatula
- Serving glasses or jars
- Piping bag and star tip (optional, for decorative topping)
Step-by-Step Instructions
Prepare the Crust:
- Place the chocolate sandwich cookies in a food processor and pulse until they form fine crumbs.
- Add the melted butter and pulse until the mixture resembles wet sand.
- Divide the crumb mixture evenly among 8 serving glasses or jars, placing about 3 tablespoons in each.
- Use the back of a spoon to press the crumbs firmly into the bottom of each glass.
- Place the glasses in the refrigerator while you prepare the filling.

Make the Cheesecake Filling:
- In a large mixing bowl, beat the softened cream cheese until smooth and fluffy, about 2 minutes.
- Add the Nutella and beat until completely incorporated and no streaks remain.
- Gradually add the powdered sugar and vanilla extract, beating until the mixture is smooth.
- In a separate bowl, whip the heavy cream until soft peaks form.
- Gently fold the whipped cream into the cream cheese mixture using a rubber spatula, being careful not to deflate the air in the whipped cream.
- The resulting mixture should be light, fluffy, and uniformly chocolate-colored.
Assemble the Cheesecakes:
- Remove the prepared crusts from the refrigerator.
- Transfer the cheesecake filling to a piping bag fitted with a large round tip, or use a spoon.
- Pipe or spoon the filling evenly into each glass, leaving about 1/2 inch of space at the top for the whipped cream topping.
- Smooth the tops with the back of a spoon if needed.
- Cover each glass with plastic wrap and refrigerate for at least 4 hours, or preferably overnight.
Prepare the Topping:
- In a chilled mixing bowl, combine the heavy cream, powdered sugar, and vanilla extract.
- Beat on medium-high speed until stiff peaks form.
- Just before serving, remove the cheesecakes from the refrigerator and discard the plastic wrap.
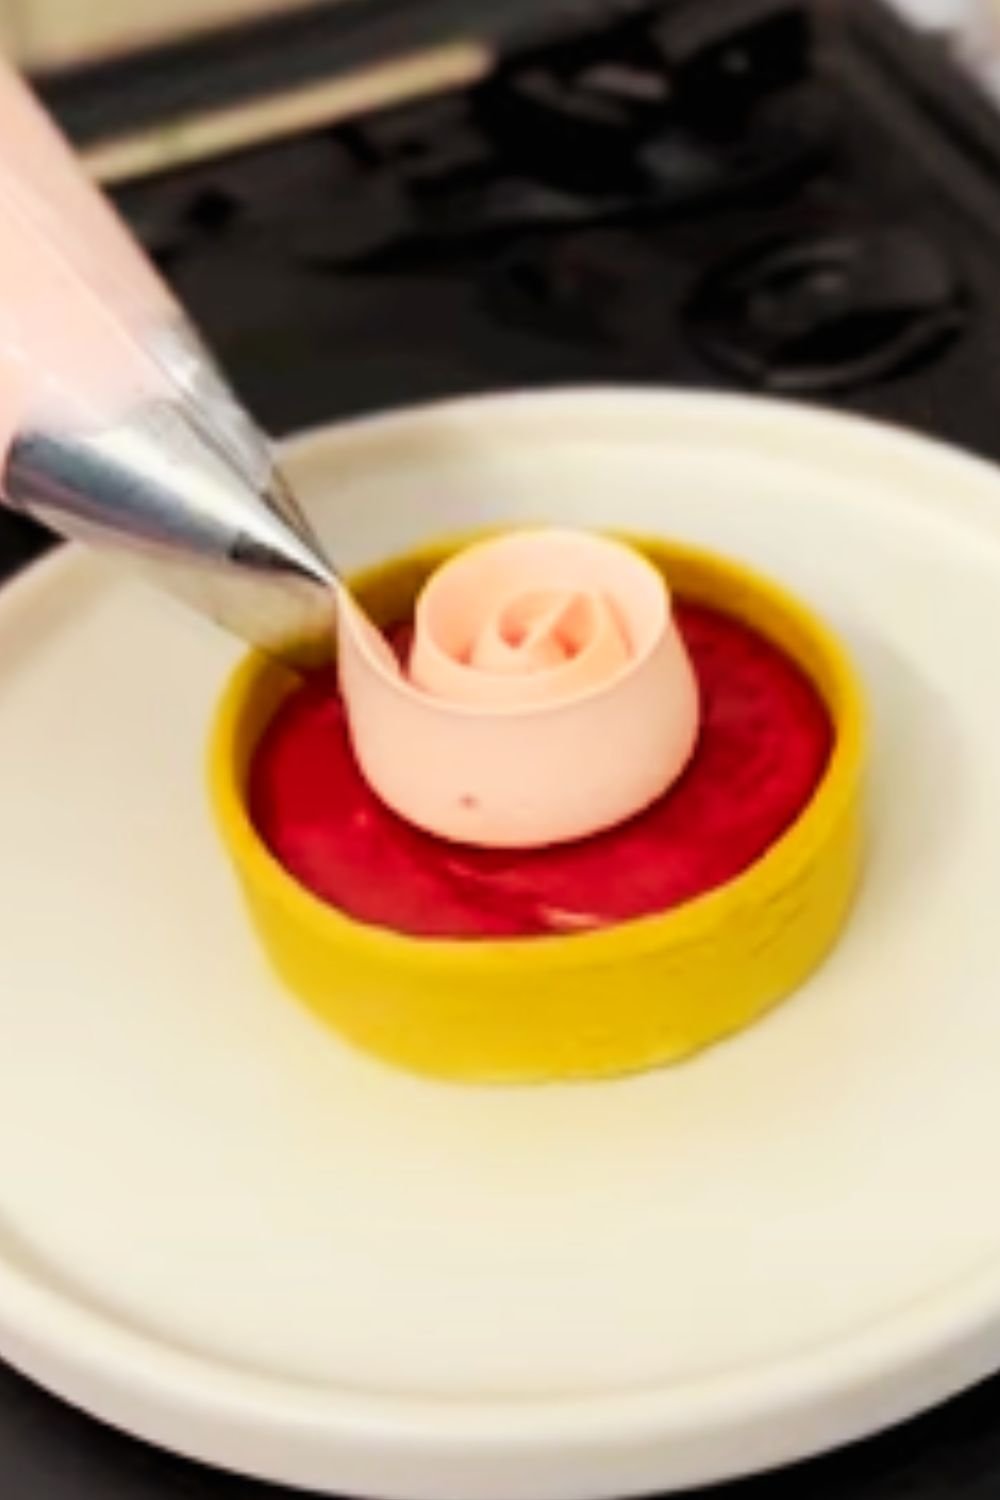
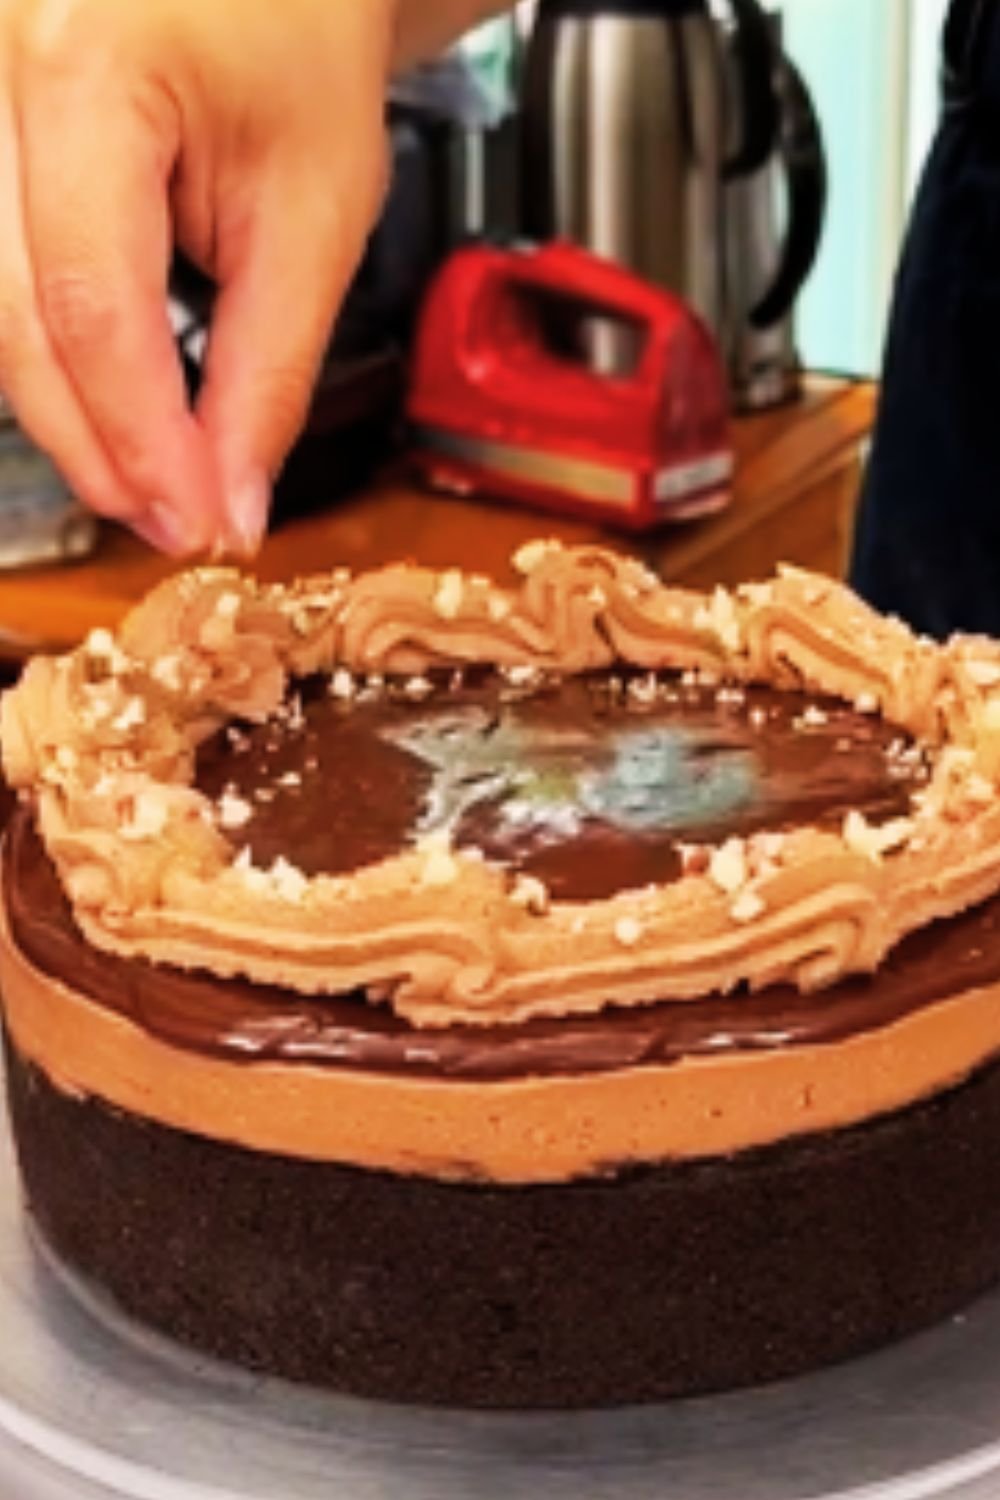
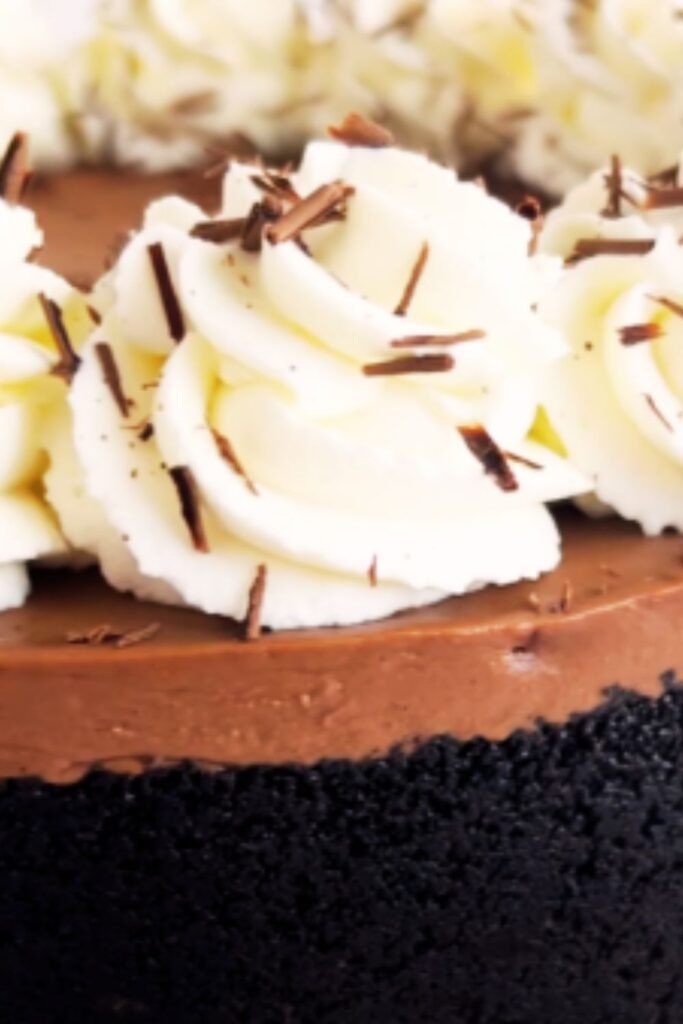
- Top each cheesecake with a generous dollop of whipped cream. You can also use a piping bag fitted with a star tip for a more decorative presentation.
- Sprinkle with toasted hazelnuts and chocolate shavings or dust lightly with cocoa powder.
Recipe Variations
Mini Nutella Cheesecake Bites
Use a mini muffin tin lined with paper liners. Press the crust mixture into the bottom of each cup, add the filling, and chill. Top with a small dollop of whipped cream and a single hazelnut for bite-sized treats perfect for parties.
Nutella Cheesecake Parfaits
Create beautiful layers by alternating the cookie crumbs, cheesecake filling, and whipped cream for a stunning visual presentation in tall parfait glasses.
Frozen Nutella Cheesecake Pops
Fill popsicle molds with the cheesecake mixture, insert sticks, and freeze. Dip in melted chocolate for a fun frozen treat.
Vegan Alternative
Substitute vegan cream cheese, coconut cream, and vegan chocolate-hazelnut spread. Use vegan chocolate sandwich cookies and plant-based butter for the crust.
Make-Ahead and Storage Tips
| Storage Method | Details | Maximum Storage Time |
|---|---|---|
| Refrigerator | Cover individual cheesecakes with plastic wrap | 3-4 days |
| Freezer | Wrap tightly without toppings, thaw in refrigerator | Up to 1 month |
| Make-Ahead | Prepare up to 2 days in advance, add toppings just before serving | 2 days |
Nutritional Information (Per Serving)
| Nutrient | Amount |
|---|---|
| Calories | 580 |
| Fat | 43g |
| Saturated Fat | 24g |
| Carbohydrates | 45g |
| Sugar | 36g |
| Protein | 7g |
| Sodium | 280mg |
| Fiber | 2g |
Tips for Perfect No-Bake Nutella Cheesecakes
- Room temperature cream cheese is essential for a smooth, lump-free filling. Take it out of the refrigerator at least 1 hour before you plan to make the cheesecakes.
- Chill your mixing bowl and beaters in the freezer for 15 minutes before whipping the cream. This helps achieve maximum volume.
- For the best flavor, toast the hazelnuts before chopping them. Spread them on a baking sheet and toast in a 350°F oven for 8-10 minutes until fragrant, then rub in a clean kitchen towel to remove skins.
- To achieve clean layers in clear glasses, wipe the inside of the glass with a paper towel after adding each layer.
- Allow adequate chilling time. The longer these cheesecakes chill, the better they set up and the more the flavors meld together. Overnight is ideal.
Serving Suggestions
These elegant individual desserts stand perfectly on their own, but if you’re looking to create a full dessert spread, here are some ideas:
- Serve alongside fresh berries for a touch of fruity brightness
- Pair with espresso or a rich coffee to balance the sweetness
- Offer alongside biscotti for an additional crunchy element
- Create a dessert board with these cheesecakes as the centerpiece, surrounded by chocolate truffles and fresh fruit

Common Questions About No-Bake Nutella Cheesecakes
Can I make this as one large cheesecake instead of individual portions? Absolutely! Use an 8-inch springform pan lined with parchment paper. Double the crust recipe and press it into the bottom of the pan. Pour the filling over the crust and chill as directed. You’ll need to increase the chilling time to at least 6 hours or overnight.
What if I don’t have Nutella? Can I use another chocolate-hazelnut spread? Yes, any chocolate-hazelnut spread will work in this recipe. There are several brands available, including some organic or reduced-sugar options.
My cheesecake filling seems too soft. What went wrong? The filling should be soft but hold its shape. If it’s too runny, you may not have whipped the cream enough before folding it in, or the cream cheese might have been too warm. Chill the mixture for 30 minutes and then try whipping it again.
Can I make these dairy-free? Yes! Use dairy-free cream cheese, coconut cream instead of heavy cream, and make sure your chocolate-hazelnut spread is dairy-free. The results will be slightly different in texture but still delicious.
How far in advance can I make these cheesecakes? You can make the cheesecakes up to 2 days ahead of time, but I recommend adding the whipped cream topping and garnishes just before serving for the best presentation.
Can I freeze these cheesecakes? Yes, these cheesecakes freeze well. Freeze them without the toppings, tightly wrapped, for up to 1 month. Thaw overnight in the refrigerator and add fresh toppings before serving.
Why This Recipe Works
The science behind this no-bake cheesecake is fascinating. Without the eggs and baking process of traditional cheesecake, we rely on refrigeration to set the dessert. The fat content in the cream cheese and Nutella solidifies when chilled, creating that perfect creamy yet firm texture.
The cookie crust provides a solid base through the butter, which acts as a binding agent when chilled. This creates the perfect contrast to the smooth filling.
Folding in whipped cream introduces air to the mixture, resulting in a lighter, mousse-like texture rather than the dense consistency of a baked cheesecake. It’s this careful balance of ingredients that makes these no-bake cheesecakes so special.
A Personal Note
I first created this recipe when I needed a quick dessert for unexpected guests. I had a jar of Nutella in the pantry and cream cheese in the fridge, and these cheesecakes were born out of necessity. Now they’re one of my signature desserts, requested at every family gathering.
What I love most about sharing this recipe is watching people’s faces light up with their first bite. There’s something about the familiar comfort of Nutella transformed into an elegant dessert that brings pure joy. I hope these little jars of happiness bring the same delight to your table as they have to mine.
Remember, dessert is about more than just satisfying a sweet tooth—it’s about creating moments of connection and joy. These No-Bake Nutella Cheesecakes are perfect for those moments.
Q&A Section
Can I use a regular blender instead of a food processor for the cookie crust? Yes, you can use a blender, but pulse in short bursts to avoid over-processing the cookies. Alternatively, place the cookies in a sealed plastic bag and crush them with a rolling pin for a more rustic texture.
How do I know when my cream cheese is properly softened? Properly softened cream cheese should yield easily when pressed with a finger but still maintain its shape. It shouldn’t be melted or oily. Ideally, leave it at room temperature for about an hour before using.
Can children help make this recipe? Absolutely! This is a very kid-friendly recipe. Children can help crush cookies, mix ingredients, and especially enjoy layering the components. Since there’s no baking involved, it’s a safe cooking project for all ages.
What’s the best way to get Nutella out of the jar without making a mess? Warming the jar slightly makes it easier to measure Nutella. Place the jar (with lid removed) in the microwave for 10-15 seconds, or set it in warm water for a few minutes. Use a silicone spatula to get every last bit.
Why do my hazelnuts taste bitter? If hazelnuts taste bitter, it’s likely because of their skins. After toasting, rub them vigorously in a clean kitchen towel while still warm to remove most of the skins, which contain the bitter compounds.
Do I need to use a particular type of chocolate cookie for the crust? Chocolate sandwich cookies like Oreos work best because their cream filling helps bind the crust. However, you can use any chocolate cookie—graham crackers with added cocoa powder also make a great alternative.
How can I tell if my whipped cream has reached the right consistency? For soft peaks (used in the filling), the cream should form gentle peaks that slightly bend over at the tips when you lift the beater. For stiff peaks (used for topping), the peaks should stand straight up without falling over.
What can I substitute for hazelnuts if there’s a nut allergy? For a nut-free version, replace hazelnuts with chocolate curls, mini chocolate chips, or chocolate cookie crumbs. The dessert will still be delicious without sacrificing texture or visual appeal.