There’s something magical about the combination of smoky grilled flavors and the comforting pull of melted cheese that makes summer entertaining so special. As someone who has spent countless weekends perfecting the art of outdoor cooking, I’ve discovered that few dishes bring together friends and family quite like my Grilled Summer BBQ Chicken Pizza. This isn’t your ordinary pizza—it’s a celebration of seasonal ingredients, cooked over open flames, creating layers of flavor that simply can’t be replicated in a conventional oven.
I remember the first time I attempted to grill pizza during a family gathering. The dough stuck to the grates, the toppings slid off, and what emerged was more “abstract art” than dinner. Several summers and many trials later, I’ve perfected a technique that yields consistently amazing results: a crispy, slightly charred crust that still maintains that perfect chew, topped with tangy BBQ sauce, grilled chicken, colorful summer vegetables, and a blend of cheeses that creates the most satisfying pull with every bite.
This recipe transforms your backyard grill into a pizza oven, bringing together the best elements of summer cooking. I’m excited to share not just the recipe, but all the tips and tricks I’ve learned along the way. Whether you’re hosting a casual weeknight dinner or planning a weekend get-together, this Grilled Summer BBQ Chicken Pizza is guaranteed to be the highlight of your summer menu.
The Perfect Pizza Dough: Your Foundation for Success
The journey to an exceptional grilled pizza begins with the dough. While store-bought dough works in a pinch, there’s something deeply satisfying about creating your own from scratch. The dough for grilled pizza needs to be slightly different from what you might use in a conventional oven—it should be able to withstand the direct heat of the grill without tearing or becoming too brittle.
Homemade Grilled Pizza Dough
| Ingredients | Amount | Notes |
|---|---|---|
| All-purpose flour | 3½ cups | You can substitute up to 1 cup with whole wheat flour for added nutrition |
| Active dry yeast | 1 packet (2¼ tsp) | Instant yeast works too, no proofing needed |
| Warm water | 1⅓ cups | Temperature should be around 110°F (43°C) |
| Olive oil | 2 tablespoons | Plus extra for oiling the bowl |
| Honey | 1 tablespoon | Helps feed the yeast and adds subtle flavor |
| Salt | 1½ teaspoons | Table salt or fine sea salt |
| Cornmeal | For dusting | Prevents sticking when transferring to grill |
Step-by-Step Instructions:
- In a large bowl, combine the warm water, yeast, and honey. Let it sit for about 5 minutes until foamy. (If using instant yeast, you can skip this waiting period and move straight to the next step.)
- Add the olive oil, 3 cups of flour, and salt. Mix until a shaggy dough forms.
- Turn the dough out onto a floured surface and knead for 5-7 minutes, gradually adding the remaining flour until you achieve a smooth, elastic dough that’s slightly tacky but not sticky.
- Place the dough in an oiled bowl, cover with plastic wrap or a damp kitchen towel, and let rise in a warm place for 1-1½ hours, or until doubled in size.
- Once risen, punch down the dough and divide it into 4 equal portions for personal-sized pizzas or 2 portions for larger shared pizzas.
- Form each portion into a ball, cover loosely, and let rest for 15 minutes before shaping.
I’ve found that making the dough at least 24 hours in advance and letting it slow-rise in the refrigerator develops a much deeper flavor. If you go this route, simply punch down the dough after the first rise, divide it, form into balls, place in oiled ziplock bags, and refrigerate. Remove from the refrigerator about 1 hour before you plan to grill.
The Star of the Show: Perfectly Grilled BBQ Chicken
While the dough is the foundation, the grilled chicken is undeniably the star of this pizza. The key is to infuse the chicken with flavor before it ever touches the pizza, creating layers of taste that make each bite exciting.
Grilled BBQ Chicken Ingredients
| Ingredients | Amount | Notes |
|---|---|---|
| Boneless, skinless chicken breasts | 2 large (about 1 pound) | Can substitute with chicken thighs for more flavor |
| BBQ dry rub | 2 tablespoons | Recipe below or use your favorite store-bought version |
| Olive oil | 1 tablespoon | For coating the chicken |
| BBQ sauce | ½ cup | Plus more for the pizza base (homemade recipe below) |
Homemade BBQ Dry Rub
| Ingredients | Amount | Notes |
|---|---|---|
| Brown sugar | 2 tablespoons | Light or dark both work |
| Smoked paprika | 1 tablespoon | Gives the chicken that essential smoky flavor |
| Garlic powder | 1 teaspoon | Provides depth without burning like fresh garlic might |
| Onion powder | 1 teaspoon | Adds savory notes |
| Dry mustard | ½ teaspoon | Brings a subtle tangy element |
| Cumin | ½ teaspoon | For earthy undertones |
| Black pepper | ½ teaspoon | Freshly ground is best |
| Salt | 1 teaspoon | Kosher salt preferred |
| Cayenne pepper | ¼ teaspoon | Adjust according to your heat preference |
Homemade BBQ Sauce
| Ingredients | Amount | Notes |
|---|---|---|
| Ketchup | 1 cup | Base for the sauce |
| Brown sugar | ¼ cup | Adds sweetness |
| Molasses | 2 tablespoons | Gives depth and richness |
| Apple cider vinegar | 2 tablespoons | For tanginess |
| Worcestershire sauce | 1 tablespoon | Umami booster |
| Dijon mustard | 1 tablespoon | Adds complexity |
| Smoked paprika | 1 teaspoon | For smokiness |
| Garlic powder | ½ teaspoon | Flavor enhancement |
| Onion powder | ½ teaspoon | More depth of flavor |
| Black pepper | ¼ teaspoon | Freshly ground |
| Salt | ½ teaspoon | To taste |
| Hot sauce | A few dashes | Optional, for heat |
Preparing the Chicken:
- Combine all dry rub ingredients in a small bowl.
- Pat the chicken breasts dry with paper towels and coat lightly with olive oil.
- Apply the dry rub generously to both sides of the chicken, pressing it in to adhere.
- Allow the chicken to sit with the rub for at least 30 minutes (or up to 24 hours covered in the refrigerator) to absorb the flavors.
- Preheat your grill to medium-high heat (around 375-400°F).
- Grill the chicken for 5-6 minutes per side, or until the internal temperature reaches 165°F.
- During the last 2 minutes of cooking, brush the BBQ sauce on both sides of the chicken, allowing it to caramelize slightly.
- Remove from the grill and let rest for 5 minutes before slicing into bite-sized pieces.
For the BBQ sauce, simply combine all ingredients in a saucepan and simmer over low heat for about 15 minutes, stirring occasionally, until slightly thickened. Cool before using.
The combination of the dry rub and the caramelized BBQ sauce creates chicken that’s flavorful enough to stand on its own but plays perfectly with the other pizza toppings.
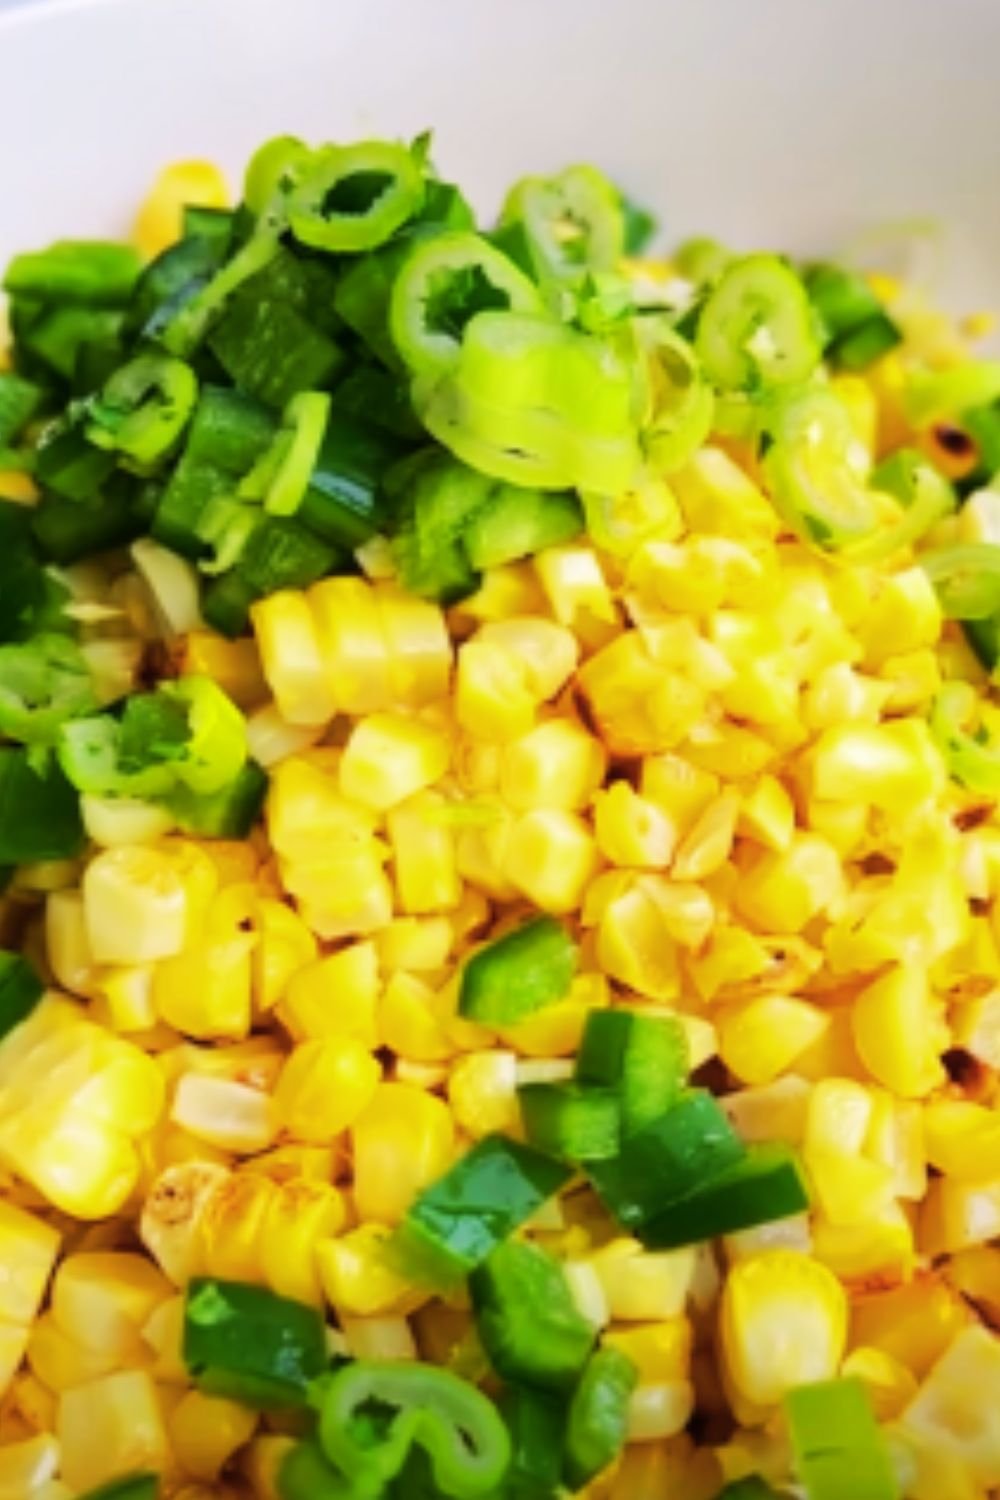
Fresh Summer Toppings: Bringing Color and Flavor
What makes this pizza truly special is the vibrant array of summer vegetables that complement the savory chicken and tangy BBQ sauce. I like to use what’s freshest and most colorful at the farmers’ market, but here are my standard go-to toppings:
Toppings Selection
| Ingredients | Amount | Preparation |
|---|---|---|
| Red onion | 1 medium | Thinly sliced and grilled for 2-3 minutes |
| Bell peppers (red, yellow, orange) | 2 medium | Grilled for 4-5 minutes and sliced |
| Corn | 1 ear | Grilled until charred and kernels removed |
| Fresh pineapple | ½ cup | Grilled for 2 minutes per side and diced |
| Jalapeño | 1 small | Grilled briefly and thinly sliced (optional) |
| Fresh cilantro | ¼ cup | Roughly chopped |
| Green onions | 3-4 | Thinly sliced |
Cheese Blend
| Cheese Type | Amount | Notes |
|---|---|---|
| Low-moisture mozzarella | 1½ cups | Shredded, provides the perfect melt and pull |
| Smoked gouda | ½ cup | Shredded, adds smoky depth |
| Monterey Jack | ½ cup | Shredded, melts beautifully and has mild flavor |
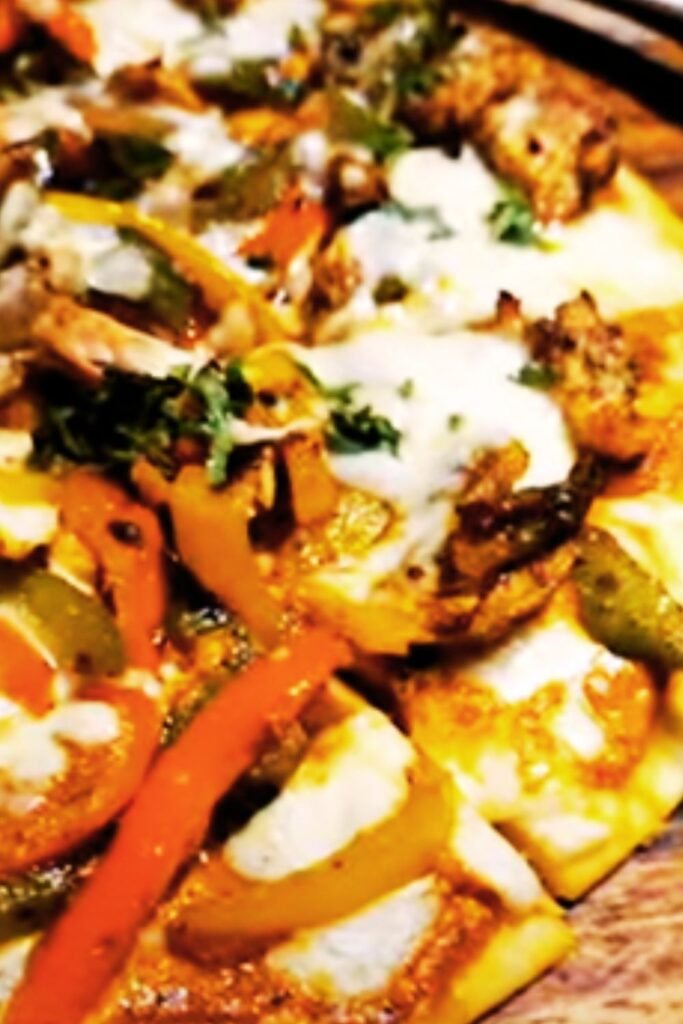
I always grill the vegetables before they go on the pizza. This not only adds an extra layer of smoky flavor but also ensures they’re properly cooked by the time the pizza comes off the grill. The cheese blend is equally important—the mozzarella gives you that Instagram-worthy cheese pull, while the smoked gouda enhances the BBQ flavors, and the Monterey Jack adds creaminess.
The Grilling Process: Turning Dough into Pizza Magic
Grilling pizza might seem intimidating at first, but once you get the hang of it, you’ll wonder why you ever made pizza any other way. The key is having all your toppings prepared and within reach before you start the grilling process, as things move quickly once the dough hits the grates.
Equipment You’ll Need:
- A gas or charcoal grill with a lid
- Long-handled tongs
- Heat-resistant gloves
- Pizza peel or large flat baking sheet
- Pastry brush for oil
- Small bowls for organized toppings
Step-by-Step Grilling Instructions:
- Prepare your grill: Set up your grill for direct heat cooking at medium-high heat (around 400-450°F). Clean and oil the grates well.
- Shape your dough: On a floured surface, gently stretch each dough ball into a rough oval or circle about ¼-inch thick. Don’t worry about perfect shapes—the rustic look is part of the charm.
- First grill: Brush one side of the dough with olive oil and place it oil-side down on the grill. Close the lid and grill for 2-3 minutes until grill marks appear and the dough starts to bubble.
- Flip and top: Using tongs, flip the dough (the grilled side is now your top). Quickly brush the new bottom with olive oil, then spread a thin layer of BBQ sauce on the grilled side.
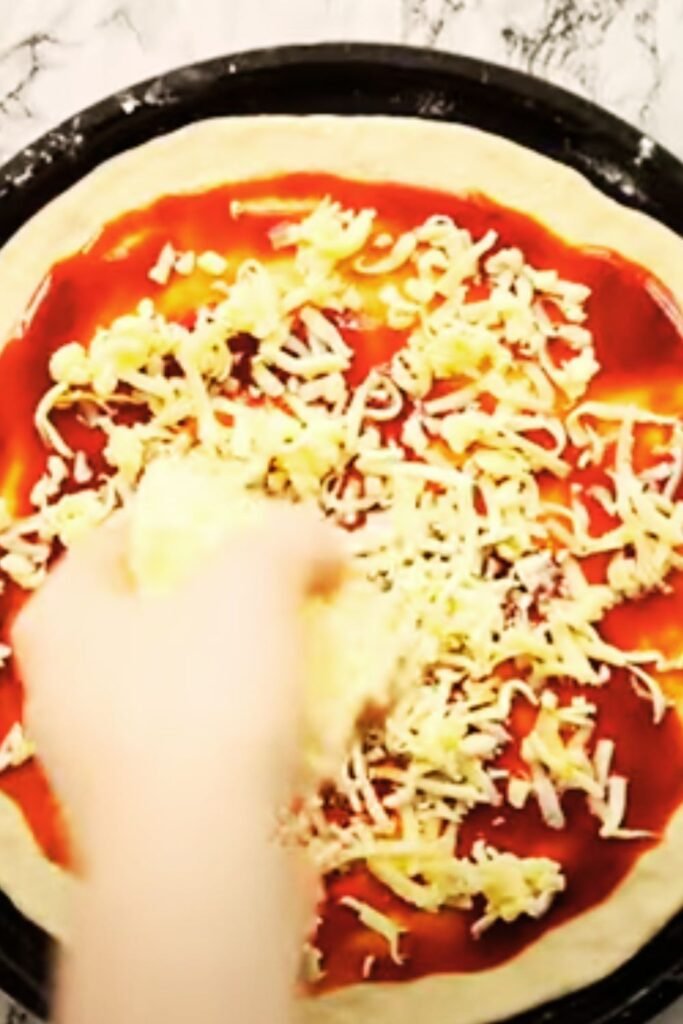
- Add toppings: Working quickly, add your chicken, grilled vegetables, and cheese blend. Don’t overload—a restrained hand with toppings leads to better cooking.
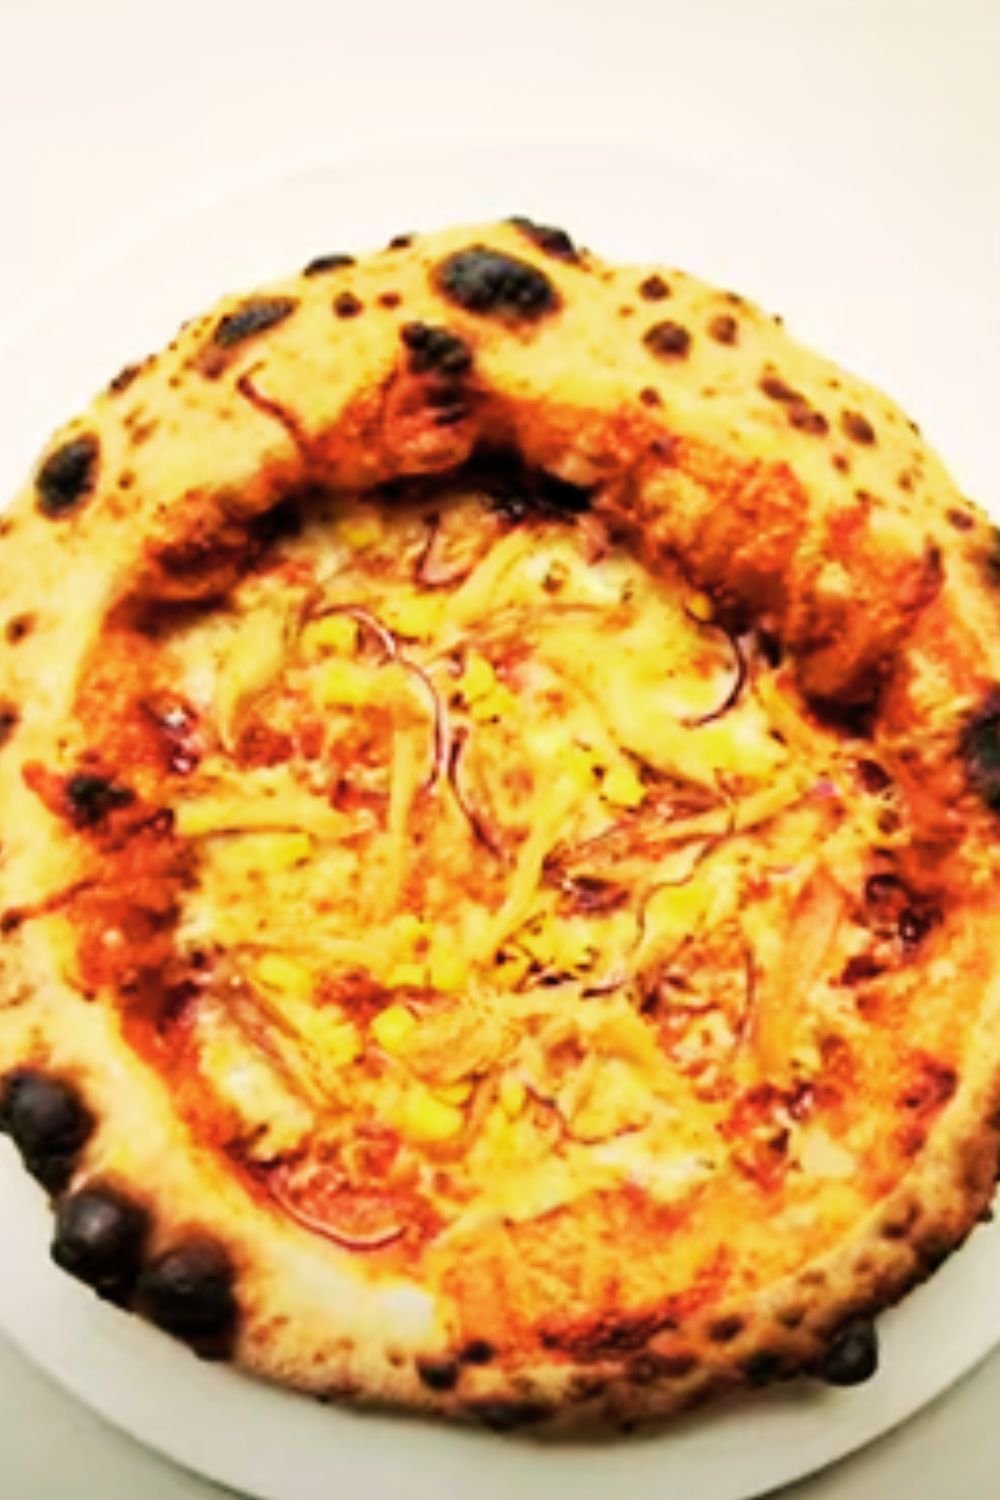
- Finish grilling: Close the lid and grill for another 3-5 minutes until the bottom is charred and the cheese is melted. If the bottom is cooking too quickly, reduce the heat or move the pizza to a cooler part of the grill.
- Final touches: Remove the pizza from the grill, sprinkle with fresh cilantro and green onions, and let it rest for a minute before slicing.
A common mistake is adding too many toppings, which can make the pizza soggy and difficult to handle. Remember that with grilled pizza, less is often more. The beauty lies in being able to taste each individual component while appreciating how they all work together.
Serving Suggestions: Making It a Complete Meal
While this pizza is certainly hearty enough to stand alone as a main course, I love to serve it with complementary sides that enhance the summer BBQ experience:
Refreshing Side Options
- Grilled Corn and Avocado Salad: The sweetness of grilled corn pairs beautifully with the creamy richness of avocado, dressed simply with lime juice, olive oil, and a pinch of salt.
- Watermelon, Feta, and Mint Salad: The cool juiciness of watermelon offers a refreshing contrast to the warm, savory pizza.
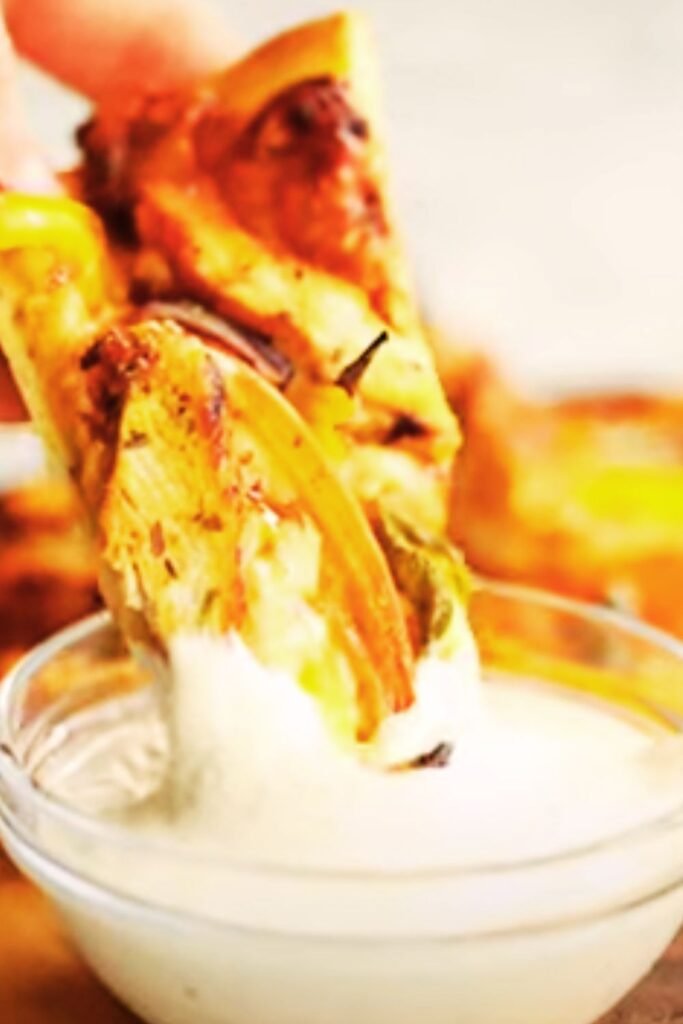
- Cucumber and Dill Yogurt Dip: A cool, tangy dip served with vegetable sticks provides a light, refreshing counterpoint.
Beverage Pairings
- Homemade Lemonade: Classic, sweet-tart lemonade cuts through the richness of the pizza.
- Sparkling Water with Fresh Fruit: Add slices of citrus or berries to sparkling water for a refreshing, non-alcoholic option.
- Iced Sweet Tea: A southern classic that complements the BBQ flavors perfectly.
For dessert, consider keeping the grill going and making simple grilled peaches topped with a small scoop of vanilla ice cream—it’s an effortless finale that maintains the grilled theme of the meal.
Troubleshooting: Common Grilled Pizza Challenges
Even experienced grill masters encounter occasional challenges when making grilled pizza. Here are solutions to some common issues:
Sticky Situations
- Problem: Dough sticking to the grill grates
- Solution: Make sure your grates are very clean and well-oiled before adding the dough. Also, don’t try to flip the dough too soon—it will naturally release from the grates when it’s ready.
Temperature Control
- Problem: Bottom burning before toppings are heated through
- Solution: Create a two-zone fire with direct and indirect heat areas. Start the pizza over direct heat to get grill marks, then move to the indirect zone to finish cooking.
Dough Challenges
- Problem: Dough tears when transferring to grill
- Solution: Use cornmeal under the dough to help it slide easily and ensure it’s not too thin. Don’t stretch the dough until right before grilling.
Make-Ahead and Storage Tips
One of the best things about this recipe is how components can be prepared in advance, making assembly quick when you’re ready to grill:
- Dough: Can be made up to 3 days in advance and stored in the refrigerator. You can even freeze portioned dough balls for up to 3 months.
- BBQ sauce: Keeps well in the refrigerator for up to 2 weeks and actually improves in flavor after a day or two.
- Chicken: Can be grilled 1-2 days ahead and refrigerated. Just bring to room temperature before using on the pizza.
- Vegetables: Can be grilled the day before and refrigerated. They won’t be quite as crisp but will still be delicious.
- Cheese: Shred and mix your cheese blend up to 3 days in advance and store in an airtight container in the refrigerator.
As for leftovers (if you have any!), store slices in an airtight container in the refrigerator for up to 3 days. Reheat in a skillet over medium-low heat with a lid until warmed through, or on a baking sheet in a 350°F oven for 5-7 minutes. Avoid the microwave, which will make the crust soggy.
Variations: Making It Your Own
While I love this recipe exactly as written, cooking is all about personalization. Here are some delicious variations to consider:
Different Protein Options
- Pulled Pork: Substitute the chicken with slow-cooked pulled pork tossed in BBQ sauce
- Grilled Shrimp: Marinate shrimp in BBQ sauce, grill quickly, and add to the pizza
- Plant-Based: Use BBQ-marinated tempeh or seitan for a vegetarian option
Regional BBQ Styles
- Kansas City Style: Use a thick, sweet molasses-based sauce
- Carolina Style: Try a vinegar-based sauce with a touch of heat
- Texas Style: Go for a spicy, tomato-based sauce with a beef brisket topping
Seasonal Adaptations
- Fall Harvest: Add sliced apples, butternut squash, and smoked blue cheese
- Spring Garden: Top with asparagus, peas, and lemon zest
- Winter Comfort: Include roasted root vegetables and a drizzle of balsamic glaze
Q&A Section: Your Grilled Pizza Questions Answered
Q: Can I make this pizza in a regular oven if I don’t have a grill?
Yes, you absolutely can! Preheat your oven to its highest setting (usually 500-550°F) with a pizza stone or heavy baking sheet inside. Stretch your dough, add toppings, and bake for 8-10 minutes until the crust is golden and the cheese is bubbly. You’ll miss some of the smoky char flavor, but it will still be delicious.
Q: Is there a gluten-free alternative for the dough?
Definitely! You can substitute a good-quality store-bought gluten-free pizza dough, or make your own using a blend of gluten-free flours (like rice flour, tapioca starch, and potato starch) plus a binder like xanthan gum. Just note that gluten-free dough can be more delicate, so you might want to use a pizza screen or perforated pan when grilling.
Q: How can I make this recipe vegetarian?
Simply omit the chicken and either replace it with grilled vegetables like portobello mushrooms, zucchini, and eggplant, or try a plant-based protein like BBQ-marinated tempeh or seitan. You could also add some black beans for protein. Just check that your BBQ sauce is vegetarian (some contain Worcestershire sauce, which traditionally contains anchovies).
Q: What’s the secret to getting a crispy crust that’s not burnt?
Temperature control is key. Make sure your grill is properly preheated but not too hot (aim for 400-450°F). Don’t leave the pizza unattended, and if you notice the bottom cooking faster than the top, move it to a cooler part of the grill or reduce the heat. Also, a slightly thicker dough (about ¼-inch) will be more forgiving than a very thin one.
Q: Can I prepare everything in advance for a party?
Absolutely! This is a great party food because nearly everything can be prepped ahead. Make the dough and BBQ sauce days in advance, grill the chicken and vegetables the day before, and shred the cheese. At party time, just shape the dough and grill your pizzas. You can even turn it into an interactive pizza bar where guests choose their own toppings.
Q: How do I prevent my dough from sticking to the pizza peel when transferring to the grill?
A generous dusting of cornmeal is your best friend here. It acts like little ball bearings that help the dough slide. Also, don’t let the shaped dough sit on the peel for too long before grilling, as it can start to stick. Give the peel a little shake before you transfer to make sure the dough moves freely.
Final Thoughts: Why Grilled Pizza Will Change Your Summer Cooking Game
After years of summer grilling, I’ve come to believe that grilled pizza represents the perfect intersection of tradition and innovation. It honors the timeless appeal of pizza while transforming it into something uniquely suited to outdoor summer cooking. The contrast of the crisp, smoky crust with the sweet-tangy BBQ sauce and the fresh summer toppings creates a meal that’s greater than the sum of its parts.
What I love most about this recipe is its versatility. Once you master the technique of grilling the dough, you can adapt it to whatever ingredients are freshest at your local market or whatever you happen to have on hand. It’s a forgiving dish that encourages creativity and rewards experimentation.
So fire up your grill, gather your favorite people, and prepare to impress them with a pizza experience that captures all the best flavors of summer. The Grilled Summer BBQ Chicken Pizza isn’t just a meal—it’s a celebration of the season, a showcase for fresh ingredients, and most importantly, a delicious reason to spend time outdoors with the people you care about most.