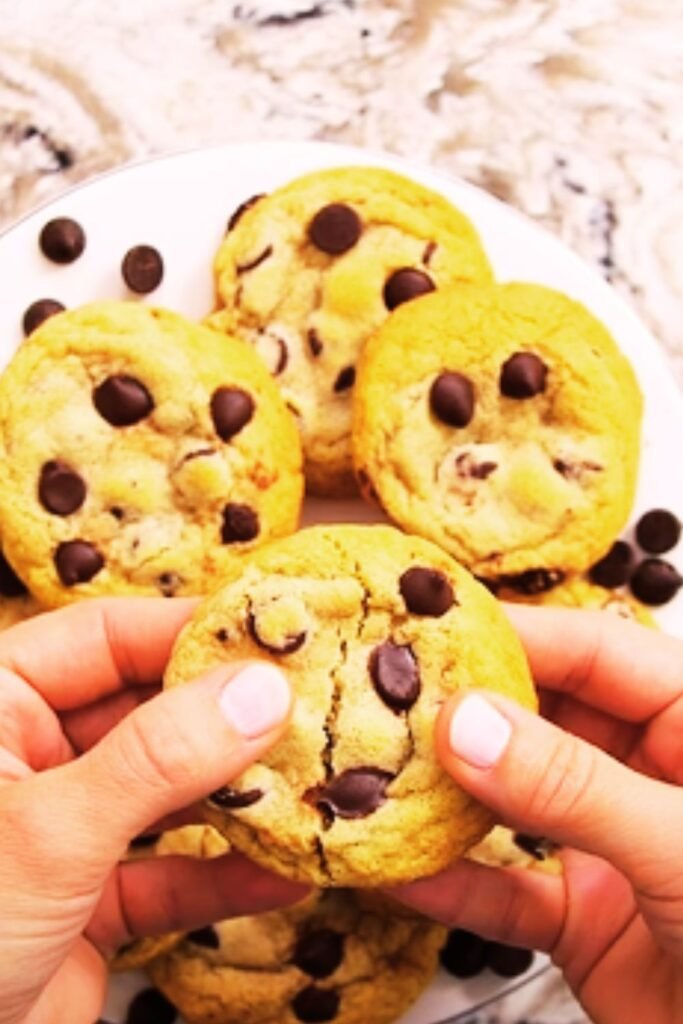
Have you ever bitten into a gluten-free cookie only to be met with disappointment? I know I have. For years, finding a truly delicious gluten-free chocolate chip cookie recipe felt like searching for the Holy Grail. After countless batches of cookies that were too dry, too crumbly, or tasted like cardboard, I finally cracked the code. Today, I’m sharing my foolproof recipe for the best chewy gluten-free chocolate chip cookies you’ll ever taste.
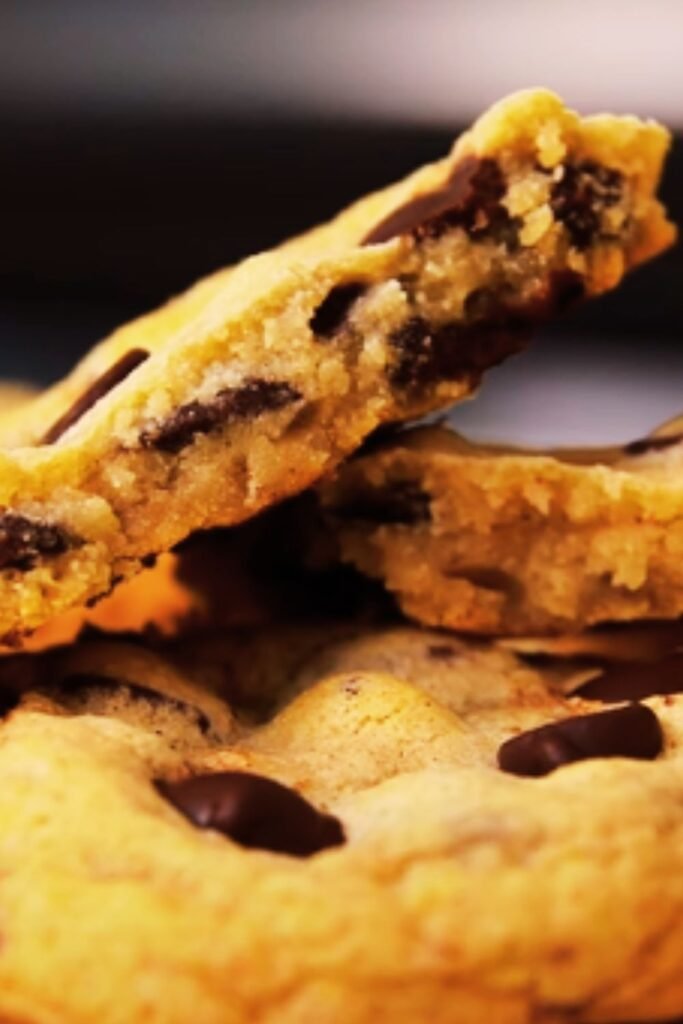
These cookies have the perfect balance of crispy edges and soft, chewy centers. They’re loaded with chocolate chips and have that classic, buttery flavor we all crave. The best part? If you didn’t tell someone they were gluten-free, they’d never know.
Why Gluten-free Baking Can Be Challenging
Before diving into the recipe, let’s talk about why gluten-free baking can be so tricky. Gluten is a protein found in wheat that gives traditional baked goods their structure and chewiness. When you remove gluten from the equation, you need to find other ingredients that can mimic its properties.
Common issues with gluten-free cookies include:
- Cookies that spread too much during baking
- Dry, crumbly textures
- Gritty mouthfeel from rice flours
- Lack of chewiness
- Strange aftertastes from alternative flours
My recipe addresses all these challenges. Through extensive testing and refining, I’ve found the perfect combination of ingredients and techniques to create gluten-free cookies that rival their glutenous counterparts.
The Secret to Perfect Gluten-free Cookies
The key to amazing gluten-free chocolate chip cookies lies in three main areas:
The Right Flour Blend: Not all gluten-free flour blends are created equal. Some contain gritty rice flours, while others include starches and gums that affect texture. I’ve discovered that a blend of several flours and starches creates the best results.
Proper Binding Agents: Without gluten to hold everything together, we need other ingredients to step in. A combination of eggs, xanthan gum, and the right amount of fat creates the perfect binding structure.
Resting Time: This is perhaps the most overlooked step in gluten-free baking. Giving the dough time to rest allows the flours to hydrate properly and the flavors to develop.
Essential Equipment
Before we start, make sure you have these tools on hand:
- Stand mixer or electric hand mixer
- Digital kitchen scale (for precise measurements)
- Parchment paper
- Cookie scoop (2 tablespoon size)
- Cooling rack
- Mixing bowls
- Measuring cups and spoons
- Baking sheets
Ingredients
For approximately 24 cookies:
| Ingredient | Amount | Notes |
|---|---|---|
| Unsalted butter | 230g (1 cup) | Room temperature |
| Brown sugar | 200g (1 cup) | Packed |
| Granulated sugar | 100g (1/2 cup) | – |
| Eggs | 2 large | Room temperature |
| Vanilla extract | 2 teaspoons | Pure vanilla, not imitation |
| Gluten-free flour blend | 350g (2 1/2 cups) | Store-bought or homemade (see below) |
| Xanthan gum | 1/2 teaspoon | Omit if your flour blend contains it |
| Baking soda | 1 teaspoon | – |
| Fine sea salt | 1 teaspoon | – |
| Semi-sweet chocolate chips | 340g (2 cups) | High-quality chips recommended |
| Coarse sea salt | For sprinkling | Optional, but recommended |
Homemade Gluten-free Flour Blend
If you prefer to make your own flour blend rather than using a pre-packaged one, here’s my tried-and-tested formula:
| Ingredient | Amount | Percentage |
|---|---|---|
| Brown rice flour | 140g (1 cup) | 40% |
| White rice flour | 70g (1/2 cup) | 20% |
| Potato starch (not flour) | 70g (1/2 cup) | 20% |
| Tapioca starch | 70g (1/2 cup) | 20% |
This blend works exceptionally well for cookies. It provides structure while maintaining a light texture. Whisk all ingredients together thoroughly and store in an airtight container.
Step-by-Step Instructions
Preparing the Dough
- Cream the butter and sugars: In the bowl of a stand mixer fitted with the paddle attachment, beat the butter, brown sugar, and granulated sugar on medium speed for 3-4 minutes until light and fluffy. This step incorporates air into the dough, creating a better texture.
- Add the eggs and vanilla: Add the eggs one at a time, beating well after each addition. Scrape down the sides of the bowl as needed. Mix in the vanilla extract until combined.
- Combine dry ingredients: In a separate bowl, whisk together the gluten-free flour blend, xanthan gum (if using), baking soda, and fine sea salt.
- Combine wet and dry ingredients: With the mixer on low speed, gradually add the dry ingredients to the wet ingredients. Mix just until combined. Be careful not to overmix, as this can affect the texture of your cookies.
- Add chocolate chips: Fold in the chocolate chips using a rubber spatula. Make sure they’re evenly distributed throughout the dough.
- Rest the dough: Cover the bowl with plastic wrap and refrigerate for at least 2 hours, or preferably overnight. This resting period is crucial for gluten-free cookies as it allows the flours to hydrate and the flavors to develop.
Baking the Cookies
- Preheat your oven: When ready to bake, preheat your oven to 350°F (175°C). Line two baking sheets with parchment paper.
- Portion the dough: Using a 2-tablespoon cookie scoop, portion the dough onto the prepared baking sheets, spacing them about 2 inches apart. For extra bakery-style cookies, roll each portion into a ball and slightly flatten the top.
- Add finishing touches: Sprinkle each cookie with a small amount of coarse sea salt if desired. This enhances the chocolate flavor and adds a gourmet touch.
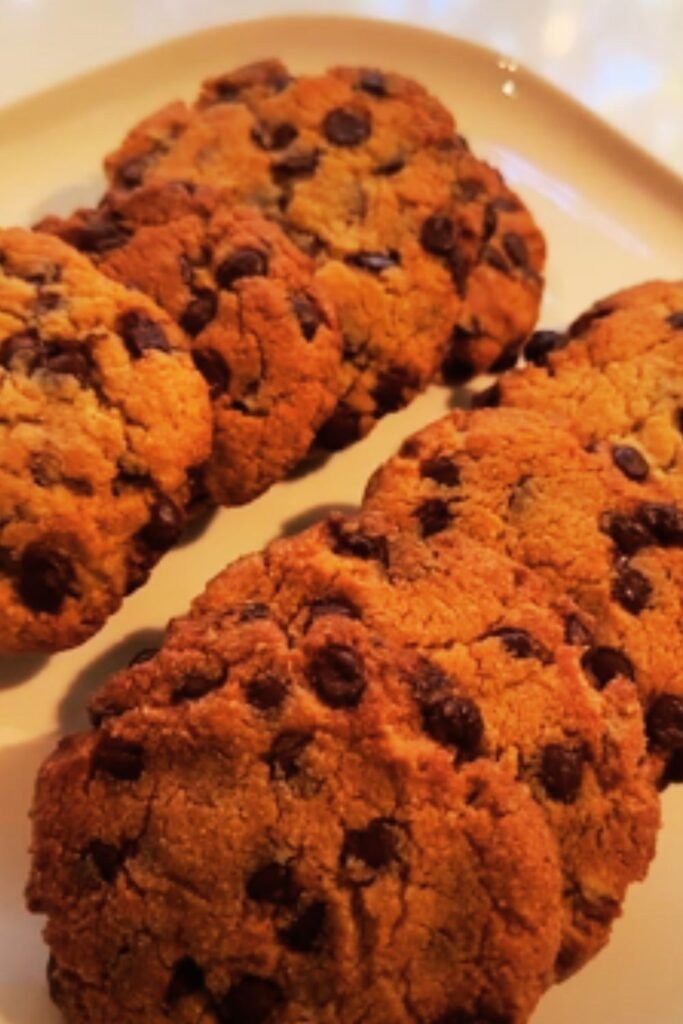
- Bake: Place the cookies in the preheated oven and bake for 10-12 minutes. The edges should be golden brown, but the centers will still look slightly underdone. This ensures a chewy texture once cooled.
- Cool properly: Allow the cookies to cool on the baking sheet for 5 minutes before transferring them to a wire rack to cool completely. The cookies will continue to set as they cool.
Troubleshooting Guide
Even with a foolproof recipe, things can sometimes go wrong. Here’s how to address common issues:
| Problem | Possible Cause | Solution |
|---|---|---|
| Cookies spread too much | Butter too soft or dough too warm | Chill dough longer before baking |
| Cookies don’t spread enough | Flour measurement too high | Use a kitchen scale for accurate measurements |
| Cookies are too hard | Overbaking | Bake for less time; they should look slightly underdone when removed from oven |
| Gritty texture | Poor quality flour blend | Try a different blend or make your own |
| Cookies fall apart | Missing binding agent | Make sure to include xanthan gum if your flour blend doesn’t contain it |
Variations and Add-ins
The beauty of this base recipe is that it’s incredibly versatile. Here are some delicious variations to try:
Mix-ins (choose one or combine):
- White chocolate chips and dried cranberries (75g each)
- Chopped nuts like walnuts or pecans (100g)
- Peanut butter chips (150g)
- Butterscotch chips (150g)
- Chopped dark chocolate chunks instead of chips
- Toffee bits (75g)
Flavor Enhancements:
- Add 1 teaspoon of espresso powder to enhance chocolate flavor
- Mix in 1 tablespoon of orange zest for a citrus twist
- Use brown butter instead of regular butter for a nutty flavor
- Add 1/2 teaspoon of cinnamon for warmth
- Include 2 tablespoons of cocoa powder for a chocolate cookie base
Storage and Freezing Tips
These cookies are at their best when eaten within 2-3 days of baking, but proper storage can extend their life and maintain their chewy texture.
| Storage Method | Duration | Instructions |
|---|---|---|
| Room temperature | 3-4 days | Store in an airtight container with a slice of bread to maintain moisture |
| Refrigerator | Up to 1 week | Store in an airtight container; bring to room temperature before eating |
| Freezer (baked cookies) | Up to 3 months | Wrap individually in plastic wrap and store in a freezer bag |
| Freezer (cookie dough) | Up to 3 months | Roll into balls, freeze on a tray, then transfer to a freezer bag |
Freezing Cookie Dough for Later
One of my favorite tips is to freeze individual portions of cookie dough. This way, you can bake just a few cookies whenever the craving strikes.
- Scoop the dough into balls as if you were going to bake them.
- Place the dough balls on a parchment-lined baking sheet and freeze until solid (about 1-2 hours).
- Transfer the frozen dough balls to a freezer-safe bag or container.
- When ready to bake, place the frozen dough balls on a baking sheet and bake as directed, adding 1-2 minutes to the baking time.
Nutritional Information
For those keeping track of nutritional content, here’s an approximate breakdown per cookie (based on a batch of 24 cookies):
| Nutrient | Amount per cookie |
|---|---|
| Calories | 220 |
| Total Fat | 12g |
| Saturated Fat | 7g |
| Cholesterol | 35mg |
| Sodium | 180mg |
| Total Carbohydrates | 28g |
| Dietary Fiber | 1g |
| Sugars | 15g |
| Protein | 2g |
Note that these values may vary based on specific brands of ingredients used and exact portion sizes.
Serving Suggestions
These cookies are delicious on their own, but here are some ways to elevate your cookie experience:
- Serve warm with a glass of cold milk or dairy-free alternative
- Use two cookies to make an ice cream sandwich
- Crumble over gluten-free yogurt for a sweet treat
- Pack in a lunchbox with fresh fruit for a balanced dessert
- Gift in a decorative tin for holidays or special occasions
- Serve alongside hot coffee or tea for afternoon treats
- Create a cookie platter with several variations for parties
Frequently Asked Questions
Q: Can I use coconut oil instead of butter? A: Yes, you can substitute an equal amount of coconut oil for butter. Use refined coconut oil if you don’t want a coconut flavor. Note that the texture will be slightly different, and the cookies may spread more.
Q: What if I don’t have xanthan gum? A: Xanthan gum is important for structure in gluten-free baking. If you don’t have it and your flour blend doesn’t include it, you can try using 1 tablespoon of ground flaxseed mixed with 3 tablespoons of water as a substitute.
Q: Why do I need to chill the dough? A: Chilling the dough allows the flours to hydrate properly and prevents the cookies from spreading too much during baking. It also develops deeper flavor. Don’t skip this step!
Q: Can I reduce the sugar? A: Sugar does more than just sweeten the cookies; it affects texture and moisture. You can reduce it by about 25% without drastically changing the results, but more than that may affect the cookie’s structure and chewiness.
Q: Are these dairy-free as well? A: This recipe contains butter, so it’s not dairy-free. However, you can substitute the butter with a dairy-free alternative like Earth Balance buttery sticks for a dairy-free version. The results will be slightly different but still delicious.
Q: How can I tell when the cookies are done? A: The cookies should have golden brown edges but still look slightly underdone in the center. They will continue to cook on the hot baking sheet after you remove them from the oven. If you wait until they look completely done, they’ll end up overbaked and hard.
Q: Why did my cookies turn out flat? A: Several factors can cause flat cookies: butter that’s too warm, not enough flour, or skipping the chilling step. Make sure to measure ingredients accurately and chill the dough properly.
Q: Can I make these cookies vegan? A: Yes! Replace the eggs with flax eggs (1 tablespoon ground flaxseed mixed with 3 tablespoons water per egg) and use a plant-based butter alternative. Make sure your chocolate chips are vegan as well.
Why These Cookies Changed My Gluten-free Life
When I was first diagnosed with celiac disease, I worried my baking days were over. Store-bought gluten-free cookies were disappointing, and my early attempts at homemade versions weren’t much better. This recipe was truly a turning point. Not only could I enjoy delicious cookies again, but I could share them with friends and family who couldn’t tell they were gluten-free.
These cookies have been my go-to for holidays, potlucks, and late-night cravings. I’ve received countless requests for the recipe, and now I’m sharing it with you. Whether you’re a seasoned gluten-free baker or just starting out, I’m confident these cookies will become a staple in your recipe collection.
The journey to perfect gluten-free baking isn’t always easy, but when you bite into one of these warm, gooey chocolate chip cookies, you’ll know it was worth every experiment and failed batch along the way. Happy baking!