Have you ever wondered why some grilled chicken tastes absolutely magical while others fall flat? I’ve spent years perfecting my chicken dry rub recipe, and today I’m sharing my secret weapon that’ll transform your ordinary chicken into a mouth-watering masterpiece.
Why This Dry Rub Recipe Stands Out
After experimenting with countless combinations and ratios, I’ve discovered that the perfect chicken dry rub isn’t just about throwing together some spices – it’s about understanding how flavors complement each other and how they interact with the chicken during cooking. This recipe strikes the perfect balance between sweet, savory, and spicy elements while ensuring the chicken stays juicy and flavorful.
Essential Ingredients
| Ingredient | Amount | Purpose |
|---|---|---|
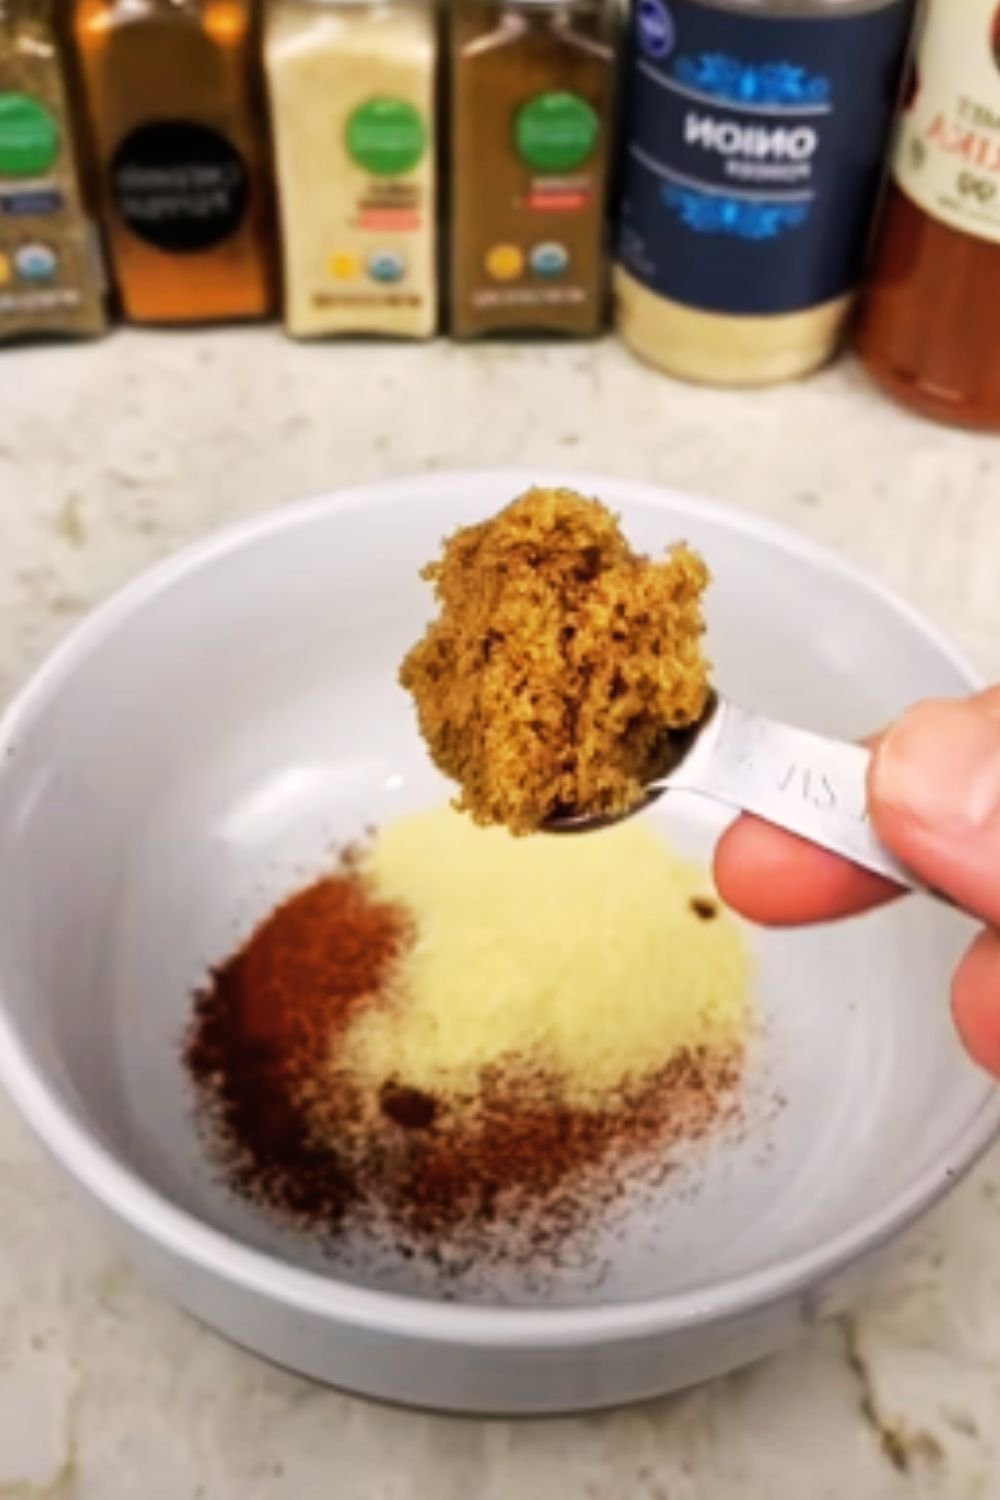
| Brown Sugar | 1/4 cup | Creates caramelization and balances heat |
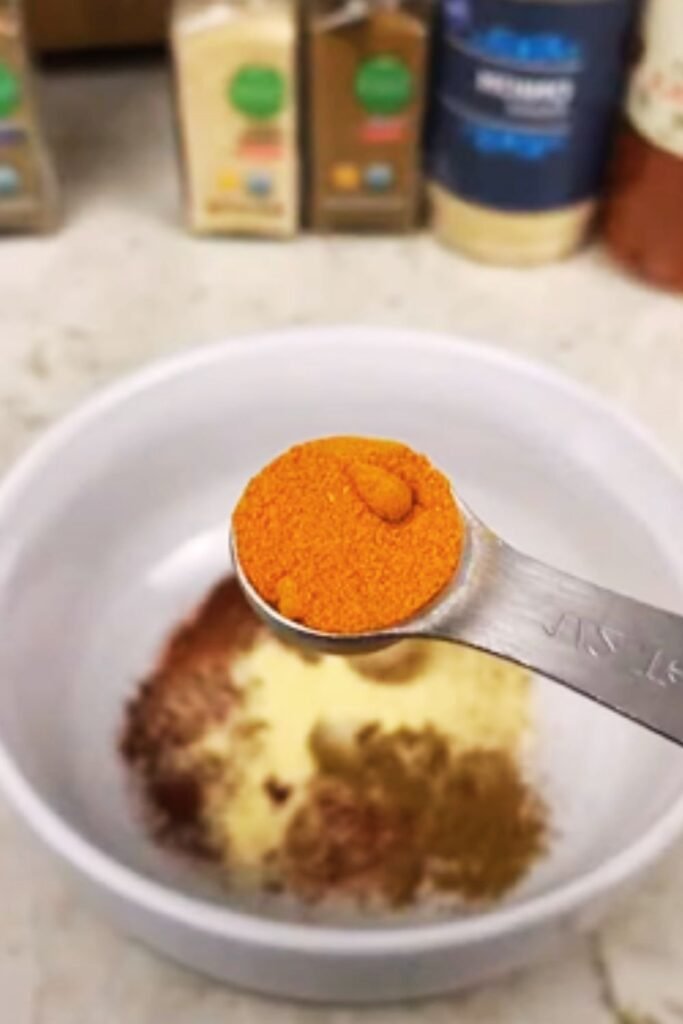
| Paprika | 2 tablespoons | Adds rich color and mild sweetness |
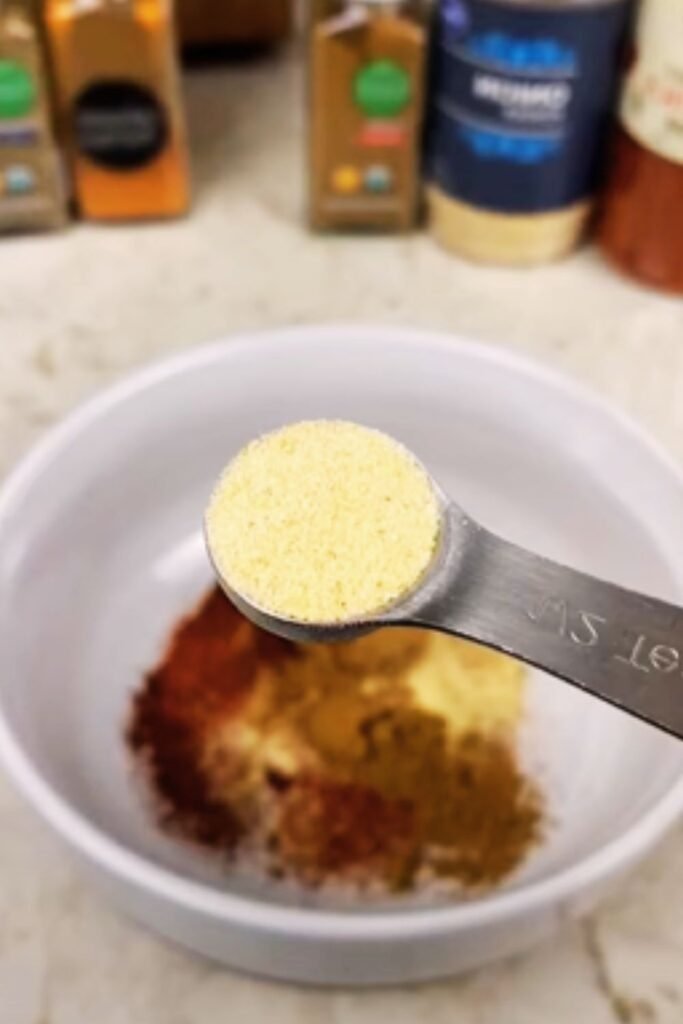
| Garlic Powder | 1 tablespoon | Provides savory depth |
| Onion Powder | 1 tablespoon | Adds aromatic sweetness |
| Black Pepper | 1 tablespoon | Brings heat and complexity |
| Kosher Salt | 1 tablespoon | Enhances all flavors |
| Dried Thyme | 2 teaspoons | Contributes herbal notes |
| Dried Oregano | 2 teaspoons | Adds Mediterranean flair |
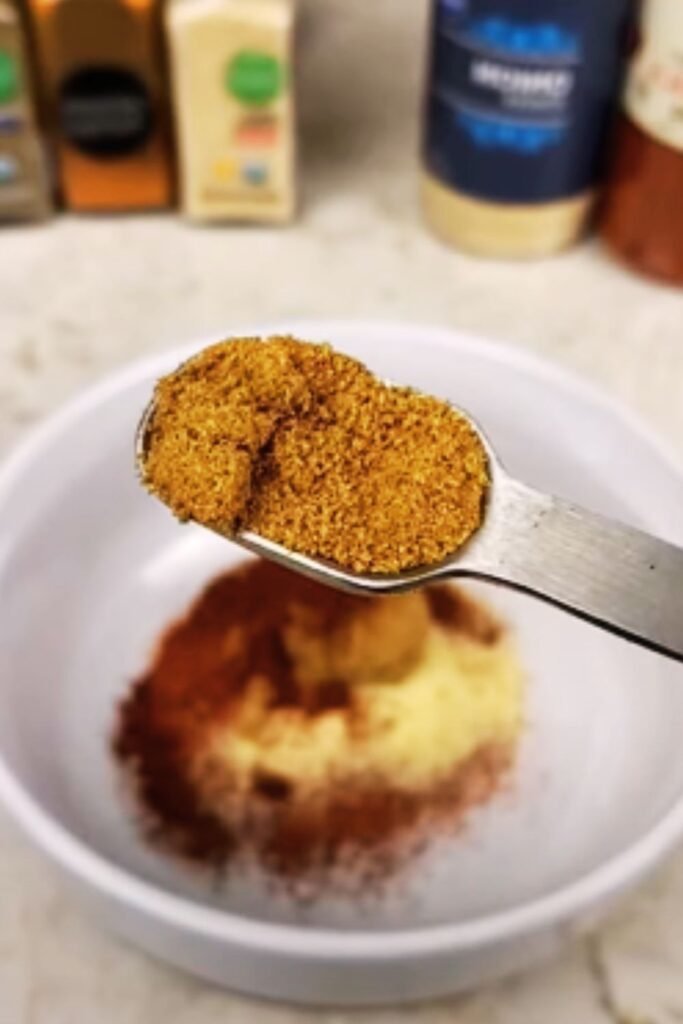
| Cayenne Pepper | 1 teaspoon | Provides controlled heat |
| Ground Cumin | 1 teaspoon | Adds earthy warmth |
The Science Behind the Blend
Understanding the role of each ingredient helps create the perfect rub:
- Salt acts as a flavor enhancer and helps create a moisture-locking barrier
- Brown sugar caramelizes during cooking, creating a delicious crust
- Paprika provides both color and a subtle sweetness
- Garlic and onion powders offer savory depth without burning
- Herbs add complexity and aroma
Preparation Guide
Step-by-Step Instructions
- Gathering Ingredients
- Measure all spices precisely
- Use fresh, high-quality spices for best results
- Ensure brown sugar has no lumps
- Mixing Process
- Combine all ingredients in a medium bowl
- Break up any clumps with your fingers
- Whisk thoroughly to ensure even distribution
- Store in an airtight container if not using immediately
- Application Technique
- Pat chicken completely dry with paper towels
- Drizzle with a small amount of olive oil
- Apply rub generously on all sides
- Massage gently into the meat
Storage and Shelf Life
| Storage Method | Duration | Notes |
|---|---|---|
| Airtight Container | 6 months | Keep in cool, dark place |
| Mason Jar | 3 months | If brown sugar is included |
| Ziplock Bag | 1 month | Not recommended for long-term |
Application Tips for Different Cuts
| Chicken Cut | Rub Amount | Special Instructions |
|---|---|---|
| Whole Chicken | 3-4 tablespoons | Rub under skin for best results |
| Chicken Breasts | 1 tablespoon per breast | Score meat lightly before applying |
| Chicken Thighs | 2 teaspoons per thigh | Great for high-heat cooking |
| Wings | 1 tablespoon per pound | Apply 30 minutes before cooking |
Cooking Methods
Grilling
- Preheat grill to medium-high (375-450°F)
- Oil grates well to prevent sticking
- Cook chicken until internal temperature reaches 165°F
- Let rest for 5-10 minutes before cutting
Oven Roasting
- Preheat oven to 375°F
- Place on a lined baking sheet
- Cook until internal temperature reaches 165°F
- Allow for proper air circulation
Smoking
- Maintain temperature at 225-250°F
- Use mild wood like apple or cherry
- Smoke until internal temperature reaches 165°F
- Expect longer cooking times
Serving Suggestions
Here are some perfect pairings for your dry-rubbed chicken:
- Grilled corn on the cob with lime butter
- Fresh coleslaw with apple cider vinegar dressing
- Roasted sweet potatoes with honey
- Garden-fresh green salad
- Creamy mac and cheese
- Grilled vegetables with balsamic glaze
Troubleshooting Guide
| Issue | Cause | Solution |
|---|---|---|
| Rub burns too quickly | Too much sugar | Reduce brown sugar amount |
| Bland flavor | Insufficient rub | Increase amount and massage well |
| Too spicy | Excess cayenne | Cut cayenne in half |
| Rub won’t stick | Wet surface | Pat meat completely dry first |
Variations and Customizations
Heat Levels
- Mild: Omit cayenne pepper
- Medium: Follow recipe as written
- Hot: Double cayenne and black pepper
- Extra Hot: Add 1 teaspoon of ghost pepper powder
Regional Styles
- Southwest: Add more cumin and chili powder
- Mediterranean: Increase oregano and add rosemary
- Asian-Inspired: Add ground ginger and five-spice powder
- Cajun Style: Increase cayenne and add dried mustard
Common Questions & Answers
Q: Can I make this rub without brown sugar?
A: Yes, you can substitute with coconut sugar or omit it entirely for a savory blend. Adjust other seasonings accordingly.
Q: How long should I let the rub sit on the chicken before cooking?
A: For best results, apply the rub 30 minutes to 2 hours before cooking. You can also apply it right before cooking if you’re short on time.
Q: Can I use this rub on other meats?
A: Absolutely! This rub works great on pork and turkey. For beef, you might want to adjust the herbs and increase the pepper content.
Q: How do I prevent the rub from clumping?
A: Store the rub with a few grains of rice to absorb moisture, and always use dry measuring spoons.
Q: Is this rub gluten-free?
A: Yes, all ingredients are naturally gluten-free. However, always check your individual spice brands for cross-contamination if you’re highly sensitive.
Nutritional Information
| Per Tablespoon | Amount |
|---|---|
| Calories | 20 |
| Carbohydrates | 5g |
| Protein | 0g |
| Sugar | 3g |
| Sodium | 1200mg |
Tips for Success
- Quality Matters
- Use fresh, high-quality spices
- Replace ground spices every 6 months
- Store in a cool, dark place
- Preparation
- Always pat chicken dry before applying rub
- Let chicken come to room temperature
- Apply oil before the rub for better adhesion
- Cooking
- Use a meat thermometer
- Allow for proper resting time
- Clean cooking surfaces thoroughly
- Storage
- Keep rub in an airtight container
- Label with mixing date
- Store away from heat and sunlight
Remember, the key to perfect dry-rubbed chicken lies in both the ingredients and the technique. Don’t be afraid to adjust the proportions to suit your taste preferences, and most importantly, have fun experimenting with this versatile rub recipe!