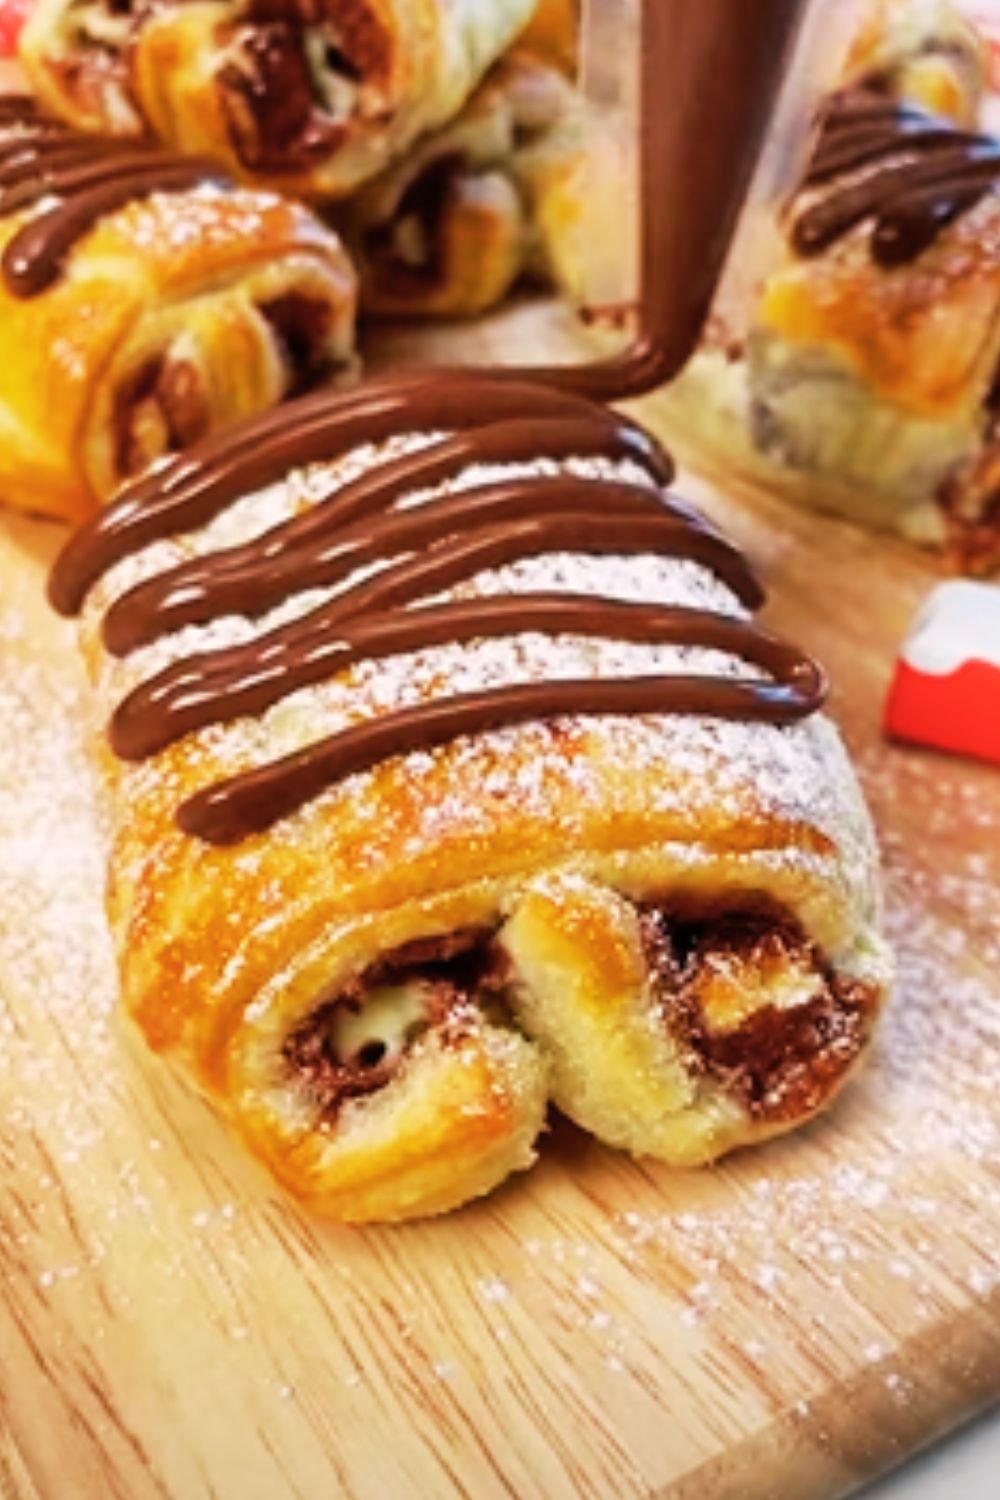
There’s something truly magical about biting into a freshly baked pain au chocolat. That perfect combination of buttery, flaky pastry giving way to rich, melted chocolate is an experience that’s hard to beat. While many of us might grab one from a local bakery, I’ve discovered that making them at home—though time-consuming—yields results that are absolutely worth the effort.
In this guide, I’ll walk you through my tried-and-tested method for creating these French delicacies in your own kitchen. Yes, it requires patience and precision, but the satisfaction of pulling your own chocolate-filled pastries from the oven is incomparable. Let me show you how to create bakery-quality pain au chocolat that will impress family and friends alike.
Understanding Pain au Chocolat
Before we dive into the recipe, let’s clarify what exactly makes a pain au chocolat special. Often mistakenly called chocolate croissants in English-speaking countries, pain au chocolat (literally “chocolate bread” in French) is a beloved French pastry made from laminated dough with chocolate batons tucked inside.
These pastries originate from France, though their exact birthplace is debated. Some historians attribute their creation to an Austrian baker named August Zang, who opened a Viennese bakery in Paris in the early 19th century. Others claim they evolved naturally from the French tradition of laminated pastry.
Whatever their origin, pain au chocolat has become a breakfast staple in France and has gained popularity worldwide. While croissants are shaped into crescents, pain au chocolat are typically rectangular or square, with the chocolate tucked neatly inside the dough.
The Science Behind Perfect Lamination
The secret to exceptional pain au chocolat lies in proper lamination—the process of creating alternating layers of dough and butter. When these layers bake in a hot oven, the water in the butter converts to steam, pushing the layers apart and creating that distinctive flaky texture.
For successful lamination, temperature control is crucial. The butter must be pliable enough to roll without breaking but cool enough to maintain separation between layers. This delicate balance is what makes laminated pastries challenging but rewarding.
Essential Ingredients
For truly exceptional pain au chocolat, quality ingredients make all the difference:
| Ingredient | Quantity | Notes |
|---|---|---|
| All-purpose flour | 500g (4 cups) | Prefer unbleached with 10-12% protein content |
| Active dry yeast | 7g (2¼ tsp) | Can substitute instant yeast (use 25% less) |
| Sugar | 50g (¼ cup) | White granulated sugar |
| Salt | 10g (1½ tsp) | Fine sea salt preferred |
| Milk | 140ml (⅔ cup) | Whole milk, lukewarm |
| Water | 60ml (¼ cup) | Lukewarm |
| Unsalted butter (for dough) | 40g (3 tbsp) | Room temperature |
| Unsalted butter (for lamination) | 250g (1 cup + 1 tbsp) | European-style with 82%+ fat content |
| Egg | 1 large | For the dough |
| High-quality dark chocolate | 200g (7 oz) | Either chocolate batons or 60-70% dark chocolate bars |
| Egg wash | 1 egg + 1 tbsp water | For brushing |
Equipment You’ll Need
- Kitchen scale (highly recommended for precision)
- Stand mixer with dough hook (optional but helpful)
- Rolling pin
- Ruler
- Pastry brush
- Baking sheets
- Parchment paper
- Sharp knife or pizza cutter
- Plastic wrap
The Detailed Process
Day 1: Making the Détrempe (Dough)
- In a large bowl, combine the flour, sugar, and salt. Mix well.
- In a separate bowl, dissolve the yeast in lukewarm milk and water. Let it sit for about 5 minutes until foamy.
- Add the yeast mixture, room temperature butter, and egg to the flour mixture.
- Mix until the dough comes together, then knead for about 5 minutes if using a stand mixer, or 8-10 minutes by hand, until smooth.
- Shape the dough into a square about 1-inch thick.
- Wrap it tightly in plastic wrap and refrigerate for at least 1 hour, or preferably overnight.
Preparing the Butter Block
This step is crucial for achieving those perfect flaky layers:
- Place your cold butter between two pieces of parchment paper.
- Using a rolling pin, pound and roll the butter into a 7×7-inch (18×18 cm) square.
- Ensure the butter is pliable but still cool. If it becomes too soft, refrigerate it briefly.
- Once shaped, refrigerate the butter block until needed.
Day 2: Lamination Process
The folding process creates those beautiful layers:
- Remove the dough from the refrigerator and roll it into a 10×10-inch (25×25 cm) square on a lightly floured surface.
- Place the butter block diagonally in the center of the dough square, with the corners of the butter pointing toward the sides of the dough.
- Fold the corners of the dough over the butter, overlapping them slightly. Seal the edges well.
- Roll this package into a rectangle approximately 8×24 inches (20×60 cm).
- Perform the first “letter fold”: Imagine the rectangle divided into thirds. Fold the right third over the middle, then fold the left third over that. This creates 3 layers.
- Wrap the dough and refrigerate for 1 hour.
- Remove and place the dough so the open ends are facing you. Roll again into an 8×24-inch rectangle.
- Perform a second letter fold, wrap, and refrigerate for another hour.
- Repeat this process once more for a total of three letter folds.
- After the final fold, wrap the dough tightly and refrigerate for at least 8 hours, preferably overnight.

Day 3: Shaping and Baking
- Remove the dough from the refrigerator and roll it into a rectangle approximately 8×24 inches (20×60 cm) and about ⅛-inch thick.
- Trim the edges with a sharp knife to create straight sides.
- Cut the dough into 4×5-inch (10×12 cm) rectangles.
- Place a chocolate baton (or 2-3 strips of chocolate) near the bottom edge of each rectangle.
- Roll the dough over the chocolate, then place another baton and continue rolling until you reach the end.
- Place the shaped pain au chocolat on parchment-lined baking sheets, seam-side down, leaving about 2 inches between each.
- Cover loosely with plastic wrap and let proof at room temperature (ideally 75°F/24°C) for 2-3 hours, until nearly doubled in size and appear puffy.
- Preheat your oven to 400°F (200°C).
- Gently brush the proofed pastries with egg wash, being careful not to deflate them.
- Bake for 18-22 minutes, rotating the pans halfway through, until deeply golden brown.
- Cool on a wire rack for at least 20 minutes before serving.

Troubleshooting Common Issues
| Problem | Possible Cause | Solution |
|---|---|---|
| Butter leaking during baking | Dough too warm during lamination | Ensure proper chilling between folds; work quickly |
| Dense, not flaky texture | Insufficient lamination or overworked dough | Follow folding schedule precisely; handle dough gently |
| Uneven rising | Inconsistent proofing temperature | Find a draft-free spot; create a proofing box if needed |
| Chocolate leaking out | Improper sealing or too much chocolate | Seal edges well; don’t overfill with chocolate |
| Doughy interior | Underbaking | Ensure proper baking time; check internal temperature (195-200°F) |
| Butter breaking through dough | Butter too cold or dough too warm | Ensure butter is pliable but cool; maintain consistent temperature |
Make-Ahead Options
Pain au chocolat requires significant time investment, but you can break up the process:
- Freezing unbaked pastries: After shaping, freeze them on a baking sheet until solid, then transfer to freezer bags. When ready to bake, thaw overnight in the refrigerator, then proof and bake as directed.
- Freezing baked pastries: Cool completely, wrap individually, and freeze for up to 1 month. Reheat in a 325°F (165°C) oven for 5-7 minutes.
- Refrigerating dough: After the final fold, the dough can be refrigerated for up to 2 days before shaping.
Serving Suggestions
A freshly baked pain au chocolat needs little accompaniment, but here are some serving ideas:
- Pair with a strong cup of coffee or hot chocolate for the authentic French breakfast experience
- Dust with powdered sugar just before serving
- Serve slightly warm to enjoy the melted chocolate interior
- Offer with fresh berries for a more substantial breakfast
- For a decadent dessert, serve warm with a scoop of vanilla ice cream
Nutritional Information
| Nutrient | Amount per Serving (1 Pain au Chocolat) |
|---|---|
| Calories | Approximately 320-350 |
| Total Fat | 18-22g |
| Saturated Fat | 11-13g |
| Cholesterol | 65-75mg |
| Sodium | 220-250mg |
| Total Carbohydrates | 34-38g |
| Dietary Fiber | 1-2g |
| Sugars | 10-12g |
| Protein | 5-6g |
Note: Values are approximate and may vary based on exact ingredients used and size of pastries.
Variations to Try
While traditional pain au chocolat is perfect as is, here are some variations to experiment with:
- Double Chocolate: Add cocoa powder to the dough for chocolate-on-chocolate indulgence
- Orange-Infused: Add orange zest to the dough for a subtle citrus note that pairs beautifully with chocolate
- Almond: Spread a thin layer of almond cream before adding chocolate
- Hazelnut: Use hazelnut chocolate or add crushed hazelnuts with the chocolate
- Chocolate and Cherry: Add dried cherries alongside the chocolate

The Historical Context
Pain au chocolat has a rich history dating back to the 19th century. While the exact origin is debated, many believe it evolved from Austrian kipferl pastries that were introduced to France. By the early 20th century, pain au chocolat had become a staple in French bakeries.
Traditionally made with chocolate batons specifically designed for baking, these pastries have maintained their popularity through generations. In southwestern France, particularly around Toulouse, they’re sometimes called “chocolatines” instead of pain au chocolat, sparking occasional heated debates among French pastry enthusiasts.
While industrially produced versions are now widely available in supermarkets worldwide, artisanal bakeries still pride themselves on making pain au chocolat following traditional methods—much like the recipe I’ve shared with you today.
Frequently Asked Questions
Why did my butter leak out during baking?
Temperature management is crucial for laminated dough. If your butter melts rather than steaming between layers, it will leak out. Ensure your dough stays cool throughout the process, and make sure your oven is fully preheated before baking.
Can I use chocolate chips instead of chocolate batons?
While chocolate batons are traditional and melt perfectly, you can substitute with high-quality dark chocolate bars cut into sticks. Avoid using standard chocolate chips as they contain stabilizers that prevent proper melting.
How do I know when my pain au chocolat are properly proofed?
Properly proofed pain au chocolat should be noticeably puffy and nearly doubled in size. When gently pressed with a finger, the dough should slowly spring back but still retain a slight indentation.
My pastries didn’t rise well. What went wrong?
Poor rise can result from insufficient proofing time, inactive yeast, or overhandling the dough which damages the layers. Ensure your yeast is fresh and allow adequate time for proofing in a warm environment.
How can I achieve that glossy look on my pastries?
The shiny appearance comes from properly applied egg wash. Use one beaten egg mixed with a tablespoon of water, and brush gently but thoroughly over the proofed pastries before baking.
Is it really necessary to chill the dough between folds?
Absolutely! Chilling relaxes the gluten, making the dough easier to roll, and keeps the butter cool, which is essential for proper layer formation. Don’t skip these resting periods.
Final Thoughts
Making pain au chocolat from scratch is undoubtedly a labor of love, requiring patience, precision, and a commitment to the process. But I’ve found few baking projects as rewarding. There’s something deeply satisfying about creating these complex pastries with your own hands, understanding each step of the process, and finally enjoying the fruits of your labor.
The first time I successfully made these at home, I felt a tremendous sense of accomplishment. Now, it’s become something of a weekend ritual every few months—a way to slow down, focus on a meditative task, and create something beautiful and delicious.
Whether you’re an experienced baker looking for a new challenge or a passionate beginner willing to take your time, I encourage you to try this recipe. The process itself is educational and engaging, and the results are truly special. Your kitchen will be filled with the intoxicating aroma of butter and chocolate, and your taste buds will thank you for the authentic experience.
Remember, practice makes perfect with laminated dough. Each time you make these pastries, you’ll learn something new about the process and improve your technique. So don’t be discouraged if your first batch isn’t perfect—mine certainly wasn’t! With time and practice, you’ll be creating bakery-quality pain au chocolat that will impress even the most discerning French pastry connoisseur.