Have you ever craved the rich, creamy decadence of cheesecake but wanted something lighter, plant-based, and without the fuss of baking? I’ve spent years perfecting vegan desserts, and today I’m thrilled to share my absolute favorite no-bake vegan pistachio cheesecake recipe that will leave even the most dedicated dairy lovers asking for seconds.
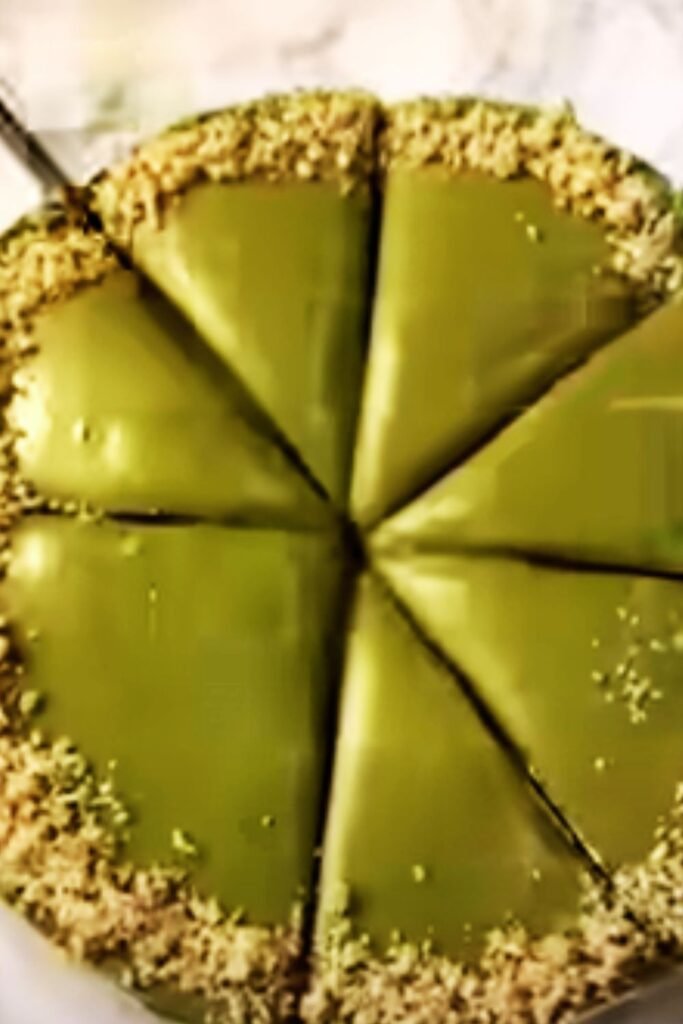
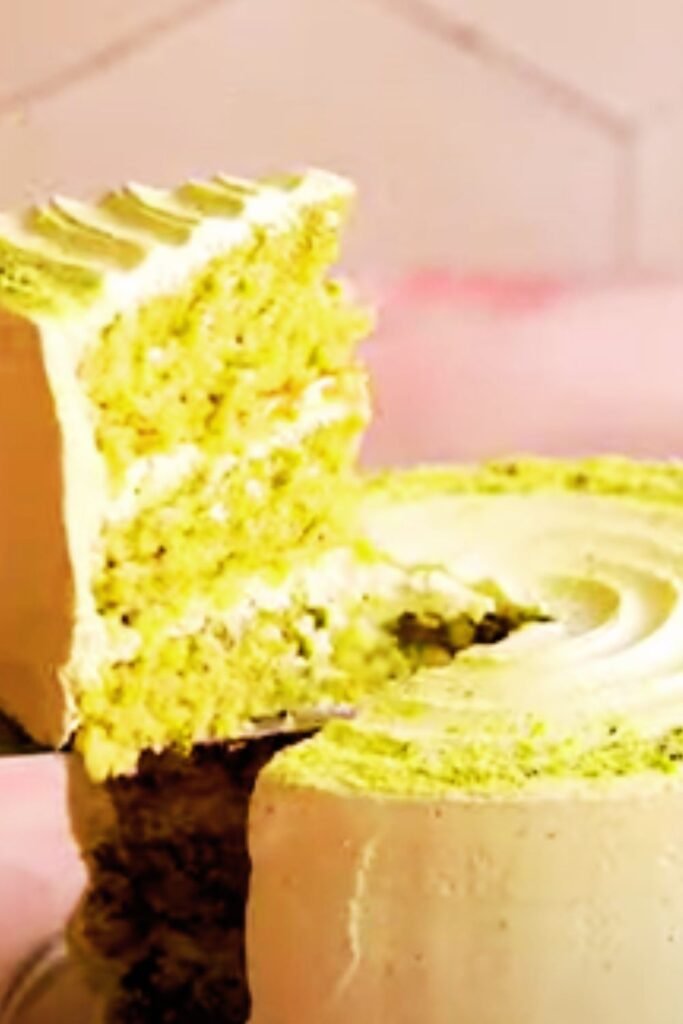
This vibrant green masterpiece combines the buttery, nutty flavor of pistachios with a silky-smooth filling that perfectly balances sweetness with a hint of tanginess. Best of all, it requires zero oven time, making it perfect for warm summer days or when you simply don’t want to heat up your kitchen.
Why You’ll Love This Recipe
After creating countless vegan cheesecakes, I can confidently say this pistachio version stands out for several reasons:
- Truly no-bake: From crust to topping, not a moment of oven time required
- Naturally colored: The gorgeous green hue comes entirely from pistachios, no artificial coloring
- Nutrient-rich: Packed with healthy fats from nuts and coconut
- Crowd-pleasing: Even non-vegans consistently rate this as one of their favorite desserts
- Make-ahead friendly: Actually improves after a day in the refrigerator
I first developed this recipe during a particularly hot summer when the thought of turning on my oven sent shivers down my spine. What started as a necessity became my signature dessert that friends and family now request for every gathering.
Ingredients Breakdown
For the Crust
- 1½ cups raw pistachios (unsalted)
- 1 cup pitted Medjool dates (about 10-12 large dates)
- ¼ cup shredded coconut (unsweetened)
- ¼ teaspoon sea salt
- 1 tablespoon coconut oil, melted
For the Filling
- 2 cups raw cashews, soaked overnight and drained
- 1 cup pistachios, soaked for 4 hours and drained
- ⅔ cup full-fat coconut cream (the solid part from refrigerated coconut milk)
- ½ cup pure maple syrup (or agave nectar)
- ¼ cup coconut oil, melted
- 3 tablespoons fresh lemon juice
- 1 tablespoon vanilla extract
- ¼ teaspoon almond extract (optional but enhances the pistachio flavor)
- Pinch of sea salt
- 2-3 tablespoons pistachio butter (optional for deeper flavor)
For the Topping
- ½ cup chopped pistachios
- 2 tablespoons maple syrup
- Fresh berries (optional)
- Edible flowers (optional for garnish)
Equipment You’ll Need
Having the right tools is essential for achieving that perfect creamy texture. Here’s what I use:
- 9-inch springform pan
- Food processor
- High-powered blender
- Measuring cups and spoons
- Rubber spatula
- Parchment paper
- Freezer-safe container (if planning to freeze leftovers)
Step-by-Step Instructions
Preparing the Crust
- Line the bottom of your springform pan with parchment paper to make removal easier.
- Add pistachios to your food processor and pulse until roughly chopped.
- Add the dates, coconut, salt, and melted coconut oil to the food processor.
- Process until the mixture sticks together when pressed between your fingers (about 1-2 minutes).
- Press this mixture firmly and evenly into the bottom of your springform pan.
- Place in the freezer to set while you prepare the filling.
A crucial tip I’ve learned over the years: don’t under-process your crust ingredients. You want them fine enough to hold together when pressed, but not so processed that they become a paste.
Creating the Creamy Filling
- Drain your soaked cashews and pistachios thoroughly and pat dry with a paper towel.
- Add all filling ingredients to your high-powered blender.
- Blend on high speed until completely smooth and creamy, pausing to scrape down the sides as needed.
- This process typically takes 3-5 minutes, depending on your blender’s power. Patience is key for silky smoothness!
- Taste and adjust sweetness or tanginess if needed by adding more maple syrup or lemon juice.
- Pour the filling over your chilled crust and smooth the top with a spatula.
I can’t stress enough the importance of a high-powered blender for this recipe. The first time I made this with a standard blender, the texture was slightly grainy. Investing in a good blender or being very patient with your current one makes all the difference.
Adding the Finishing Touches
- In a small bowl, mix your chopped pistachios with 2 tablespoons of maple syrup.
- Sprinkle this mixture around the edges of your cheesecake, creating a beautiful green border.
- If using, arrange fresh berries or edible flowers in a decorative pattern.
- Refrigerate for at least 6 hours, but preferably overnight.
- When ready to serve, gently release the springform pan sides.
Storage Guidelines
| Storage Method | Temperature | Duration | Notes |
|---|---|---|---|
| Refrigerator | 34-38°F (1-3°C) | 5-7 days | Cover loosely with eco-friendly wrap |
| Freezer | 0°F (-18°C) | Up to 3 months | Slice before freezing for easy portions |
| Countertop | Room temp | 2 hours maximum | Only for serving time |
| Transporting | Cooler with ice packs | Up to 4 hours | Keep level to maintain appearance |
Nutritional Benefits
Unlike traditional cheesecakes loaded with cream cheese and refined sugars, this vegan version packs a nutritional punch:
Key Nutritional Components
- Pistachios: Rich in protein, fiber, antioxidants, and heart-healthy fats. They’re particularly high in vitamin B6 and potassium.
- Cashews: Provide healthy monounsaturated fats, copper, magnesium, and plant protein.
- Dates: Natural sweeteners packed with fiber, potassium, and various antioxidants.
- Coconut: Contains medium-chain triglycerides (MCTs) that may boost energy and support brain health.
- Maple syrup: A natural sweetener with more minerals and antioxidants than refined sugar.
Troubleshooting Common Issues
Over my years of making this cheesecake, I’ve encountered and solved several common problems:
Filling Too Runny
Problem: The filling doesn’t set properly and remains too soft.
Solution: Ensure you’re using the solid part of coconut cream, not just coconut milk. Also, make sure your coconut oil is properly incorporated and the cheesecake has adequate chilling time (minimum 6 hours).
Crust Too Crumbly
Problem: The crust falls apart when slicing.
Solution: Process the crust mixture longer and press very firmly into the pan. If your dates are a bit dry, soak them in warm water for 10 minutes before using.
Flavor Not Pronounced Enough
Problem: The pistachio flavor is too subtle.
Solution: Add the optional pistachio butter to the filling for deeper flavor. Toasting some of the pistachios before using them can also intensify their flavor.
Serving Suggestions
This cheesecake is divine on its own, but here are my favorite ways to elevate it:
- Drizzle with a homemade raspberry coulis for a vibrant color contrast
- Serve with a dollop of coconut whipped cream
- Pair with a hot espresso or herbal tea
- Accompany with fresh seasonal berries
- Serve with a scoop of vegan vanilla ice cream for an indulgent treat
- Sprinkle with crushed freeze-dried raspberries for a pop of color and tangy flavor
- Add a mint sprig for freshness and visual appeal
Variations to Try
One of the best things about this recipe is its versatility. Here are some delicious variations I’ve experimented with:
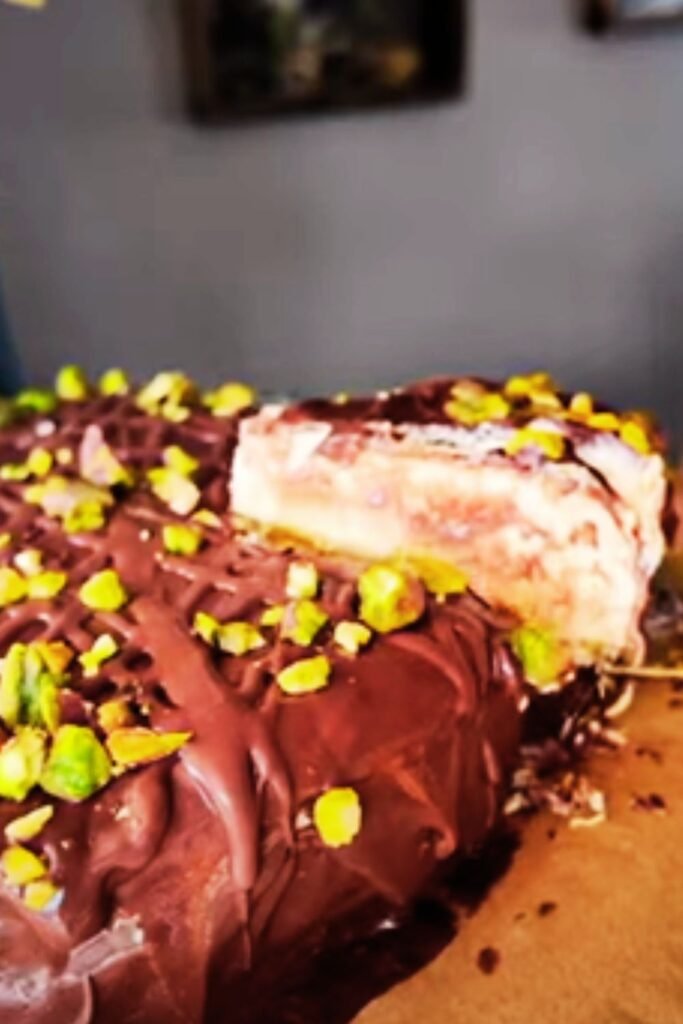
Chocolate Pistachio Version
Add ¼ cup of raw cacao powder to the filling and top with chocolate ganache made from melted dark chocolate and coconut cream.
Layered Berry Pistachio
Pour half the filling into the pan, add a layer of mixed berry compote, then top with the remaining filling for a gorgeous layered effect.
Mini Pistachio Cheesecakes
Use a muffin tin lined with paper cups to create individual-sized desserts—perfect for portion control and gatherings.
Raw Pistachio Cheesecake Bars
Press the crust into a square baking pan, add the filling, and cut into bars after setting for an elegant finger dessert.
The Perfect Occasion
This showstopper dessert is versatile enough for multiple occasions:
- Summer dinner parties (no oven required!)
- Holiday gatherings (the green color is perfect for Christmas)
- Birthday celebrations as an alternative to traditional cake
- Afternoon tea with friends
- Potlucks and picnics (just keep chilled)
- Wedding or baby showers
- Valentine’s Day (shape into hearts for extra romance)
Sustainability Notes
I’m passionate about mindful cooking and reducing environmental impact through my recipe choices. Here’s why this recipe aligns with eco-conscious values:
- Plant-based ingredients: Lower carbon footprint compared to dairy
- No-bake method: Saves energy by avoiding oven use
- Whole food focus: Minimal processed ingredients
- Seasonal adaptability: Garnish with whatever fruits are in season locally
- Storage efficiency: Freezes beautifully to reduce food waste
Cost Breakdown
While nuts can be pricey, this cheesecake is still more economical than many bakery alternatives:
| Ingredient | Approximate Cost | Money-Saving Tip |
|---|---|---|
| Pistachios | $12-15 | Buy in bulk or look for sales |
| Cashews | $7-10 | Purchase from bulk bins |
| Dates | $5-7 | Often cheaper at international markets |
| Coconut cream | $2-3 | Make your own from coconut milk |
| Maple syrup | $6-8 | Look for Grade B which is often cheaper |
| Coconut oil | $3-4 | Buy in larger quantities |
| Lemon juice | $1 | Use bottled if fresh is expensive |
| Extracts | $2-3 | A little goes a long way |
| Total | $38-51 | Makes 12 servings ($3-4 per slice) |
Frequently Asked Questions
Q: Can I make this nut-free?
While pistachios are the star of this recipe, you can create a similar textured cheesecake using seeds instead. Try substituting sunflower seeds for the cashews and pumpkin seeds for the pistachios. The flavor will be different but still delicious.
Q: How far in advance can I make this cheesecake?
You can prepare this cheesecake up to 3 days before serving if refrigerated. For longer storage, freeze for up to 3 months. The flavors actually develop and improve after the first 24 hours!
Q: My blender isn’t very powerful. Any tips?
If you don’t have a high-powered blender, try soaking your cashews and pistachios for longer (12-24 hours), and blend the filling ingredients in smaller batches, combining them at the end. A food processor can work as an alternative but may not achieve the same silky texture.
Q: Can I use roasted pistachios instead of raw?
Yes, but the flavor profile will be more robust and slightly less sweet. If using roasted pistachios, reduce the amount slightly to prevent the roasted flavor from overwhelming the delicate cheesecake.
Q: How can I make this less sweet?
Simply reduce the maple syrup to ⅓ cup and increase the lemon juice slightly to maintain the right consistency. You can also add a tiny pinch of salt to enhance the flavor while cutting sweetness.
Q: Why did my cheesecake develop a slight brownish tint on top?
This is likely oxidation from the pistachios. To prevent this, ensure your cheesecake is well-covered in the refrigerator and consider adding a small amount (¼ teaspoon) of lemon juice to the very top layer.
Q: Is there a substitute for coconut oil?
Coconut oil is crucial for helping the cheesecake set properly since it solidifies when chilled. Cacao butter is the best substitute if you can’t use coconut oil, but the flavor will be slightly different.
Q: Can I skip the soaking step for the nuts if I’m short on time?
If you’re really pressed for time, you can pour boiling water over the nuts and let them soak for 30 minutes instead of overnight. However, longer soaking leads to a creamier texture and better digestibility.
A Note on Mindful Enjoyment
What I love most about this cheesecake is how it encourages mindful eating. The vibrant color, complex flavors, and satisfying texture invite you to slow down and savor each bite. Unlike heavily processed desserts that leave you craving more, this nutrient-dense treat truly satisfies.
I’ve served this at countless gatherings where guests were initially skeptical about vegan cheesecake. Their surprised expressions after the first bite never fails to bring me joy. Even the most dedicated dairy enthusiasts have asked for the recipe, which I consider the highest compliment.
Remember, this dessert is meant to be enjoyed slowly and mindfully. Let it thaw for about 15 minutes if frozen, or remove from the refrigerator 10 minutes before serving to allow the flavors to fully blossom at a slightly less-than-cold temperature.
The simple act of creating something so beautiful from wholesome plant ingredients is a form of self-care. Whether you’re making this for yourself or sharing with loved ones, I hope this pistachio cheesecake brings as much joy to your kitchen as it has to mine.
Happy creating!
Quick Reference Guide
| Stage | Time Required | Key Points |
|---|---|---|
| Soaking nuts | 4-12 hours | Plan ahead! |
| Making crust | 15 minutes | Process until sticky |
| Creating filling | 20 minutes | Blend until completely smooth |
| Setting time | Minimum 6 hours | Overnight is best |
| Total active time | 35-45 minutes | No baking required |
| Total waiting time | 10-18 hours | Most is inactive time |
| Serving size | 12 slices | Can be cut smaller for parties |
Now go forth and create this pistachio masterpiece. Your taste buds—and impressed guests—will thank you!