There’s something magical about the way lemon transforms a dessert. That perfect balance of sweet and tart, simultaneously refreshing and indulgent. As someone who’s spent countless hours perfecting cheesecake recipes, I can confidently say that this Triple Lemon Meringue Cheesecake stands as my crowning achievement in the citrus dessert category.
I developed this recipe during a rainy weekend when I was craving something that would brighten my mood. Three distinct layers of lemon—a buttery lemon cookie crust, a velvety lemon cheesecake filling, and a billowy toasted meringue topping—create a dessert that’s impressive enough for special occasions but too delicious to save just for celebrations.
What Makes This Cheesecake Special
Why triple lemon? Because good things come in threes, and when it comes to lemon desserts, more is definitely more. The three layers of lemon flavor create a symphony of citrus that builds with each bite, never overwhelming but always present. The combination of textures—crisp crust, creamy filling, and cloud-like meringue—makes each forkful an adventure.
I’ve tested this recipe more times than I care to admit, tweaking proportions and techniques until achieving the perfect balance. The result is a cheesecake that hits all the right notes: it’s impressive without being intimidating, indulgent without being heavy, and the lemon flavor shines through without puckering your mouth.
Essential Ingredients
For the Lemon Cookie Crust:
- 2 cups lemon cookie crumbs (about 24 cookies)
- 6 tablespoons unsalted butter, melted
- 2 tablespoons granulated sugar
- 1 tablespoon lemon zest (from 1 large lemon)
For the Lemon Cheesecake Filling:
- 4 packages (8 oz each) cream cheese, at room temperature
- 1 1/4 cups granulated sugar
- 4 large eggs, at room temperature
- 1/3 cup fresh lemon juice (from about 3-4 lemons)
- 2 tablespoons lemon zest (from 2 large lemons)
- 1 tablespoon vanilla extract
- 1/4 cup heavy cream
- 3 tablespoons all-purpose flour
For the Lemon Curd Layer:
- 4 large egg yolks
- 3/4 cup granulated sugar
- 1/2 cup fresh lemon juice (from about 4-5 lemons)
- 1 tablespoon lemon zest
- 4 tablespoons unsalted butter, cut into small pieces
For the Meringue Topping:
- 4 large egg whites, at room temperature
- 1/4 teaspoon cream of tartar
- 1/2 cup granulated sugar
- 1/2 teaspoon vanilla extract
Kitchen Equipment You’ll Need
Before diving into this baking project, make sure you have these essential tools ready:
- 9-inch springform pan
- Large roasting pan (for water bath)
- Aluminum foil
- Stand mixer or hand mixer
- Microplane or zester
- Citrus juicer
- Kitchen torch (optional but recommended)
- Food processor (for crushing cookies)
- Several mixing bowls
- Rubber spatula
- Measuring cups and spoons
- Cooling rack
Step-by-Step Preparation Guide
Preparing the Lemon Cookie Crust
- Preheat your oven to 325°F (165°C).
- In a food processor, pulse lemon cookies until they form fine crumbs.
- In a medium bowl, combine cookie crumbs, melted butter, sugar, and lemon zest. Mix until the mixture resembles wet sand.
- Press the mixture firmly into the bottom and slightly up the sides of a 9-inch springform pan.
- Bake for 10 minutes, then remove from oven and let cool completely.
- Once cooled, wrap the outside of the springform pan with heavy-duty aluminum foil, making sure it comes at least halfway up the sides. This prevents water from seeping in during the water bath baking.
I’ve found that using lemon shortbread cookies or lemon Oreos works wonderfully for the crust. The extra lemon flavor they bring to the base layer sets the stage for the citrus symphony to follow.
Creating the Lemon Cheesecake Filling
- Reduce oven temperature to 300°F (150°C).
- In the bowl of a stand mixer fitted with the paddle attachment, beat cream cheese on medium speed until completely smooth and free of lumps, about 3 minutes.
- Gradually add sugar and continue beating until the mixture is light and fluffy, scraping down the sides of the bowl as needed.
- Add eggs one at a time, beating well after each addition.
- Beat in lemon juice, lemon zest, and vanilla extract until well combined.
- Add heavy cream and beat until incorporated.
- Sprinkle flour over the mixture and beat on low speed just until combined. Be careful not to overmix.
- Pour the filling over the cooled crust and smooth the top with a spatula.
The key to a crack-free cheesecake is patience. All ingredients should be at room temperature, and mixing should be thorough but gentle. I’ve made the mistake of rushing this step before, and the texture difference is noticeable.
Baking the Cheesecake
- Place the foil-wrapped springform pan in a large roasting pan.
- Pour hot water into the roasting pan until it reaches about halfway up the sides of the springform pan.
- Carefully transfer to the oven and bake for 1 hour and 15 minutes, or until the edges are set but the center still has a slight jiggle.
- Turn off the oven, crack the door open, and let the cheesecake cool in the oven for 1 hour.
- Remove from the oven and water bath, and let cool completely on a wire rack.
- Once cooled to room temperature, cover and refrigerate for at least 6 hours or overnight.
The water bath may seem fussy, but it’s crucial for achieving that silky-smooth texture. It provides gentle, even heat that helps prevent cracks and maintains the creamy consistency that makes cheesecake so luxurious.
Making the Lemon Curd
- In a medium heatproof bowl, whisk together egg yolks and sugar until well combined.
- Whisk in lemon juice and zest.
- Place the bowl over a saucepan of simmering water (double boiler method), making sure the bottom of the bowl doesn’t touch the water.
- Cook, whisking constantly, until the mixture thickens enough to coat the back of a spoon, about 10-15 minutes.
- Remove from heat and immediately whisk in butter pieces until melted and incorporated.
- Strain through a fine-mesh sieve to remove any lumps or zest.
- Cover with plastic wrap, pressing it directly onto the surface of the curd to prevent skin formation.
- Refrigerate until completely cooled and thickened, at least 2 hours.
Homemade lemon curd is worlds apart from store-bought versions. The fresh, vibrant flavor is unmatched, and the silky texture is absolute perfection. I’ve tried shortcuts, but making it from scratch is absolutely worth the effort.
Spreading the Lemon Curd Layer
- Once the cheesecake and lemon curd are both completely chilled, carefully remove the sides of the springform pan.
- Gently spread the lemon curd in an even layer over the top of the cheesecake.
- Return to the refrigerator while preparing the meringue topping.
The lemon curd provides an intense burst of citrus that contrasts beautifully with the more subtle cheesecake layer below. Take your time spreading it evenly—this middle layer is what gives the dessert its striking appearance when sliced.
Creating the Meringue Topping
- In a clean, dry bowl of a stand mixer fitted with the whisk attachment, beat egg whites on medium speed until foamy.
- Add cream of tartar and continue beating until soft peaks form.
- Gradually add sugar, 1 tablespoon at a time, while continuing to beat.
- Increase speed to high and beat until stiff, glossy peaks form, about 5 minutes.
- Beat in vanilla extract.
Meringue can be temperamental, but the results are worth the attention to detail. The key is to ensure your bowl and whisk are completely clean and free from any grease or egg yolk, as these can prevent the whites from whipping properly.
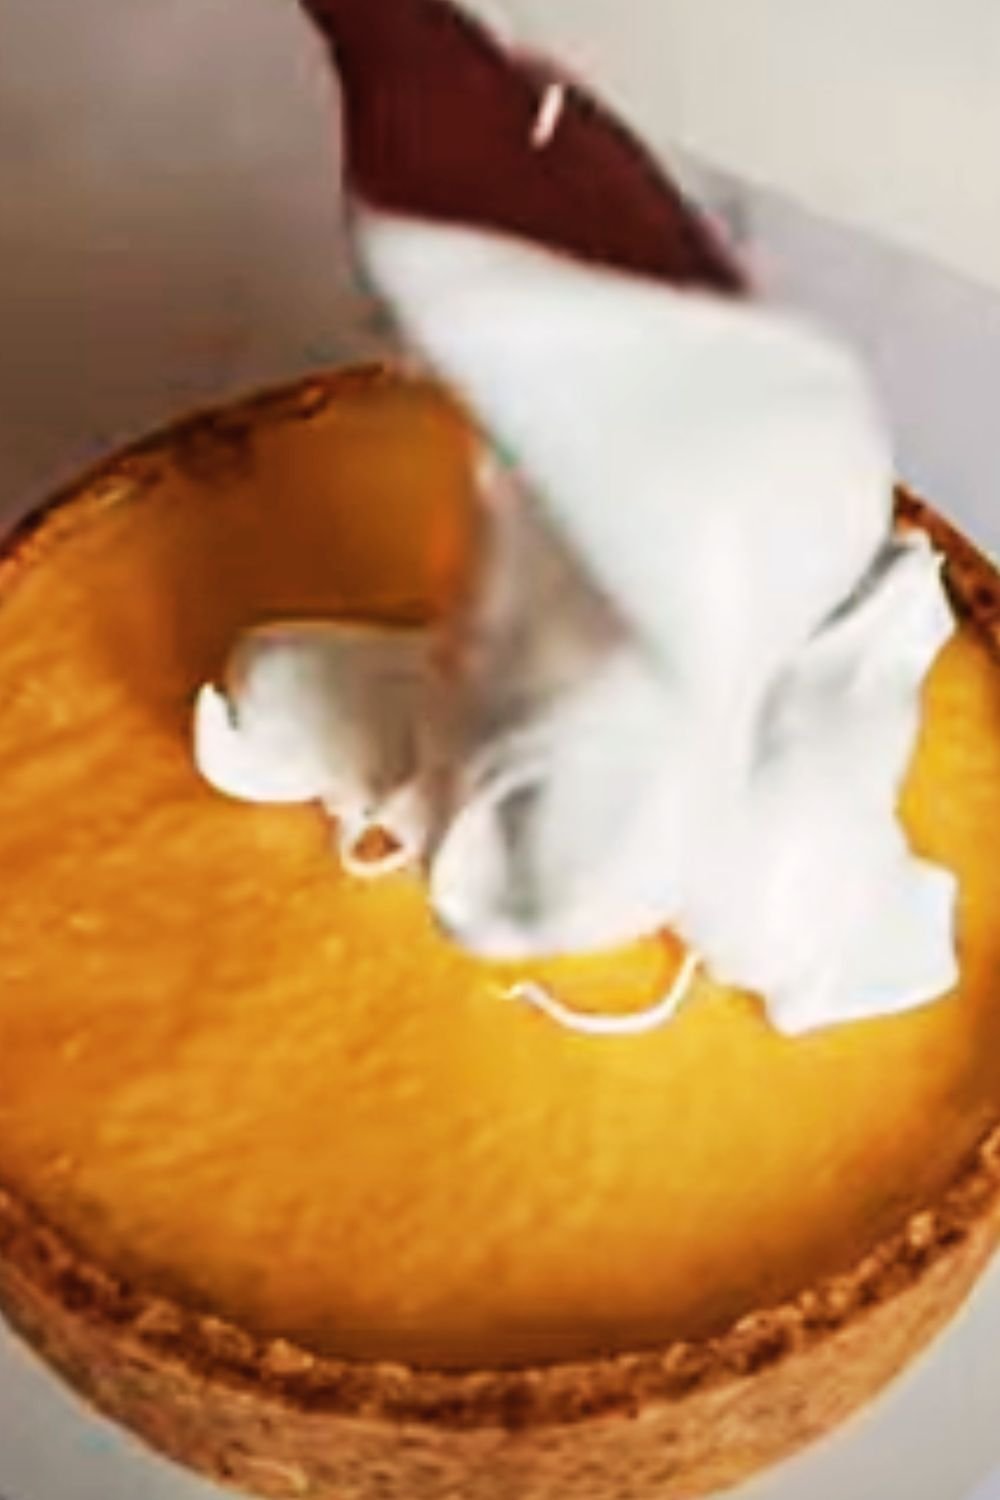
Finishing the Cheesecake
- Remove the cheesecake from the refrigerator.
- Pile the meringue on top of the lemon curd layer, creating decorative peaks and swirls with a spatula or spoon.
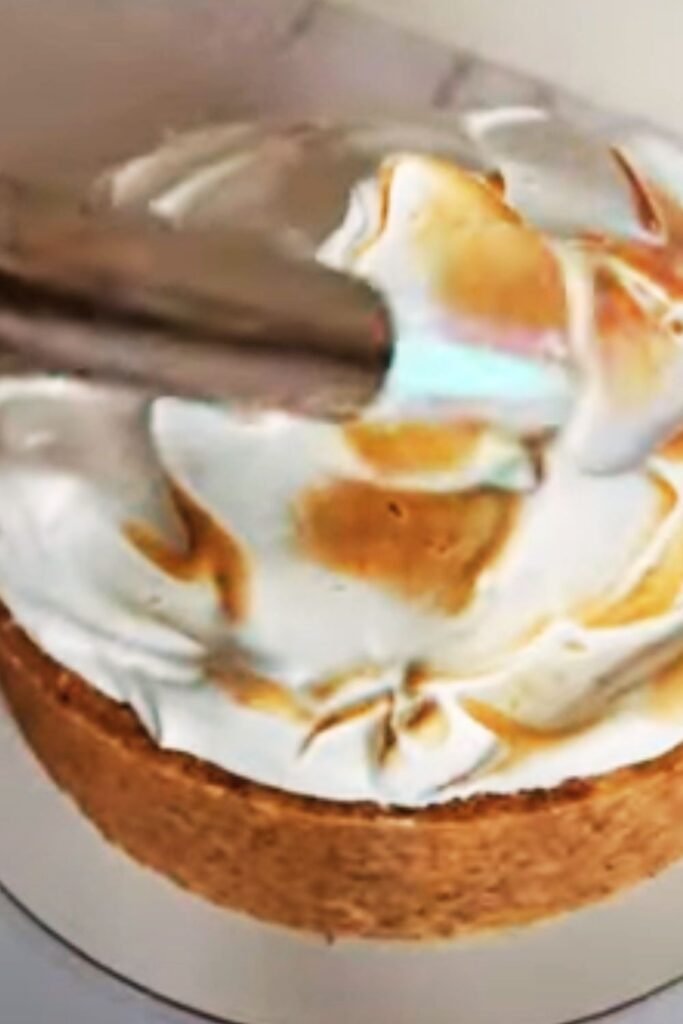
- If you have a kitchen torch, lightly toast the meringue until golden brown. Alternatively, you can place the cheesecake under a broiler for 1-2 minutes, watching carefully to prevent burning.
- Refrigerate for at least 30 minutes before serving to allow the meringue to set.
Nutritional Information
For those keeping track of their indulgences, here’s a breakdown of what you can expect per slice (assuming 12 slices per cheesecake):
| Nutrient | Amount per Serving |
|---|---|
| Calories | 575 |
| Total Fat | 38g |
| Saturated Fat | 22g |
| Cholesterol | 205mg |
| Sodium | 350mg |
| Total Carbohydrates | 52g |
| Dietary Fiber | 1g |
| Sugars | 42g |
| Protein | 9g |
| Vitamin C | 15% DV |
| Calcium | 10% DV |
Troubleshooting Common Cheesecake Issues
Even experienced bakers encounter challenges when making cheesecake. Here are some common issues and their solutions:
Cracked Cheesecake
- Cause: Overmixing, baking at too high a temperature, or cooling too quickly.
- Solution: Use room temperature ingredients, mix just until combined, use a water bath, and cool gradually in the oven with the door cracked.
Soggy Crust
- Cause: Water seeping into the pan during the water bath.
- Solution: Use multiple layers of heavy-duty aluminum foil, ensuring it comes at least halfway up the sides of the springform pan.
Runny Lemon Curd
- Cause: Insufficient cooking time or temperature.
- Solution: Cook until the mixture reaches 170°F (77°C) and thickens enough to coat the back of a spoon.
Weeping Meringue
- Cause: Sugar not fully dissolved or overbeating.
- Solution: Add sugar gradually and beat just until stiff peaks form. Apply meringue to a completely cooled cheesecake.
Serving Suggestions
This Triple Lemon Meringue Cheesecake is a showstopper on its own, but here are some serving ideas to elevate it even further:
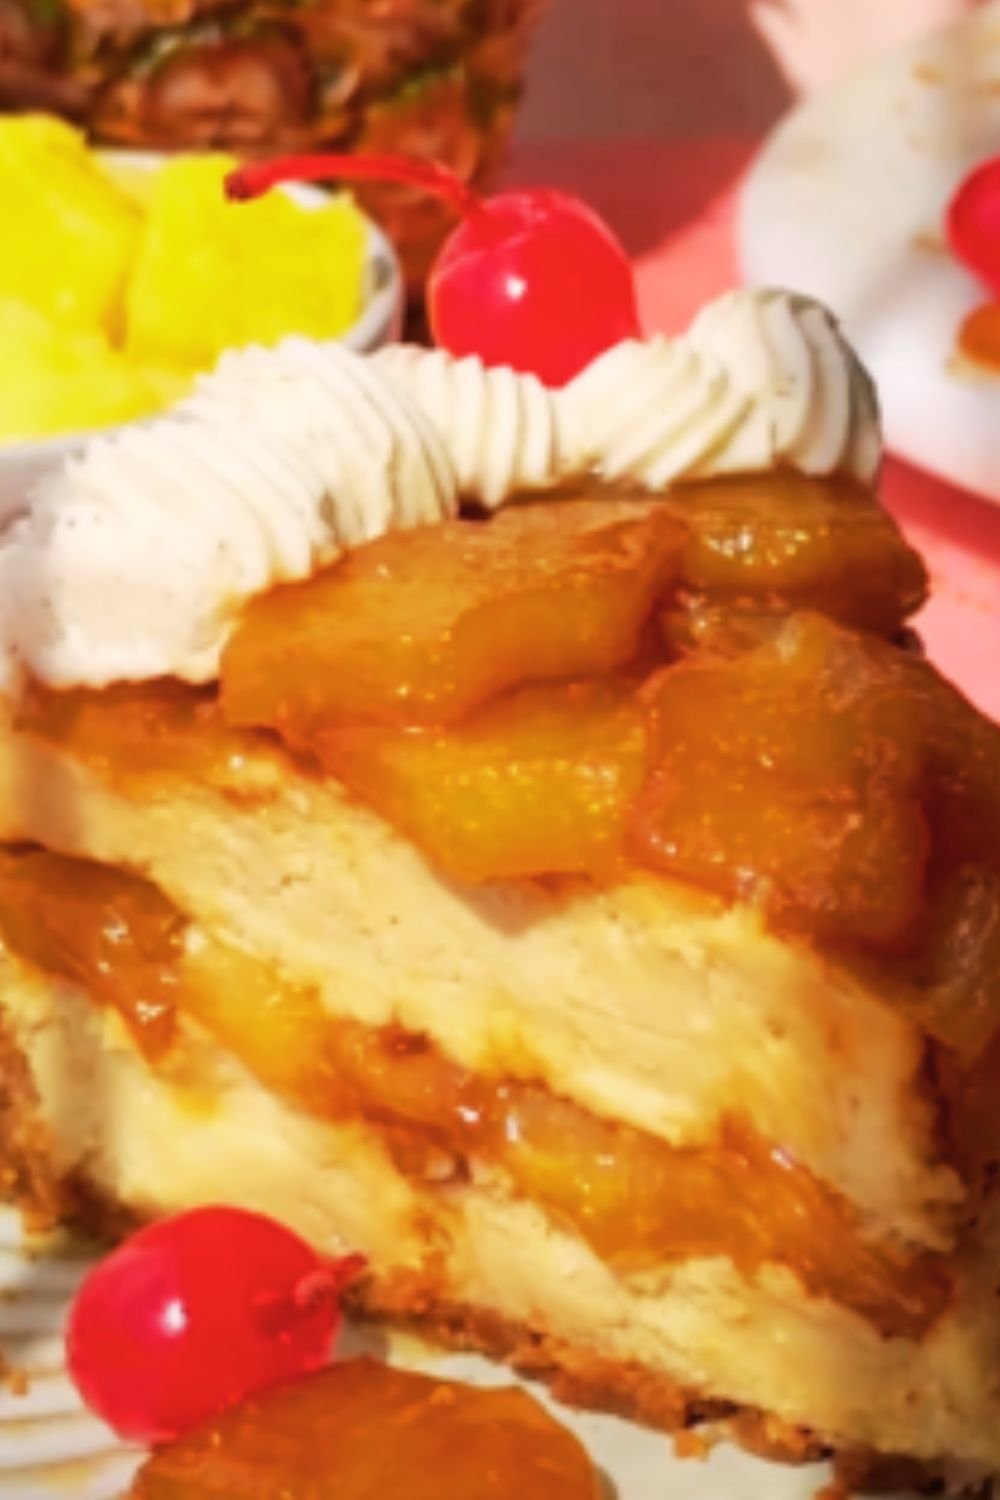
- Garnish with thin lemon slices, candied lemon peel, or fresh berries
- Serve with a dollop of lightly sweetened whipped cream
- Pair with a cup of Earl Grey tea or a glass of sparkling water with lemon
- For special occasions, add a sprig of fresh mint and a light dusting of powdered sugar
Storage and Make-Ahead Tips
This cheesecake is ideal for planning ahead, as it needs time to chill and set. Here’s how to store it:
- Refrigerator: Store covered for up to 5 days. The meringue is best consumed within 48 hours.
- Freezer: The cheesecake base can be frozen without the lemon curd and meringue for up to 2 months. Wrap tightly in plastic wrap and then aluminum foil.
- Make-ahead: Prepare the cheesecake and lemon curd up to 3 days ahead, adding the meringue on the day of serving for best results.
I often make the crust and cheesecake layers a day or two before a gathering, then add the lemon curd and meringue shortly before guests arrive. This approach reduces day-of stress and allows the flavors to develop.
Variations on the Classic
While this recipe is perfect as is, sometimes it’s fun to experiment:
- Mini Cheesecakes: Divide the mixture among a muffin tin lined with paper liners for individual servings.
- Ginger Snap Crust: Substitute ginger snap cookies for the lemon cookies in the crust for a warm, spicy contrast to the bright lemon.
- Lime Variation: Substitute lime juice and zest for a different citrus profile.
- Berry Addition: Fold fresh blueberries or raspberries into the cheesecake batter before baking.
Why This Recipe Works
As someone who’s experimented with countless cheesecake variations, I can tell you what makes this recipe exceptional:
- The Triple Lemon Approach: Each layer features lemon in a different way, creating depth of flavor.
- Temperature Control: The water bath and slow cooling process ensure a perfectly smooth texture.
- Balanced Sweetness: The tartness of the lemon offsets the richness of the cheesecake and sweetness of the meringue.
- Textural Contrast: The combination of crisp crust, creamy filling, tangy curd, and airy meringue creates an exciting eating experience.
The beauty of this recipe lies in its harmonious balance. No single element overwhelms the others; instead, they work together to create something greater than the sum of its parts.
Q&A Section
What can I use if I don’t have a kitchen torch for the meringue? You can use your oven’s broiler function as an alternative. Place the finished cheesecake on the middle rack and broil for 1-2 minutes, watching very carefully to prevent burning. Keep the oven door slightly ajar and rotate the cheesecake if needed for even browning.
Can I use bottled lemon juice instead of fresh? I strongly recommend against it. Fresh lemon juice has a brightness and complexity that bottled juice simply can’t match. Since lemon is the star flavor here, using fresh juice makes a significant difference in the final taste.
My cheesecake cracked despite using a water bath. What went wrong? Cracks can occur for several reasons: ingredients at different temperatures, overmixing the batter, or sudden temperature changes. Make sure all ingredients are at room temperature before starting, mix just until combined, and allow the cheesecake to cool gradually in the turned-off oven with the door cracked.
Is it possible to make this recipe without dairy? Yes, though it requires several substitutions. Use dairy-free cream cheese, coconut cream instead of heavy cream, and plant-based butter. The texture will be slightly different, but the flavor profile remains delicious.
How far in advance can I make this cheesecake? The cheesecake base and lemon curd can be made up to 3 days ahead. I recommend adding the meringue no more than 24 hours before serving for the best texture and appearance.
My lemon curd is too tart. Can I fix it? If your lemon curd tastes too tart after cooking, you can whisk in 1-2 tablespoons of powdered sugar while it’s still warm. Taste and adjust as needed.
Final Thoughts
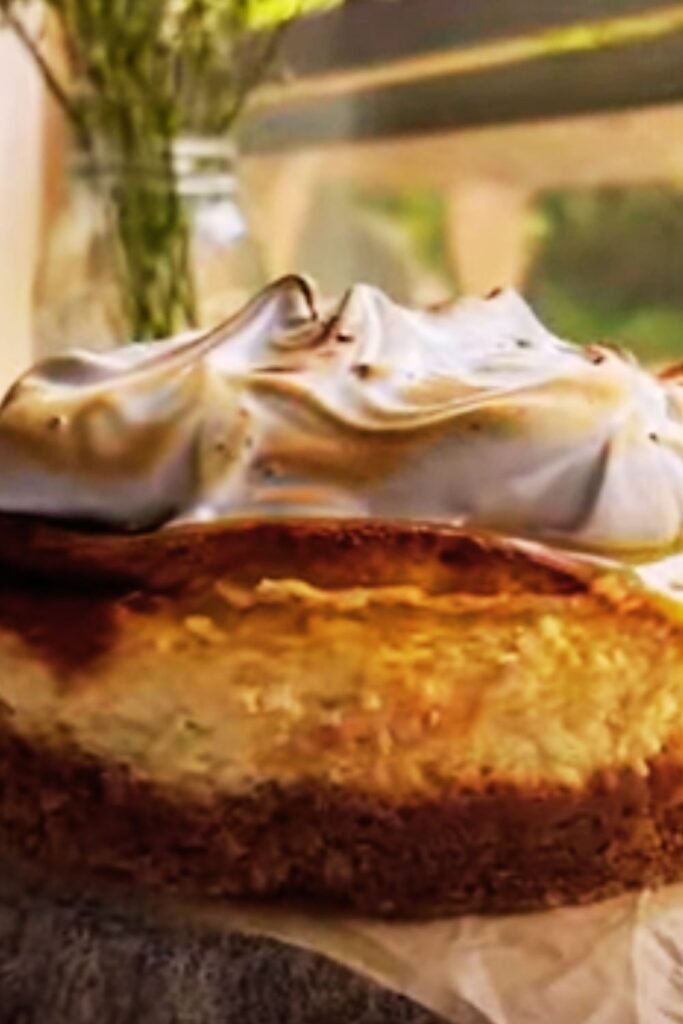
Creating this Triple Lemon Meringue Cheesecake is admittedly a project, but each step builds flavor and contributes to the spectacular final result. The combination of buttery crust, velvety cheesecake, tangy curd, and billowy meringue creates a dessert that’s both nostalgic and sophisticated.
I’ve brought this cheesecake to countless gatherings, and it never fails to impress. There’s something about cutting into those perfect layers that brings a moment of pure joy to the table. The vibrant yellow of the curd against the snowy white meringue makes for a presentation that’s as beautiful as it is delicious.
Whether you’re an experienced baker looking for a new challenge or simply a lemon lover seeking the ultimate citrus dessert, this recipe delivers on all fronts. Take your time, enjoy the process, and prepare to accept many compliments when you serve this show-stopping finale to your meal.